1. Introduction
This manual provides detailed instructions for the safe and effective installation, operation, and maintenance of your new HP G62 series 15.6-inch WXGA HD LED glossy laptop replacement screen. Please read this manual thoroughly before beginning any installation procedures to ensure proper handling and to prevent damage to the product or your device.
This replacement screen is compatible with various HP G62 series models, including G62-236NR, G62-244CA, G62-348NR, and G62-435DX, and features a 15.6-inch WXGA HD LED glossy display.
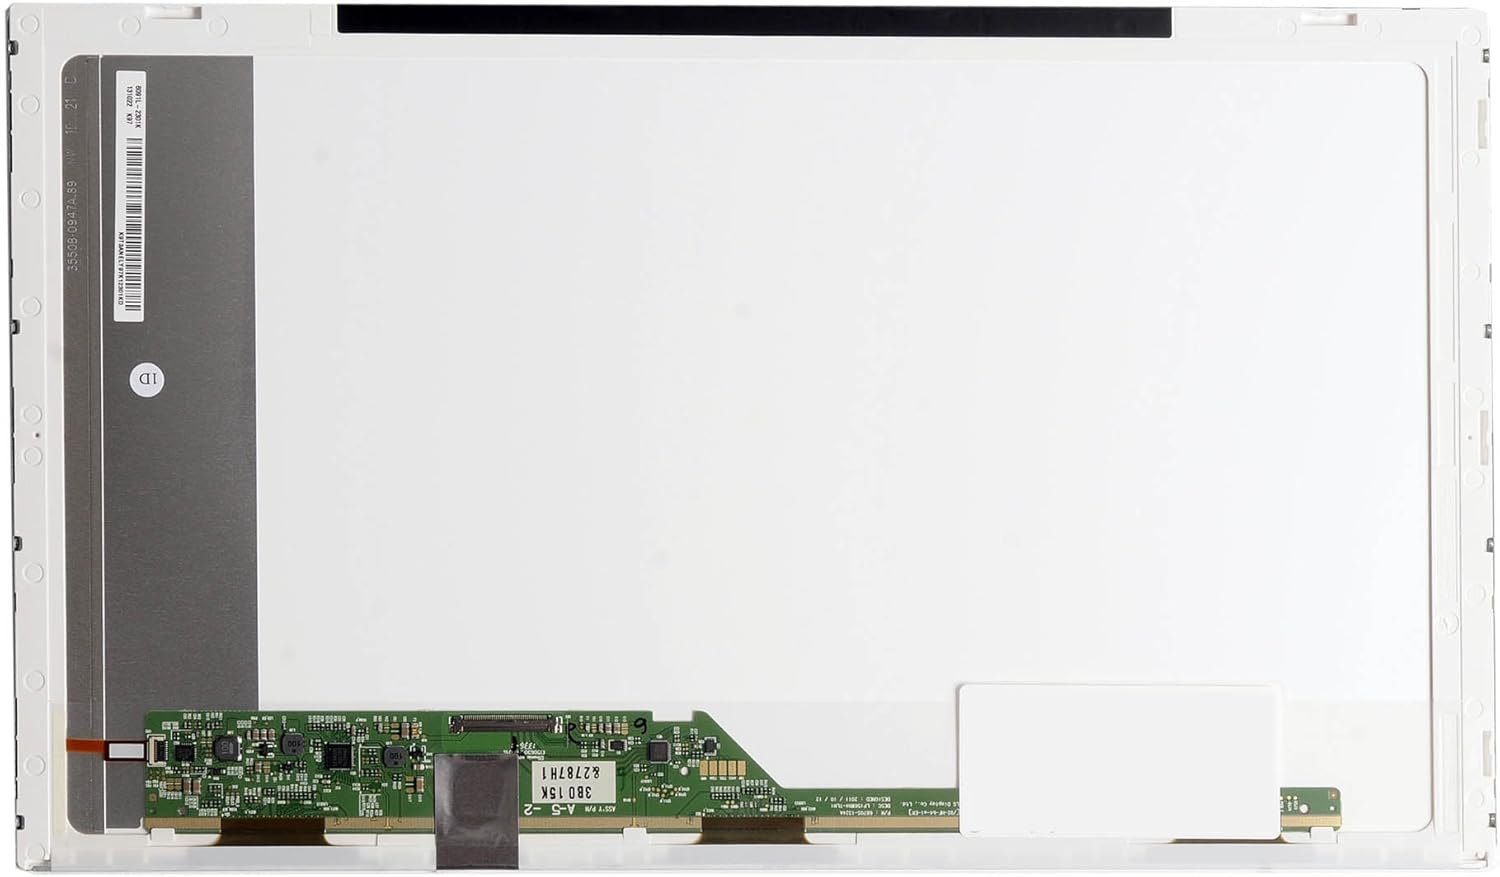
Figure 1: Front view of the replacement LCD screen, displaying the main panel and connection interface.
2. Safety Information
Always prioritize safety when working with electronic components. Failure to follow these safety guidelines may result in personal injury or damage to your equipment.
- Disconnect Power: Before starting any installation, ensure your laptop is completely powered off and unplugged from the AC adapter. Remove the battery.
- Static Electricity: Electronic components are sensitive to static electricity. Work on a clean, static-free surface. Consider using an anti-static wrist strap to prevent electrostatic discharge (ESD) damage.
- Handle with Care: The LCD panel is fragile. Avoid applying pressure to the screen surface and handle it by its edges.
- Use Proper Tools: Use appropriate non-conductive tools for disassembly and assembly to avoid scratching or damaging components.
- Ventilation: Ensure adequate ventilation during the process.
3. Setup and Installation
This section outlines the general steps for replacing a laptop LCD screen. Specific disassembly procedures may vary slightly depending on your exact HP G62 model. Refer to your laptop's service manual for model-specific instructions if available.
3.1 Required Tools
- Small Phillips head screwdriver
- Plastic pry tool (spudger)
- Anti-static wrist strap (recommended)
- Clean, soft cloth
3.2 Installation Steps
- Prepare the Laptop: Power off your laptop completely, disconnect the AC adapter, and remove the battery. Close the laptop lid and place it on a clean, soft, and static-free surface.
- Remove Screen Bezel: Carefully locate and remove any rubber screw covers around the screen bezel. Unscrew any visible screws. Using a plastic pry tool, gently separate the plastic bezel from the LCD assembly, working your way around the edges.
- Access the LCD Panel: Once the bezel is removed, you will see the LCD panel secured by screws to the metal mounting brackets. Unscrew these mounting screws.
- Lay Down the Panel: Carefully tilt the old LCD panel forward and lay it face-down on the keyboard. Be gentle, as the video cable is still connected.
- Disconnect Old Screen: Locate the video cable connector on the back of the LCD panel. This is typically secured with adhesive tape. Carefully peel back the tape and gently disconnect the video cable by pulling it straight out from the connector. Do not pull on the wires.
- Install New Screen: Take your new replacement screen. Carefully connect the video cable to the new LCD panel's connector. Ensure it is fully seated and secure it with the adhesive tape if present.
- Mount New Screen: Position the new LCD panel into the mounting brackets. Secure it with the screws you removed earlier.
- Test (Optional but Recommended): Before reattaching the bezel, you can temporarily reconnect the battery and AC adapter to power on the laptop and verify the new screen's functionality. Check for display, brightness, and any anomalies. Power off and disconnect everything again after testing.
- Reattach Bezel: Carefully snap the screen bezel back into place around the new LCD panel. Reinsert and tighten any screws you removed from the bezel.
- Final Assembly: Reinstall the battery and reconnect the AC adapter.

Figure 2: Detail of the LCD screen's control board and video cable connection point.
4. Operating and Verification
After installation, power on your laptop to verify the new screen's operation.
- Power On: Start your laptop as usual.
- Display Check: Confirm that the display is clear, bright, and free of flickering or unusual colors.
- Pixel Check: Observe the screen for any 'dead' or 'stuck' pixels (pixels that are permanently black, white, or a single color).
- Brightness Adjustment: Test the brightness controls to ensure they function correctly.

Figure 3: The replacement screen displaying a uniform black image.
5. Maintenance
Proper care will extend the life and maintain the clarity of your replacement screen.
- Cleaning: Use a soft, lint-free cloth specifically designed for electronics. Lightly dampen the cloth with water or a screen-cleaning solution (avoid ammonia-based cleaners). Gently wipe the screen surface. Do not spray liquid directly onto the screen.
- Handling: Avoid touching the screen surface with sharp objects or applying excessive pressure.
- Storage: If the screen needs to be stored, keep it in its original protective packaging in a cool, dry place away from direct sunlight.

Figure 4: Angled view of the replacement screen, showcasing its slim design.
6. Troubleshooting
If you encounter issues after installation, refer to the following common problems and solutions:
- No Display / Black Screen:
- Ensure the video cable is securely connected to both the screen and the laptop's motherboard.
- Verify the laptop is receiving power and the battery is charged.
- Check if the backlight cable (if separate) is properly connected.
- Flickering or Intermittent Display:
- Re-seat the video cable connection.
- Check for any physical damage to the video cable or its connectors.
- Incorrect Colors or Distorted Image:
- Ensure the video cable is fully and correctly inserted.
- Verify that the screen model is compatible with your laptop.
- Dead Pixels:
- A small number of dead or stuck pixels may be considered within manufacturing tolerances for LCD panels. If the number is excessive or disruptive, contact your vendor.
7. Specifications
| Screen Size | 15.6 Inches |
| Resolution | WXGA HD (1366x768) |
| Backlight Type | LED |
| Surface Type | Glossy |
| Item Model Number | LED-1366-768-G-40-15.6-272 |
| Product Dimensions (LxWxH) | 17.5 x 10.5 x 0.1 inches |
| Item Weight | 11.2 ounces |
8. Warranty and Support
For information regarding warranty coverage and technical support, please refer to the documentation provided with your purchase or contact the vendor directly. Keep your proof of purchase for warranty claims.