Introduction
This manual provides instructions for the safe and efficient use of your Brabantia Lift-O-Matic Advance Outdoor Clothesline. This outdoor drying rack features a 4-arm design, 164 feet of drying line, and is height-adjustable. It is designed for outdoor laundry drying and includes a ground spike, protective cover, and a bag of clothespins.
Safety Information
Please read all instructions carefully before assembly and use. Retain this manual for future reference.
- Ensure the ground spike is installed securely and vertically to prevent the clothesline from tipping over, especially when loaded with wet laundry or during windy conditions.
- Do not overload the clothesline. The maximum weight limit is 88 pounds (40 kg) of wet laundry.
- Keep children and pets away from the clothesline during operation and when it is loaded.
- When adjusting the height, ensure hands are clear of moving parts to prevent pinching.
- Fold and cover the clothesline when not in use to protect it from weather elements and prolong its lifespan.
- Avoid placing the clothesline near heat sources or open flames.
Package Contents
Verify that all items are present in your package:
- Brabantia Lift-O-Matic Advance Clothesline (4-arm unit)
- Metal Ground Spike (Ø 1.97")
- Protective Cover
- Clothespin Bag & Pins

Image: The complete Brabantia Lift-O-Matic Advance Outdoor Clothesline system, including the main rotary dryer, ground spike, protective cover, and a bag of clothespins.
Setup and Installation
Assembly is required. Follow these steps for proper installation:
- Choosing a Location: Select a clear, open outdoor area for your clothesline. Ensure there is enough space for the arms to rotate freely (approximately 116 inches / 295 cm diameter).
- Installing the Ground Spike:
- Drive the metal ground spike into the ground. The spike should be installed vertically and flush with the ground surface. For optimal stability, especially in softer soil, consider reinforcing with concrete.

Image: A cross-section view showing the metal ground spike securely installed in the ground, with a lawnmower in the background indicating an outdoor setting.

Image: A detailed view of the metal ground spike, highlighting its robust construction and the closable cap.
- Inserting the Clothesline Pole: Once the ground spike is secure, insert the main pole of the clothesline into the spike. Ensure it is seated firmly.
Operating Instructions
- Opening the Clothesline: Gently pull the arms upwards until they click into place, fully extending the drying lines.
- Adjusting Height (Lift-O-Matic System):
- The Lift-O-Matic system allows for seamless height adjustment. Press the blue lever on the central pole and slide the arms up or down to your desired working height (between 4.9 to 6.46 feet).
- Release the lever to lock the height in position.

Image: A person's hands demonstrating the height adjustment mechanism on the central pole of the clothesline, using the blue lever.

Image: A close-up of a hand operating the height adjustment lever on the clothesline pole.
- Hanging Laundry:
- Distribute laundry evenly across the 164 feet of drying line to maintain balance.
- The clothesline features UV-resistant non-slip lines that remain taut.
- Each arm is fitted with special holes for clothes hangers, allowing for air drying of delicate items or shirts.

Image: A close-up of a clothes hanger placed in one of the designated holes on an arm of the clothesline, holding a shirt.

Image: A woman hanging a large piece of bedding onto the clothesline, demonstrating its capacity for larger items.

Image: A woman hanging various items of clothing on the clothesline, utilizing the multiple lines for efficient drying.
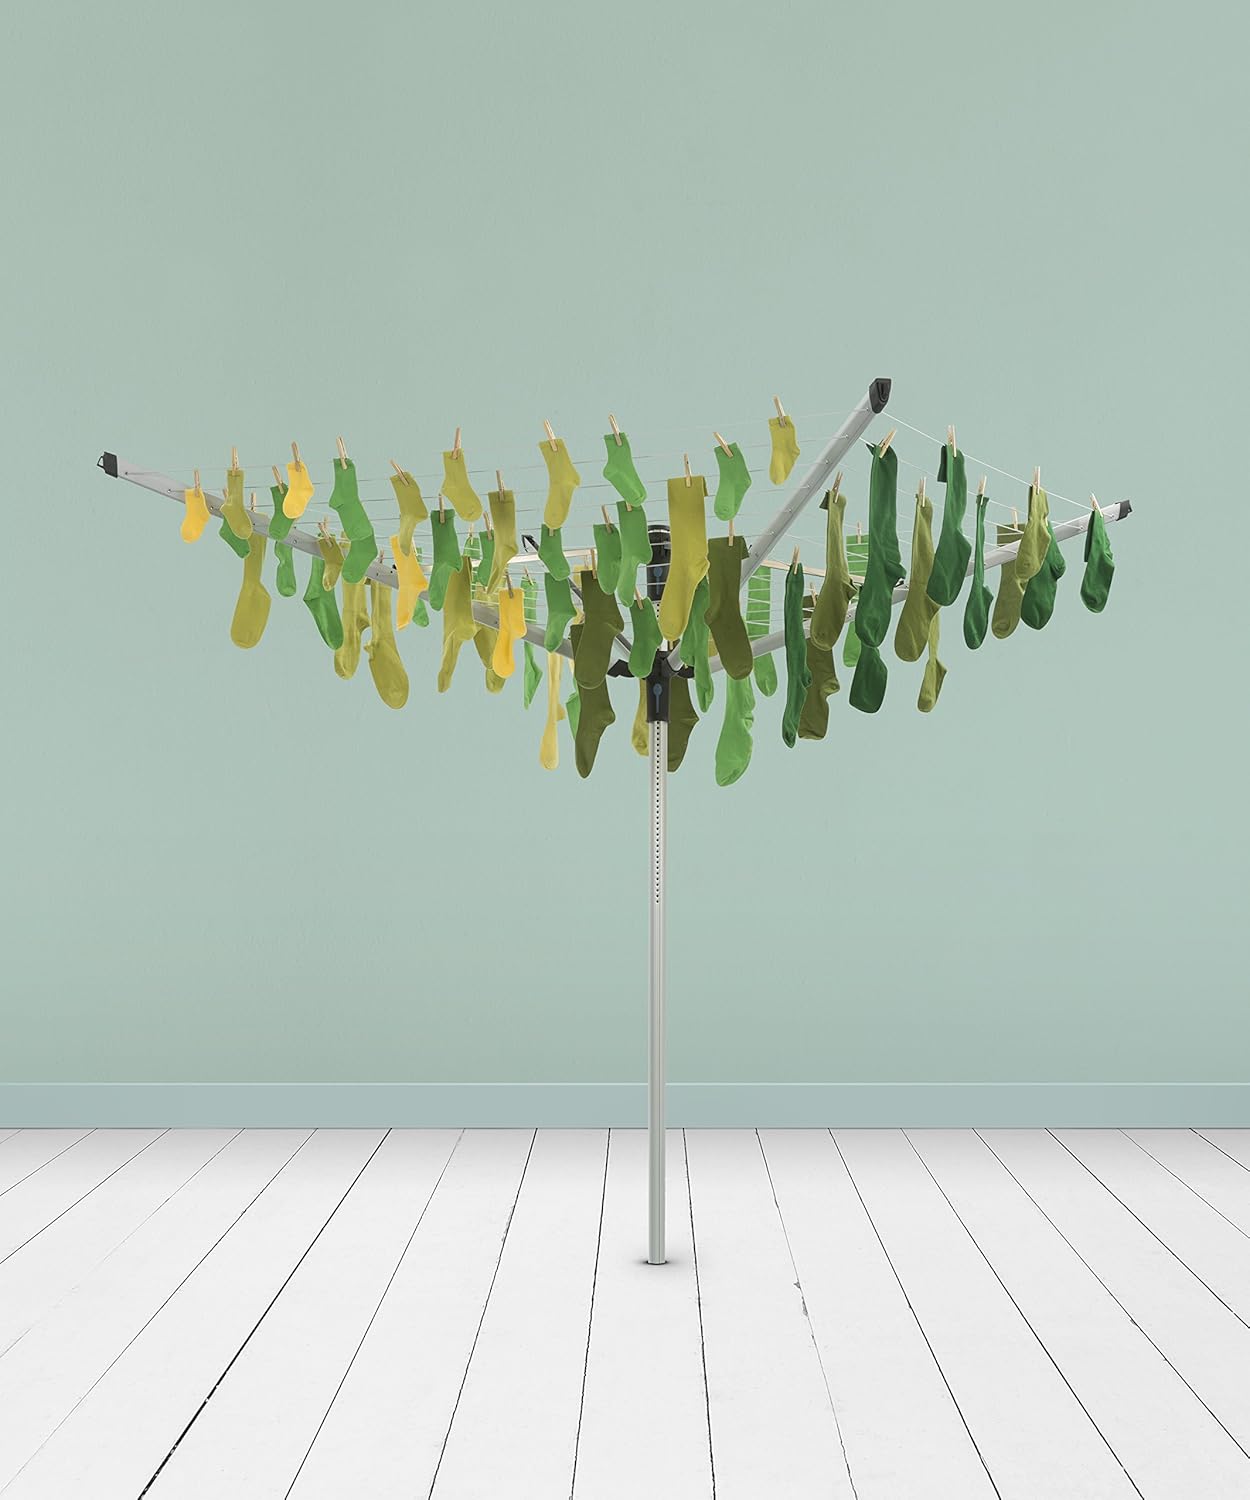
Image: The clothesline fully loaded with numerous socks, illustrating its capacity for smaller items.
- Closing and Storage:
- To close, press the blue lever and gently push the arms downwards until they fold compactly.
- Use the provided protective cover to shield the folded clothesline from dirt and weather when not in use.
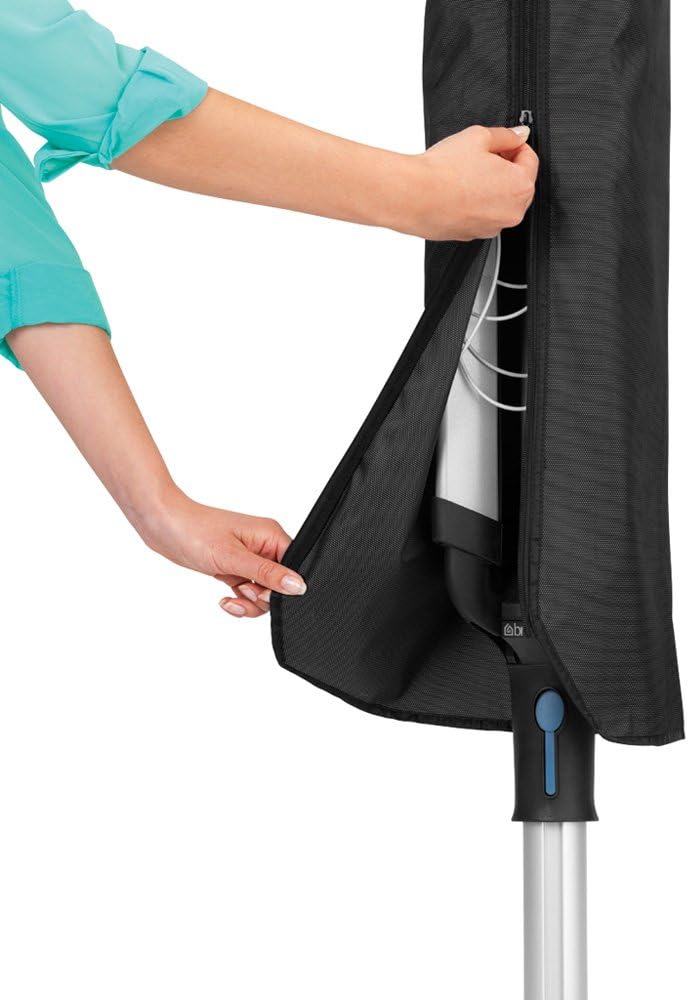
Image: A person's hands zipping up the protective cover over the folded clothesline, demonstrating how to protect it from elements.

Image: A person zipping the protective cover onto the clothesline, showing the full length of the cover and the zipper mechanism.

Image: A woman carrying the folded clothesline indoors, demonstrating its portability for storage when not in use.
Maintenance
- Cleaning: Wipe down the clothesline and pole with a damp cloth as needed to remove dirt and dust. Do not use abrasive cleaners.
- Line Tension: The 3-way retensionable drying lines are designed to remain taut. If lines become loose over time, refer to the product's specific tensioning instructions (if available, otherwise general advice).
- Winter Storage: For prolonged periods of non-use, especially during winter months, it is recommended to remove the clothesline from the ground spike and store it in a dry, protected area. Use the provided protective cover.
- Ground Spike Cap: Keep the closable cap on the ground spike when the clothesline is removed to prevent debris and water from entering.
Troubleshooting
If you encounter issues with your Brabantia Lift-O-Matic Advance Clothesline, consider the following:
- Clothesline not stable: Ensure the ground spike is installed correctly and firmly in the ground. If the ground is soft, consider reinforcing with concrete.
- Difficulty adjusting height: Check for any obstructions in the central pole mechanism. Ensure the blue lever is fully pressed during adjustment. Clean any dirt or debris from the mechanism.
- Lines sagging: The lines are designed to be taut. If sagging occurs, inspect the line tensioning points on the arms. Some models allow for manual re-tensioning.
- Arms not opening/closing smoothly: Check for any bent parts or obstructions. Apply a silicone-based lubricant to moving joints if necessary.
Specifications
| Model Number | 100246 |
| Material | Carbon Steel |
| Product Dimensions (Extended) | 116.14"D x 116.14"W x 75.59"H (295 cm D x 295 cm W x 192 cm H) |
| Drying Line Length | 164 Feet (50 meters) |
| Height Adjustment Range | 4.9 to 6.46 feet (150 cm to 197 cm) |
| Ground Spike Diameter | 1.97 inches (5 cm) |
| Item Weight | 17.23 Pounds (7.8 kg) |
| Weight Limit (Wet Laundry) | 88 Pounds (40 kg) |
| Color | Metallic Gray |
| Special Features | Adjustable height, Clothes Hanger Holes on Arms, UV-Resistant lines |
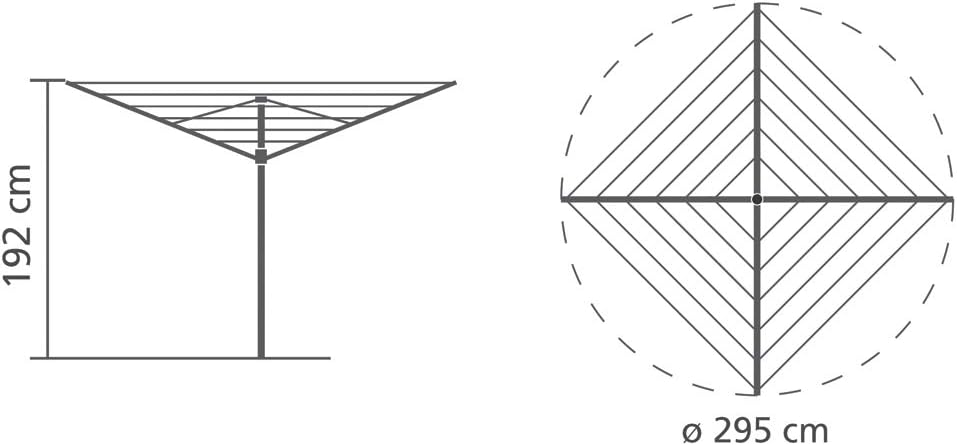
Image: A technical diagram illustrating the dimensions of the clothesline, including its height (192 cm) and diameter (295 cm) when fully extended.
Warranty and Support
Your Brabantia Lift-O-Matic Advance Outdoor Clothesline is covered by a 5-year manufacturer's guarantee.
For warranty claims, product support, or to purchase replacement parts, please visit the official Brabantia website or contact their customer service department. Keep your proof of purchase for warranty validation.
Brabantia Official Website: www.brabantia.com


