Introduction
This manual provides comprehensive instructions for the installation, operation, and maintenance of your Sony XM-GTX6041 600W Amplifier. Designed for car audio systems, this 4-channel amplifier delivers clear, precise, and distortion-free sound. It features advanced thermal control and a high-capacity air cooling system to ensure stable performance even under demanding conditions. Please read this manual thoroughly before using the amplifier to ensure proper setup and to maximize its performance and longevity.
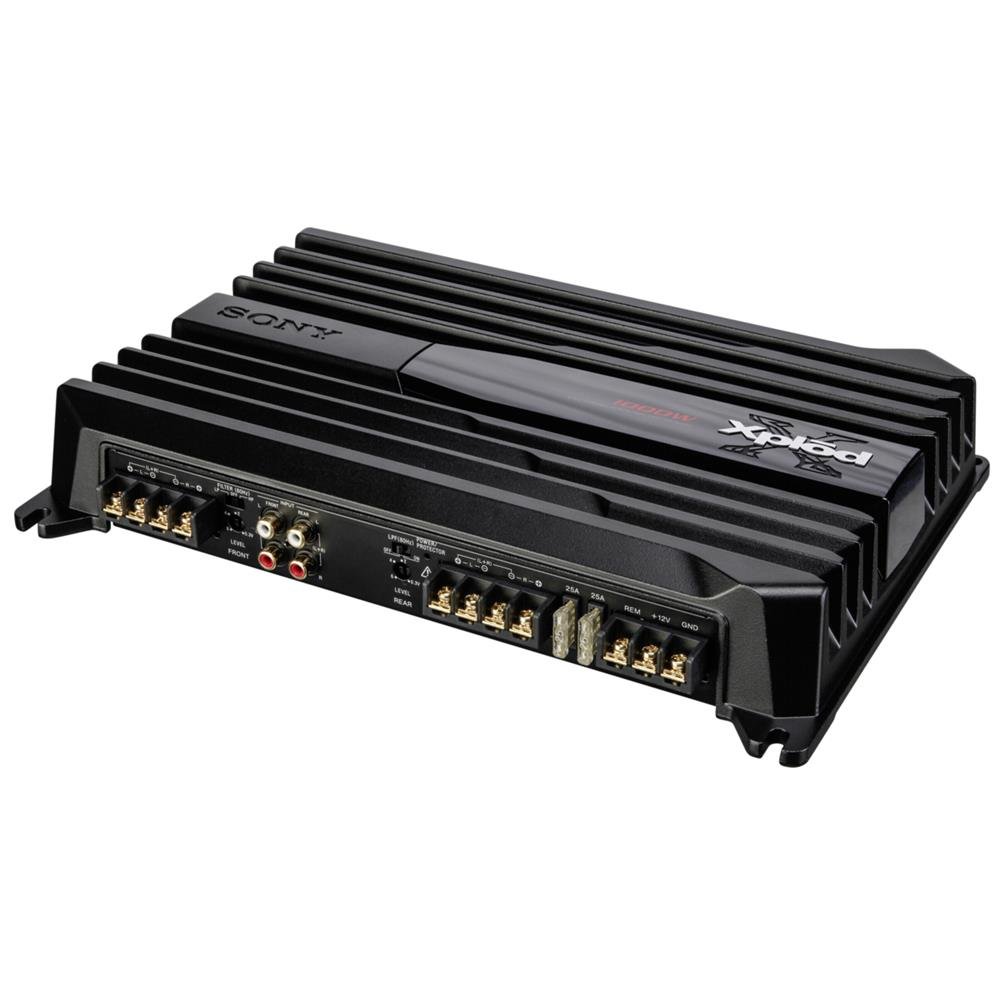
Image: Sony XM-GTX6041 600W Amplifier. This image shows the top view of the amplifier unit, highlighting its compact design and connection terminals.
Safety Information
- Power Supply: Connect the amplifier only to a 12V DC car battery with a negative ground.
- Wiring: Ensure all wiring is correctly connected and insulated to prevent short circuits and electrical hazards. Use appropriate gauge wires for power and ground connections.
- Mounting: Mount the amplifier securely in a location that allows for adequate ventilation and is protected from moisture and excessive heat.
- Volume Levels: Avoid prolonged listening at extremely high volume levels to prevent hearing damage.
- Professional Installation: If you are unsure about any installation steps, consult a qualified professional car audio installer.
Setup
1. Unpacking
Carefully remove the amplifier and all accessories from the packaging. Verify that all components are present before proceeding with installation.
2. Mounting Location
Choose a mounting location that is:
- Dry and protected from moisture.
- Well-ventilated to allow for proper heat dissipation.
- Secure and stable to prevent movement during vehicle operation.
- Away from direct sunlight or heat sources.
Common locations include under a seat, in the trunk, or behind a panel.
3. Wiring Connections
Follow these general guidelines for wiring your amplifier:
- Power (BATT+): Connect a heavy-gauge power cable directly from the positive terminal of your car battery to the BATT+ terminal on the amplifier. Install an in-line fuse (not supplied) as close to the battery as possible.
- Ground (GND): Connect a heavy-gauge ground cable from the GND terminal on the amplifier to a clean, unpainted metal surface of the vehicle chassis. Ensure a solid electrical connection.
- Remote (REM): Connect a remote turn-on wire from your head unit's remote output to the REM terminal on the amplifier. This will turn the amplifier on and off with your head unit.
- RCA Input: Connect RCA cables from your head unit's pre-out outputs to the RCA input jacks on the amplifier.
- Speaker Output: Connect your speakers to the speaker output terminals on the amplifier. Ensure correct polarity (+ to + and - to -) for each speaker. The XM-GTX6041 supports 4-channel speaker configurations.
Always double-check all connections before applying power to the amplifier.
Operating Instructions
1. Powering On/Off
The amplifier will automatically power on when your head unit is turned on (via the remote wire connection) and power off when the head unit is turned off.
2. Adjusting Gain Control
The gain control (often labeled "LEVEL" or "GAIN") matches the amplifier's input sensitivity to the output level of your head unit. To set the gain:
- Turn the amplifier's gain control to its minimum (fully counter-clockwise) setting.
- Turn your head unit volume up to about 75-80% of its maximum level.
- Slowly increase the amplifier's gain control until you hear distortion, then back it off slightly until the sound is clear.
The gain control is not a volume control; it is for matching signal levels.
3. Crossover Settings (High-Pass / Low-Pass Filters)
The XM-GTX6041 features built-in high-pass (HPF) and low-pass (LPF) filters to optimize sound output for different speakers:
- High-Pass Filter (HPF): Allows frequencies above the set point to pass through. Use for full-range speakers or tweeters to prevent them from playing low bass frequencies they cannot reproduce effectively.
- Low-Pass Filter (LPF): Allows frequencies below the set point to pass through. Use for subwoofers to ensure they only reproduce bass frequencies.
Adjust these filters according to your speaker types and desired sound profile. Refer to your speaker's specifications for recommended crossover points.
Maintenance
1. Cleaning
Periodically clean the exterior of the amplifier with a soft, dry cloth. Do not use harsh chemicals or abrasive cleaners. Ensure that the cooling fins and ventilation openings are free from dust and debris to maintain optimal airflow.
2. Thermal Management
The XM-GTX6041 features an advanced thermal control system and high-capacity air cooling to prevent overheating. Ensure that the amplifier is mounted in a location with sufficient air circulation. Avoid blocking any ventilation openings. If the amplifier enters thermal protection mode (indicated by a protection light, if present), reduce the volume or allow it to cool down before continued use.
Troubleshooting
| Problem | Possible Cause | Solution |
|---|---|---|
| No power / Amplifier does not turn on |
|
|
| No sound output |
|
|
| Distorted sound |
|
|
| Amplifier overheats / Enters protection mode |
|
|
Specifications
| Feature | Detail |
|---|---|
| Brand | Sony |
| Model Number | XMGTX6041 |
| Number of Channels | 4 |
| Maximum Power Output | 600 Watts |
| Voltage | 12 Volts (DC) |
| Mounting Type | Surface Mount |
| Operating Temperature | Up to 125 Degrees Celsius |
| Dimensions (L x W x H) | 10 x 10 x 10 centimeters |
| International Article Code (UPC) | 04905524761740 |
Warranty and Support
Warranty Information
Specific warranty details for the Sony XM-GTX6041 amplifier are typically provided with the product at the time of purchase or can be found on the official Sony website. Please retain your proof of purchase for warranty claims.
Customer Support
For further assistance, technical support, or service inquiries, please contact Sony customer support through their official website or the contact information provided in your product documentation.


