
1. Introduction
The Olympus Pen-EE is a compact and robust half-frame 35mm camera, designed for ease of use with its fully-automatic exposure system. As a half-frame camera, it captures two 24 × 18 mm images on a single standard 35mm film frame, effectively doubling the number of exposures per roll. The "EE" in its name signifies "Electronic Eye," referring to its selenium cell light meter which automatically sets the exposure. This manual provides comprehensive instructions for the proper operation and maintenance of your Olympus Pen-EE camera.
2. Camera Components

Figure 2.1: Front View. This image displays the front of the Olympus Pen-EE camera. Visible components include the main lens assembly with its integrated selenium light meter around the lens, the viewfinder window, and the red "S" (for "Shutter") symbol indicating the camera's model variant. The camera body features a textured grip.

Figure 2.2: Top View. This image shows the top plate of the Olympus Pen-EE camera. Key features visible are the film advance wheel on the right, the frame counter dial, and the shutter release button. The model name "PEN-EE" and a serial number are engraved on the top plate.

Figure 2.3: Front View with Lens Cap. This image illustrates the Olympus Pen-EE camera with its protective lens cap in place. The lens cap covers the lens and the selenium light meter, which is important for protecting these components when the camera is not in use. A wrist strap is also visible, attached to the camera body.
3. Setup and Film Loading
3.1. Opening the Camera Back
To open the camera back, locate the film door latch on the side of the camera. Slide or pull the latch to release the back cover. The back cover will swing open, revealing the film compartment.

Figure 3.1: Open Film Compartment. This image shows the Olympus Pen-EE camera with its back cover detached, exposing the film loading area. The film chamber, take-up spool, and film pressure plate are clearly visible.
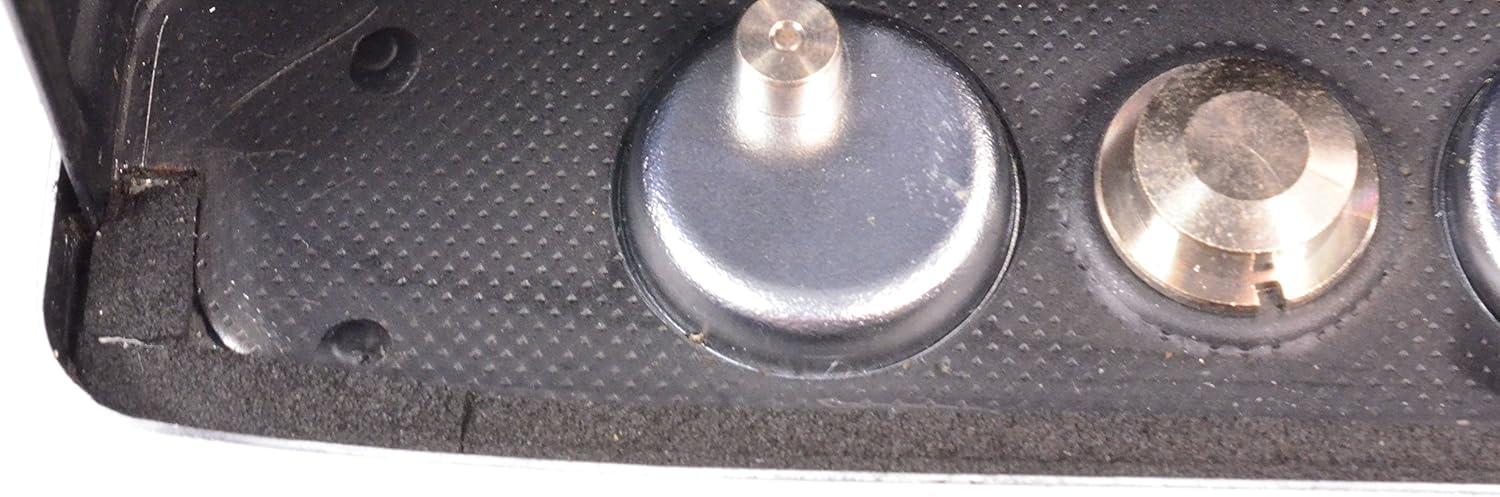
Figure 3.2: Film Compartment Detail. A close-up view of the film compartment's interior, highlighting the film gate and the mechanism for film advancement.
3.2. Loading Film
- Insert a 35mm film cassette into the film chamber on the left side of the camera.
- Pull the film leader across the back of the camera and insert it into a slot on the take-up spool on the right side.
- Rotate the film advance wheel slightly to ensure the film is securely engaged with the take-up spool and the sprocket teeth.
- Close the camera back firmly until it latches.
- Advance the film two or three times, pressing the shutter button each time, until the frame counter shows "1" or "S" (Start).
3.3. Setting Film Speed (ISO/ASA)
The Pen-EE features an automatic exposure system that relies on the film's ISO/ASA rating. Rotate the ring around the lens to set the appropriate ISO/ASA value for your loaded film. This setting directly influences the camera's automatic aperture selection.
4. Operating the Camera
4.1. Taking a Picture (Automatic Exposure)
- Ensure the lens cap is removed.
- Look through the viewfinder to compose your shot. The Pen-EE has a fixed-focus lens, meaning no manual focusing is required for most typical shooting distances.
- Press the shutter release button gently but firmly. The camera's selenium cell meter will automatically determine the correct exposure (shutter speed of 1/125th or 1/30th of a second and appropriate aperture).
- If the light is insufficient, a red flag will appear in the viewfinder, preventing the shutter from firing. This indicates that flash photography or shooting in brighter conditions is necessary.
- After taking a picture, advance the film using the film advance wheel until it stops, preparing for the next shot.
4.2. Flash Photography
For flash photography, the aperture can be set manually. Consult your flash unit's guide for recommended aperture settings based on flash power and subject distance. Attach a compatible flash unit to the camera's hot shoe (if present) or PC sync terminal.
4.3. Rewinding Film
Once all exposures on the film roll have been made (indicated by the frame counter or resistance when advancing film), the film must be rewound back into its cassette.
- Locate the film rewind button or lever on the bottom or top of the camera. Press or activate it to disengage the film advance mechanism.
- Turn the film rewind crank (usually on the top left of the camera) clockwise until you feel the tension release, indicating the film has fully rewound into the cassette.
- Open the camera back and remove the film cassette.
5. Maintenance
5.1. Cleaning the Camera
- Lens: Use a soft, lint-free microfiber cloth specifically designed for optical surfaces. For stubborn smudges, a small amount of lens cleaning fluid can be applied to the cloth (never directly to the lens).
- Body: Wipe the camera body with a soft, dry cloth. For dirt, a slightly damp cloth can be used, but ensure no moisture enters the camera's internal components.
- Film Compartment: Periodically use a blower brush to remove dust and lint from the film compartment to prevent scratches on your film.
5.2. Storage
Store the camera in a cool, dry place away from direct sunlight, extreme temperatures, and high humidity. It is advisable to keep the lens cap on when not in use to protect the lens and the selenium meter.
6. Troubleshooting
- Shutter does not fire / Red flag in viewfinder: This indicates insufficient light for proper exposure. Move to a brighter area or use a flash. Ensure the lens cap is removed.
- Film not advancing: Check if the film is properly loaded and engaged with the take-up spool. Ensure the film rewind button is not engaged.
- Light leaks on film: Inspect the camera back's light seals for wear or damage. These may need to be replaced by a qualified technician.
- Images are too dark/light: Verify that the correct ISO/ASA speed is set on the lens ring. Ensure the selenium meter is clean and not obstructed.
7. Specifications
| Feature | Detail |
|---|---|
| Model | Olympus Pen-EE |
| Film Type | 35mm (Half-Frame) |
| Lens | Fixed focus |
| Exposure Control | Automatic (Selenium cell meter) |
| Shutter Speeds | 1/125 sec, 1/30 sec |
| Flash Sync | Yes (Manual aperture setting for flash) |
| Color | Silver |
| Item Weight | 15.2 ounces (approx. 431g) |
| Package Dimensions | 9.9 x 4.3 x 2.4 inches |
8. Warranty and Support
For information regarding warranty coverage, please refer to the documentation provided at the time of purchase or contact the original seller. As this is a vintage camera model, direct manufacturer support may be limited. For technical assistance or repairs, it is recommended to seek out specialized vintage camera repair services.
For general inquiries or further assistance, you may contact the seller, R&R Electro, through the Amazon platform.