Introduction
This manual provides essential instructions for the safe and effective operation of your Vivitar 20.1 MP Digital Camera, model VXX14. Please read this manual thoroughly before using the camera and retain it for future reference.
The Vivitar VXX14 is designed to capture high-resolution photos and videos. Key features include a 20.1-megapixel sensor, 4x digital zoom, and a 1.8-inch rotating preview screen for versatile shooting angles.
Product Overview
Familiarize yourself with the components of your Vivitar VXX14 digital camera.
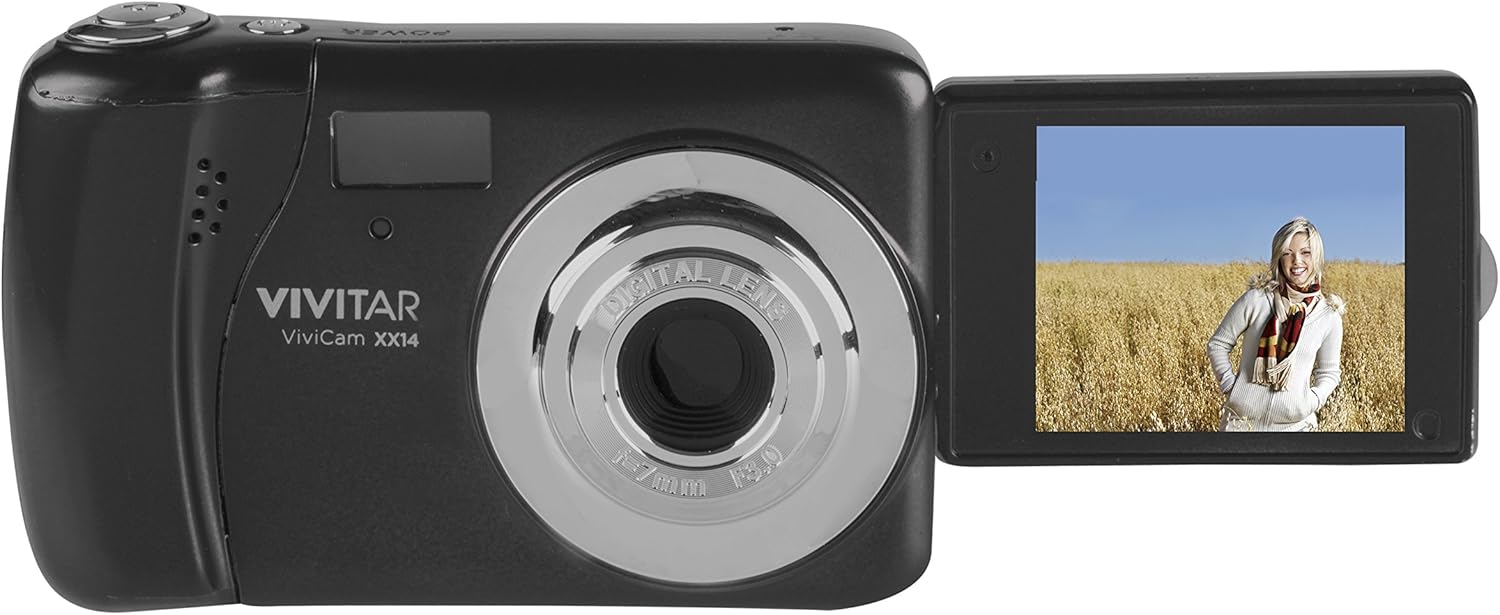
Image 1: Vivitar VXX14 Digital Camera, black, with its 1.8-inch LCD screen rotated outwards, displaying a live view. The camera body shows the lens, flash, and Vivitar branding.
Camera Components:
- Lens: Captures images and video.
- Flash: Provides illumination in low-light conditions.
- 1.8" LCD Screen: Displays live view, menus, and playback. Rotates 180 degrees.
- Shutter Button: Press to take photos.
- Power Button: Turns the camera on or off.
- Mode Dial/Buttons: Selects shooting modes (e.g., Photo, Video, Playback).
- Directional Pad/Navigation Buttons: Navigates menus and settings.
- Battery Compartment: Holds 3 AAA batteries (not included).
- SD Card Slot: For inserting an SD/SDHC/SDXC memory card (not included).
- USB Port: For connecting to a computer for data transfer.
Setup
1. Installing Batteries
The Vivitar VXX14 requires 3 AAA batteries for operation. Batteries are not included with the camera.
- Locate the battery compartment cover on the camera.
- Slide or lift the cover to open it.
- Insert 3 fresh AAA batteries, ensuring correct polarity (+/-) as indicated inside the compartment.
- Close the battery compartment cover securely until it clicks into place.
Note: Use alkaline or rechargeable AAA batteries. Remove batteries if the camera will not be used for an extended period.
2. Inserting a Memory Card
A memory card (SD/SDHC/SDXC) is required to store photos and videos. A memory card is not included with the camera.
- Locate the SD card slot on the side of the camera.
- Open the slot cover.
- Insert the memory card with the metal contacts facing the correct direction (refer to the diagram near the slot).
- Gently push the card until it clicks into place.
- Close the SD card slot cover.
Note: Ensure the memory card is not write-protected. Format new memory cards in the camera before first use (refer to the "Operating" section for formatting instructions).
Operating Instructions
1. Powering On/Off
- To turn on: Press and hold the Power button.
- To turn off: Press and hold the Power button again.
2. Taking Photos
- Turn on the camera. The LCD screen will display the live view.
- Frame your shot using the 1.8-inch LCD screen. You can rotate the screen for selfie mode.
- Press the Shutter button halfway down to focus.
- Press the Shutter button fully to capture the image.
Self-Timer: To activate the self-timer, navigate through the camera's menu settings to find the timer option (e.g., 2s, 10s). Select your desired delay before pressing the shutter button.
3. Recording Videos
- Turn on the camera.
- Switch to video mode (if applicable, via a mode button or menu option).
- Press the Shutter button to start recording. A timer or indicator will appear on the screen.
- Press the Shutter button again to stop recording.
Videos are recorded in AVI format.
4. Playback Mode
- To view captured photos and videos, switch to playback mode.
- Use the directional buttons to navigate through your media.
- Press the OK/Enter button to view a video or zoom into a photo.
5. Menu Settings
Access the camera's menu to adjust various settings such as:
- Resolution: Adjust photo and video quality.
- Flash Mode: Auto, Fill-in, Red-eye reduction, Off.
- White Balance: Auto, Daylight, Cloudy, Fluorescent, Tungsten.
- Exposure Compensation: Adjust brightness.
- Formatting SD Card: Erases all data on the memory card. Use with caution.
- Date/Time: Set the current date and time.
Refer to the on-screen prompts and the camera's navigation buttons to make selections.
Maintenance
Cleaning the Camera
- Use a soft, dry cloth to clean the camera body.
- For the lens and LCD screen, use a specialized lens cleaning cloth and solution. Avoid abrasive materials.
- Do not use organic solvents or strong chemicals.
Storage
- Store the camera in a cool, dry place away from direct sunlight and extreme temperatures.
- Remove batteries if the camera will not be used for an extended period to prevent leakage.
Troubleshooting
| Problem | Possible Cause | Solution |
|---|---|---|
| Camera does not power on. |
|
|
| Cannot take photos/videos. |
|
|
| Images are blurry. |
|
|
| Battery drains quickly. |
|
|
Specifications
| Model Name | VXX14 |
| Effective Still Resolution | 20.1 MP |
| Digital Zoom | 4x |
| Screen Size | 1.8 inches (LCD) |
| Video Resolution | HD 720p |
| Video Capture Format | AVI |
| Image File Format | JPEG, RAW |
| Storage Media | SD/SDHC/SDXC Card (not included) |
| Battery Type | 3 x AAA batteries (not included) |
| Image Stabilization | Digital |
| Special Features | 180-degree rotating screen, Self-Timer |
Warranty and Support
For warranty information or technical support, please refer to the official Vivitar website or contact their customer service department. Keep your purchase receipt as proof of purchase for warranty claims.
Manufacturer: Sakar International, Inc.
Brand: Vivitar
Model: VXX14


