
1. Introduction
This manual provides detailed instructions for the installation, maintenance, and troubleshooting of the Pentair 77707-0244 Copper-Nickel Tube Sheet Coil Assembly Replacement Kit. This kit is designed for use with specific Pentair MasterTemp and Sta-Rite HD Series Max-E-Therm pool and spa heater models. Proper installation and maintenance are crucial for the safe and efficient operation of your heater.
2. Safety Information
WARNING:
- Always disconnect power to the heater before performing any service or maintenance.
- Allow the heater to cool completely before handling components.
- Wear appropriate personal protective equipment (PPE), such as gloves and eye protection.
- If you are unsure about any step, consult a qualified pool technician.
- Ensure all gas and water lines are properly shut off and drained before beginning work.
3. Package Contents
The Pentair 77707-0244 kit typically includes the following components:
- Copper-Nickel Tube Sheet Coil Assembly
- Various Gaskets and O-rings
- Igniter/Flame Sensor Assembly
- Pressure Switch/Flow Switch Assembly
- Mounting Hardware (nuts, washers)
- Sealant (e.g., Loctite RTV)
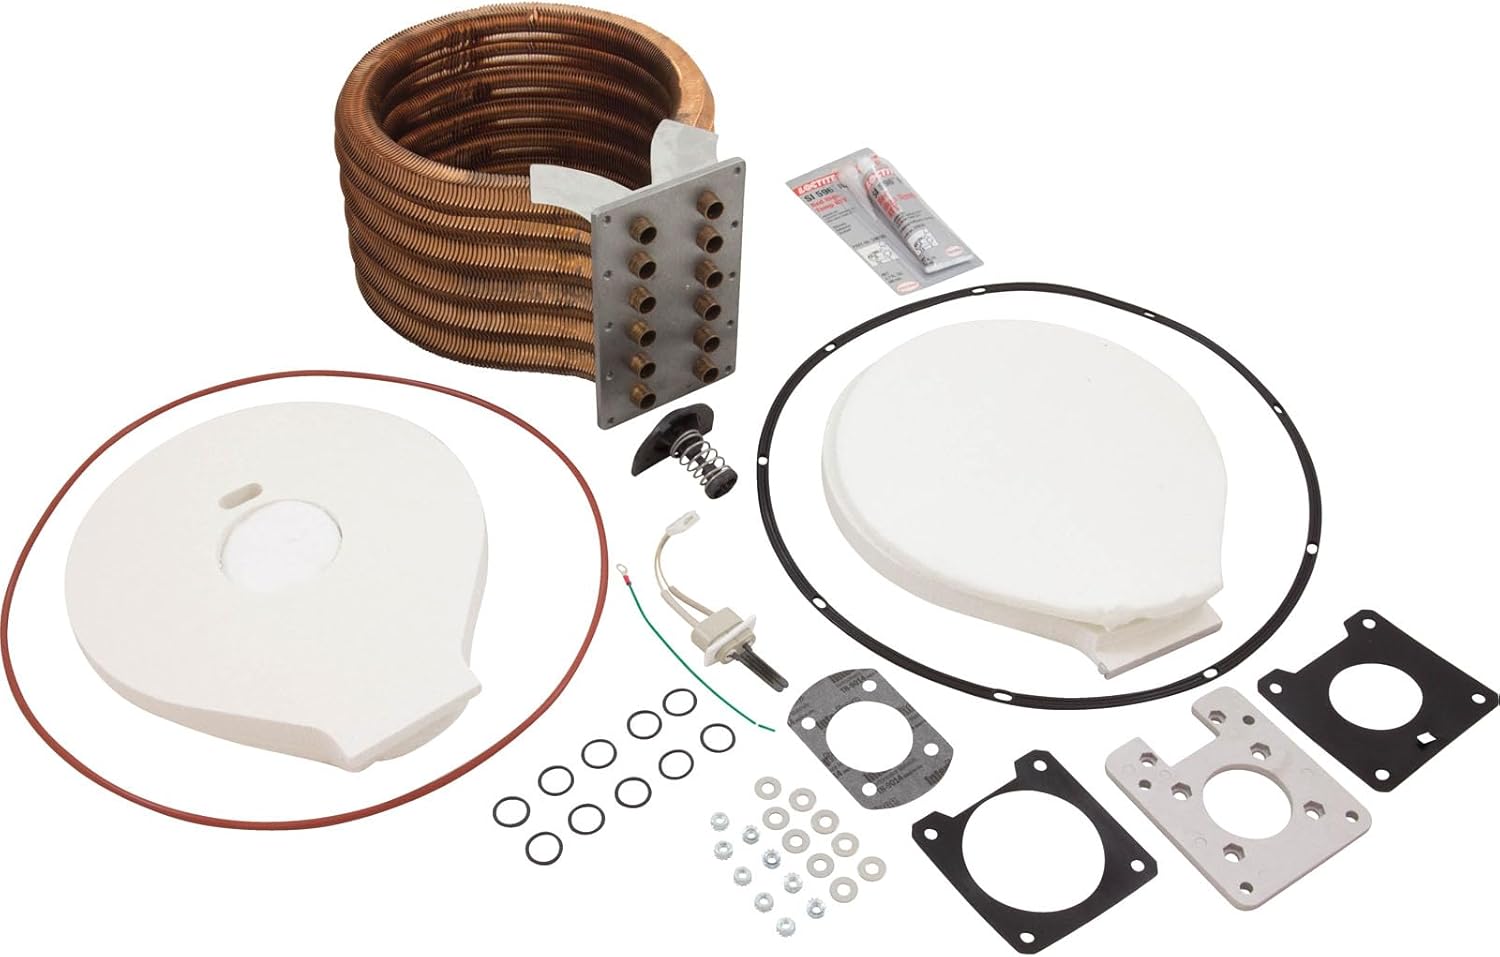
Figure 3.1: Overview of the Pentair 77707-0244 Copper-Nickel Tube Sheet Coil Assembly Replacement Kit, showing all included parts such as the coil, various gaskets, O-rings, igniter, pressure switch, and sealant.
4. Setup and Installation
This section outlines the general procedure for replacing the tube sheet coil assembly. Refer to your specific heater model's service manual for detailed diagrams and torque specifications.
4.1. Preparation
- Turn off all power to the pool heater at the circuit breaker.
- Shut off the gas supply to the heater.
- Shut off the water supply to the heater and drain the heater completely.
- Allow the heater to cool down to ambient temperature.
- Gather necessary tools, which may include wrenches, screwdrivers, pliers, and a sealant applicator.
4.2. Removal of Old Components
- Access the heater's combustion chamber and heat exchanger area. This may involve removing the heater's outer casing and specific panels.
- Carefully disconnect any wiring connected to the igniter, flame sensor, and pressure switch. Note their positions for reinstallation.
- Remove the fasteners securing the existing tube sheet coil assembly.
- Gently remove the old coil assembly, along with any old gaskets, O-rings, and insulation. Dispose of old components responsibly.
4.3. Installation of New Components
- Install the New Coil Assembly:
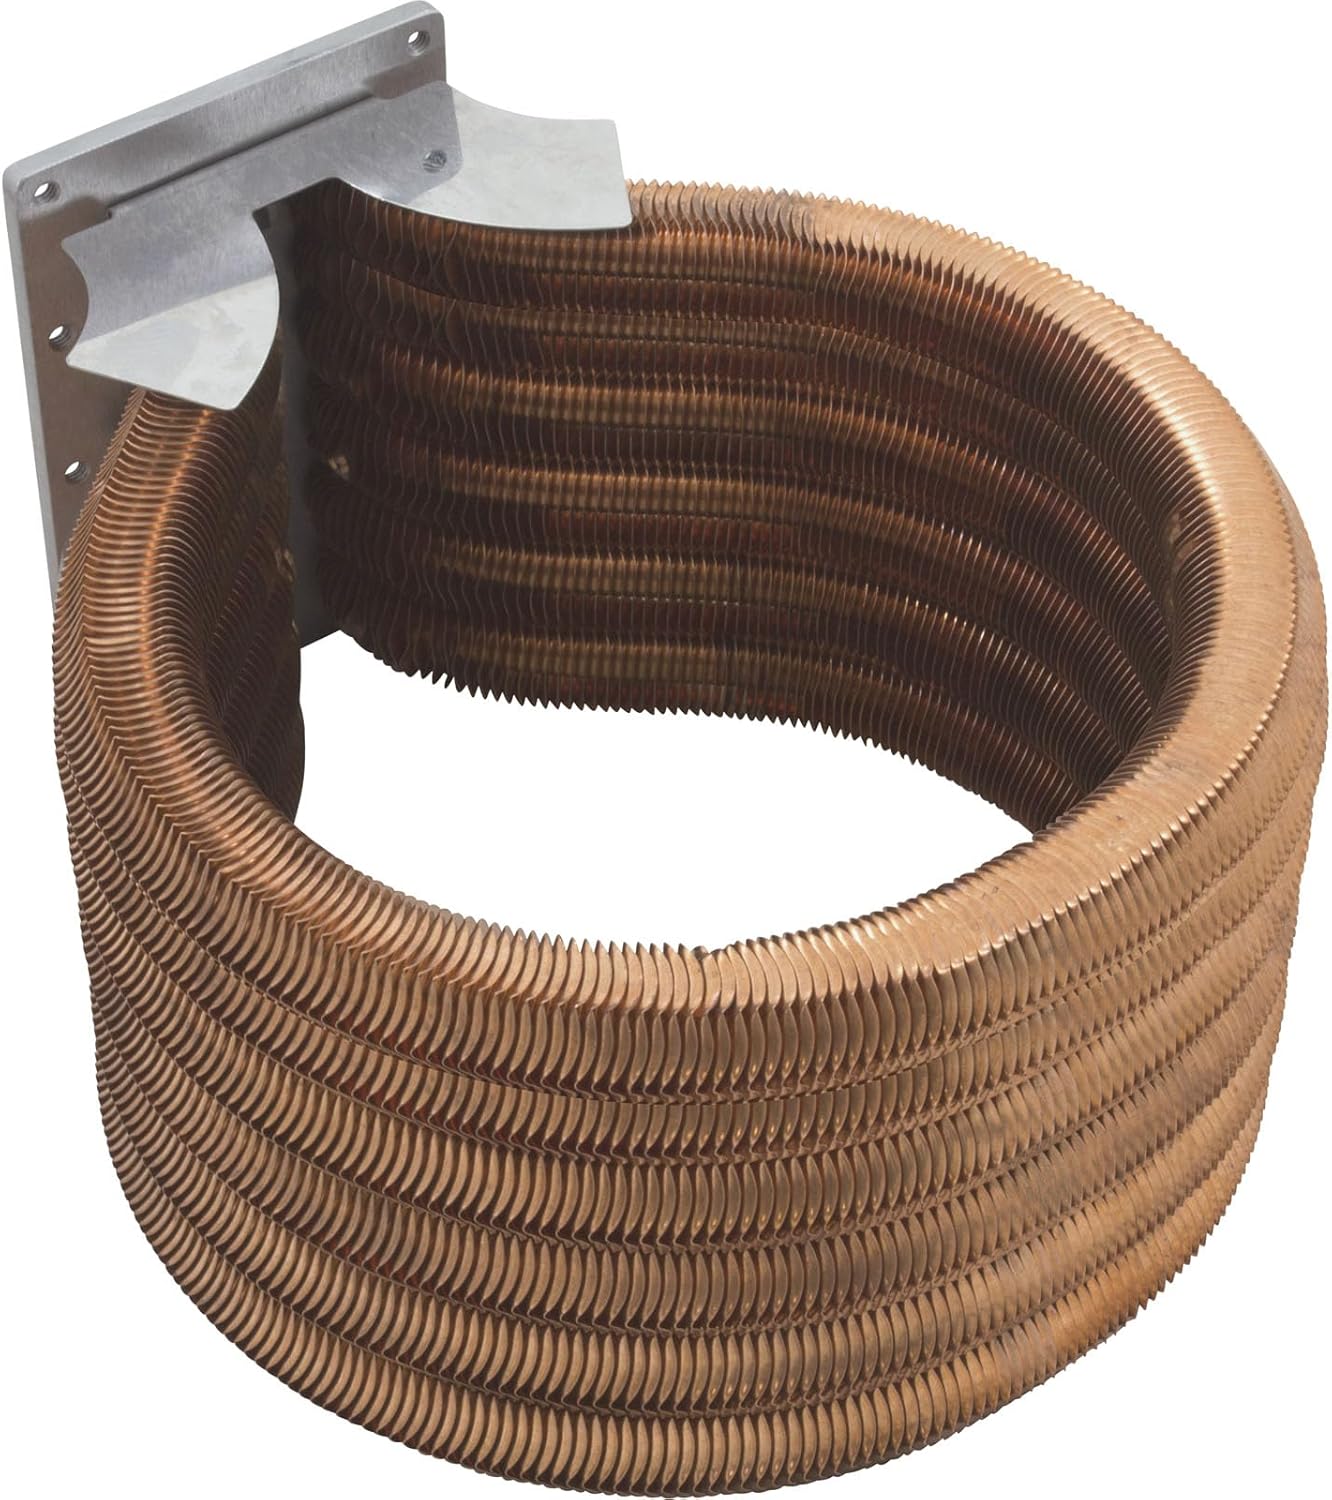
Figure 4.1: The new copper-nickel tube sheet coil assembly, ready for installation into the heater unit.
Position the new copper-nickel tube sheet coil assembly into the heater. Ensure it seats correctly within the combustion chamber.
- Apply Sealant and Install Gaskets/O-rings:

Figure 4.2: A selection of gaskets from the kit, used for sealing various connections.

Figure 4.3: Small O-rings included in the kit, essential for creating tight seals.

Figure 4.4: Loctite sealant and a large O-ring, used for critical sealing points in the heater assembly.
Apply the provided sealant (e.g., Loctite RTV) to the appropriate surfaces as indicated in your heater's service manual. Install all new gaskets and O-rings in their correct positions to ensure a watertight and airtight seal.
- Install Insulation/Baffles:

Figure 4.5: White insulation baffles, which help optimize heat transfer and efficiency within the heater.
Place the new insulation baffles around the coil assembly as per the heater's design. These are crucial for heat retention and efficiency.
- Install Igniter/Flame Sensor:

Figure 4.6: The igniter and flame sensor assembly, responsible for initiating and monitoring the combustion process.
Install the new igniter/flame sensor assembly. Ensure it is securely mounted and properly wired according to the heater's wiring diagram.
- Install Pressure Switch/Flow Switch:
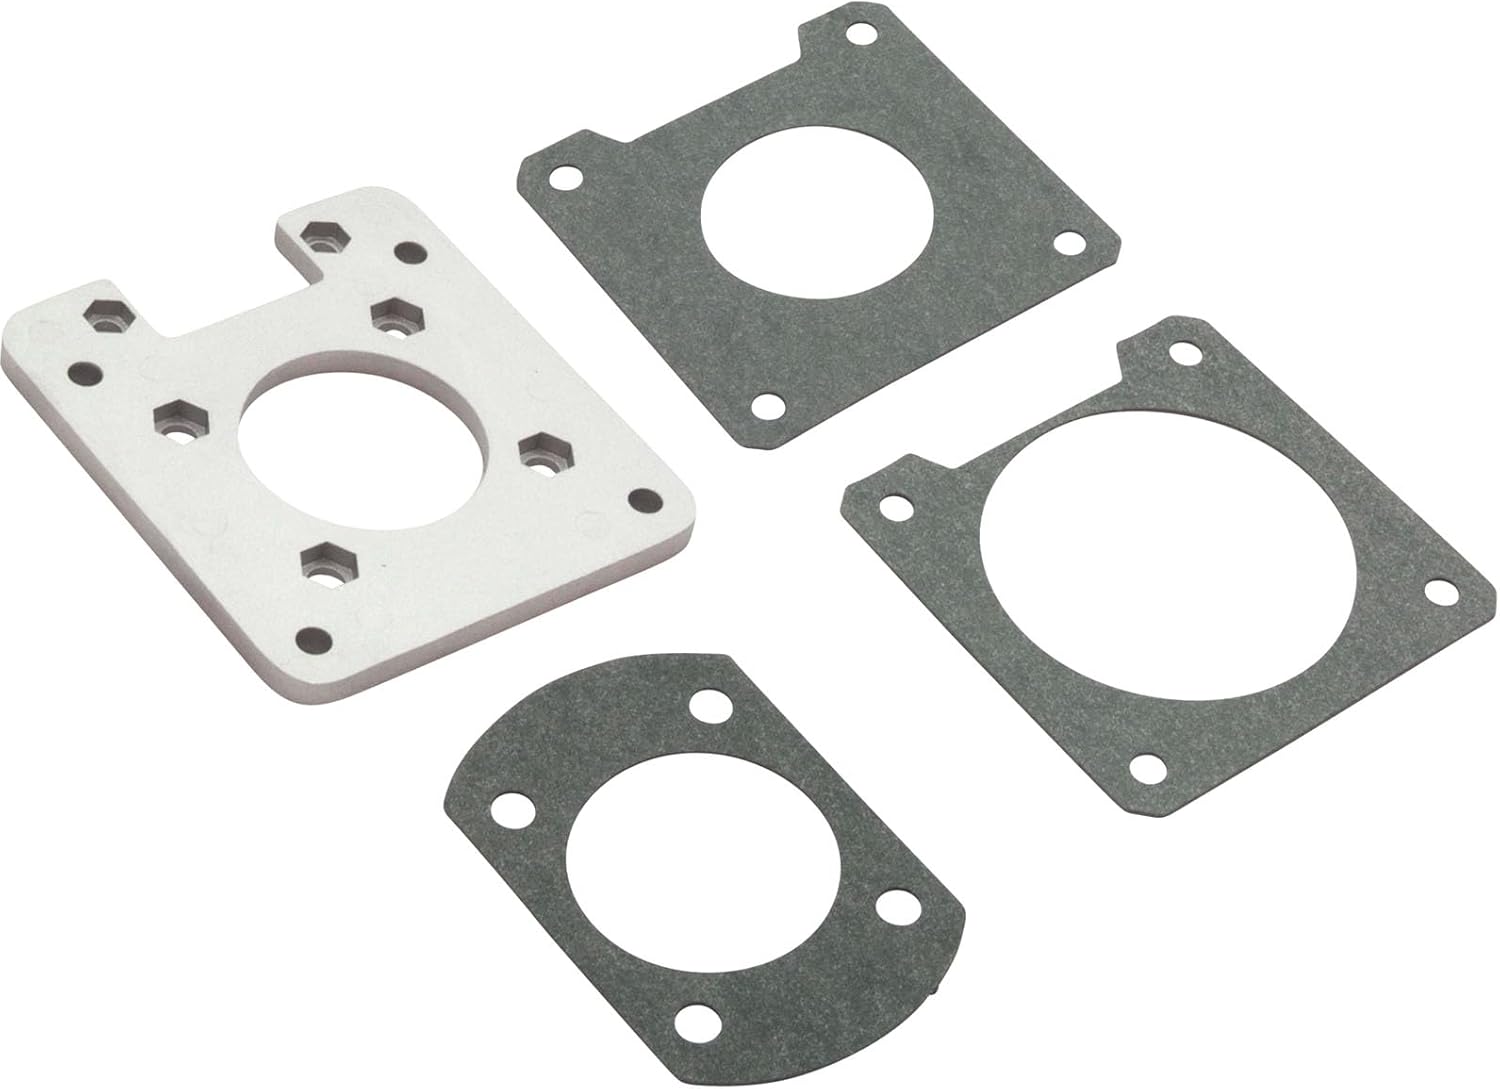
Figure 4.7: The pressure switch assembly, a safety device that ensures proper water flow before the heater operates.
Mount the new pressure switch/flow switch. Connect its wiring and ensure any associated tubing is securely attached.
- Secure Components: Reinstall all fasteners, ensuring they are tightened to the manufacturer's specified torque settings.
- Reassemble Heater: Reinstall any panels or casing removed during the process.
4.4. Post-Installation Checks
- Slowly open the water supply to the heater, checking for any leaks around the new coil assembly and connections.
- Once water flow is established and no leaks are present, slowly open the gas supply.
- Restore electrical power to the heater.
- Initiate a heating cycle and observe the heater's operation. Check for proper ignition, flame presence, and absence of unusual noises or smells.
- Monitor water temperature and ensure the heater reaches the set point.
5. Operating Considerations
While this kit is a replacement part, its proper function is integral to the heater's operation. After installation, ensure your pool or spa heater operates according to its original manufacturer's instructions. Pay attention to:
- Water Flow: Adequate water flow through the heater is essential to prevent overheating and damage to the coil.
- Temperature Settings: Set the desired water temperature within safe limits.
- Error Codes: Familiarize yourself with your heater's error codes, as they can indicate issues related to the heat exchanger or associated components.
6. Maintenance
Regular maintenance helps extend the life of your heater and its components, including the new coil assembly.
- Annual Inspection: Have a qualified technician inspect your heater annually, especially before the heating season. They can check the coil for scale buildup, corrosion, or other signs of wear.
- Water Chemistry: Maintain proper pool/spa water chemistry. Imbalanced water can lead to scale formation on the coil (calcium buildup) or corrosion, reducing efficiency and lifespan.
- Cleanliness: Keep the area around the heater clean and free of debris to ensure proper airflow.
- Winterization: If applicable, properly winterize your heater according to the manufacturer's instructions to prevent freeze damage to the coil.
7. Troubleshooting
This section addresses common issues that may arise after replacing the coil assembly. For complex problems, consult a professional.
| Problem | Possible Cause | Solution |
|---|---|---|
| Heater not igniting or cycling off quickly. | Faulty igniter/flame sensor, low gas pressure, or insufficient water flow. | Check igniter wiring and ensure it's clean. Verify gas supply. Confirm adequate water flow and pressure switch operation. |
| Water leaks from heater. | Improperly seated gaskets/O-rings, loose connections, or damaged coil (unlikely if new). | Inspect all seals and connections. Ensure fasteners are tightened correctly. If leaks persist, re-evaluate installation steps. |
| Heater producing less heat or running inefficiently. | Scale buildup on coil (due to water chemistry), poor airflow, or other heater component issues. | Check and balance pool/spa water chemistry. Ensure heater vents are clear. Consult heater's main manual for other efficiency issues. |
| Error codes related to heat exchanger or flow. | Specific heater fault, often related to water flow, temperature sensors, or combustion. | Refer to your heater's specific error code manual for diagnosis and resolution. Verify pressure switch and temperature sensor connections. |
8. Specifications
- Model Number: 77707-0244
- Material: Copper-Nickel
- Compatibility:
- Pentair MasterTemp pool and spa heater models 400HDNA, 400HD-LP
- Pentair Sta-Rite HD Series Max-E-Therm pool and spa heater model 400
- Product Dimensions: 1 x 1 x 1 inches (Packaging dimensions, actual coil dimensions vary)
- Item Weight: 38 pounds
- Manufacturer: Pentair
9. Warranty and Support
For warranty information regarding the Pentair 77707-0244 Copper-Nickel Tube Sheet Coil Assembly Replacement Kit, please refer to the official Pentair warranty documentation provided with your original heater or available on the Pentair website. Keep your proof of purchase for warranty claims.
For technical support, replacement parts, or professional service, please contact Pentair Customer Service or an authorized Pentair dealer. You can find contact information on the official Pentair website: www.pentair.com