
Introduction
This manual provides detailed instructions for assembling your CubicFun T4008h Santa Maria 3D Puzzle. Please read all instructions carefully before beginning assembly to ensure a smooth and enjoyable building experience.
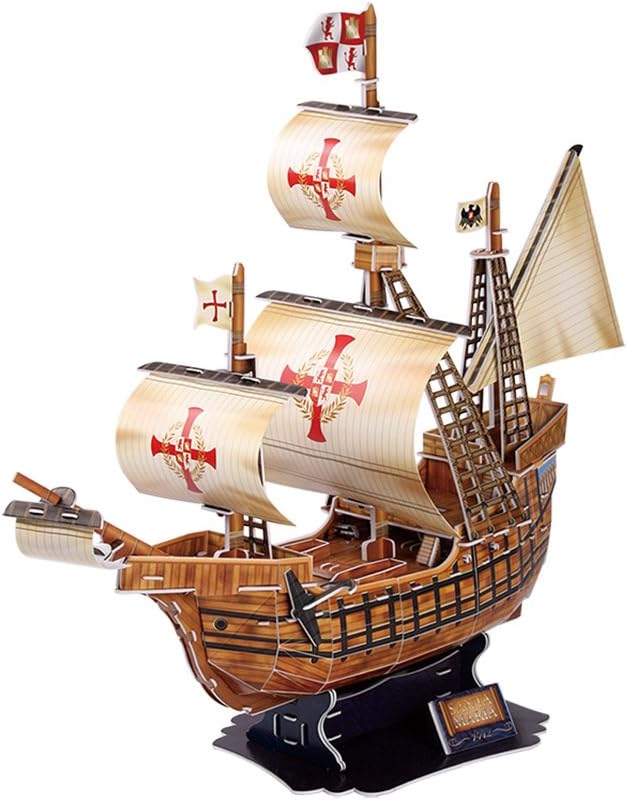
Image: Packaging for the CubicFun T4008h Santa Maria 3D Puzzle, showing the completed model and key features.
Safety Information
Choking Hazard
This product contains small parts and is not suitable for children under 3 years of age due to a choking hazard. Adult supervision is recommended during assembly, especially for younger children.
Assembly Instructions
Preparation
- Unpack all components and verify that all 113 pieces are present. Refer to the included diagram for a complete list of pieces.
- Familiarize yourself with the different types of pieces and their corresponding numbers.
- The puzzle is made of paper and EPS foam board. No tools or glue are required for assembly.
Step-by-Step Assembly
Follow the numbered steps provided in the included diagram and on the puzzle sheets. The estimated assembly time is 150-180 minutes.
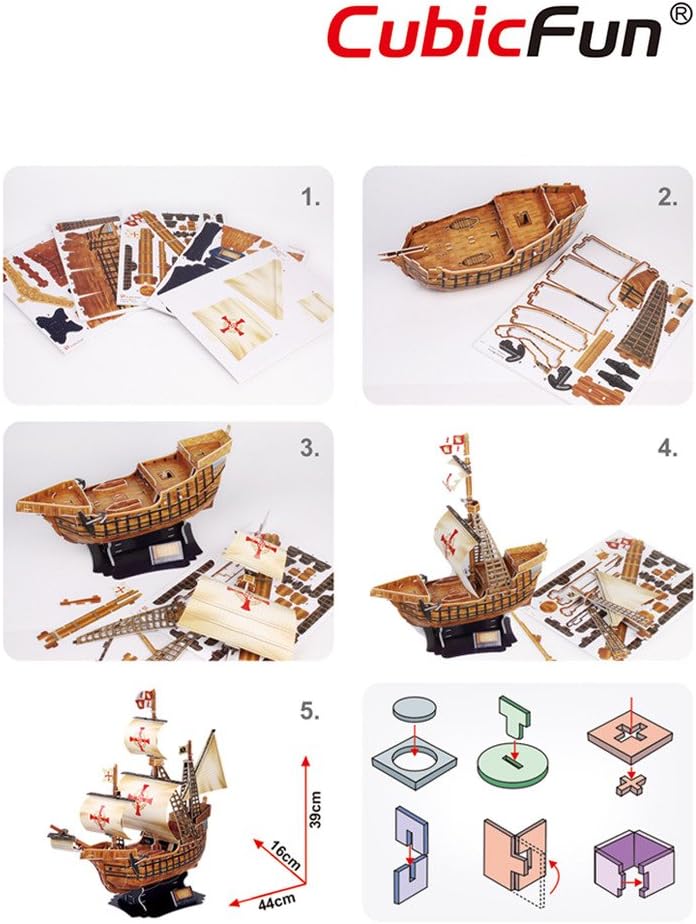
Image: This diagram illustrates the general assembly process. Panel 1 shows the unassembled sheets. Panel 2 shows the initial hull assembly. Panel 3 shows further hull and deck construction. Panel 4 shows the addition of masts and sails. Panel 5 shows the completed model with dimensions. The bottom right panel displays various piece connection types.
- Step 1: Identify and Detach Pieces
Carefully detach the puzzle pieces from the foam boards. Use caution to avoid tearing or damaging the pieces. It is recommended to detach pieces only as they are needed for each step.
- Step 2: Assemble the Hull Structure
Begin by connecting the main hull sections according to the numerical sequence indicated on the pieces and the instruction diagram. Ensure all tabs and slots align correctly for a secure fit.
- Step 3: Construct Decks and Interior Details
Proceed with assembling the various deck levels and any interior components. Refer to the diagrams for precise placement and connection of each part.
- Step 4: Attach Masts and Sails
Once the main hull and deck structures are complete, attach the masts and sails. Pay attention to the orientation and connection points for each sail and mast section to ensure they are correctly positioned.
- Step 5: Final Assembly and Display Base
Complete any remaining details and attach the finished model to its display base. Ensure the model is stable and securely mounted on the base.
Displaying the Model
Once assembled, your Santa Maria 3D puzzle can be displayed as an art piece, decoration, or collection item. Place it on a stable, flat surface away from direct sunlight and excessive moisture to preserve its condition.
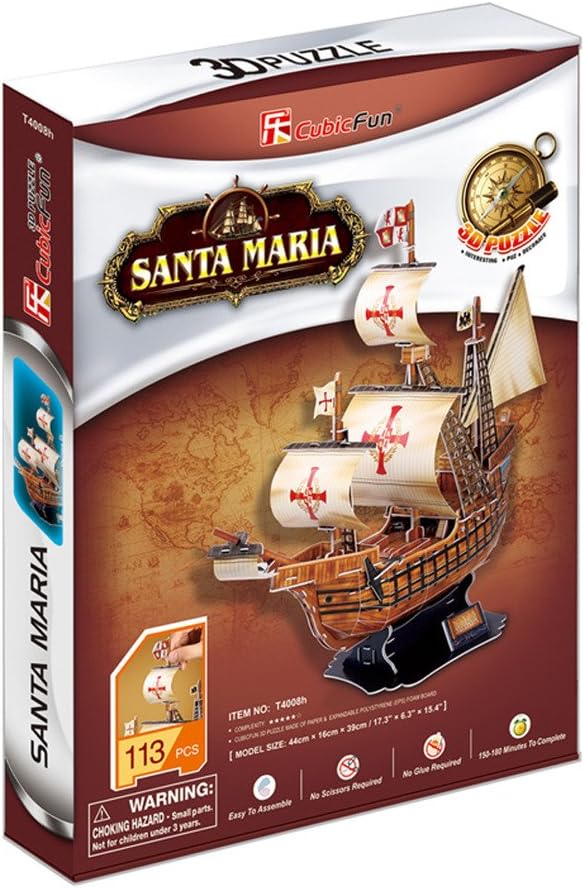
Image: An angled view of the fully assembled CubicFun Santa Maria 3D puzzle, showcasing its intricate details and sails.
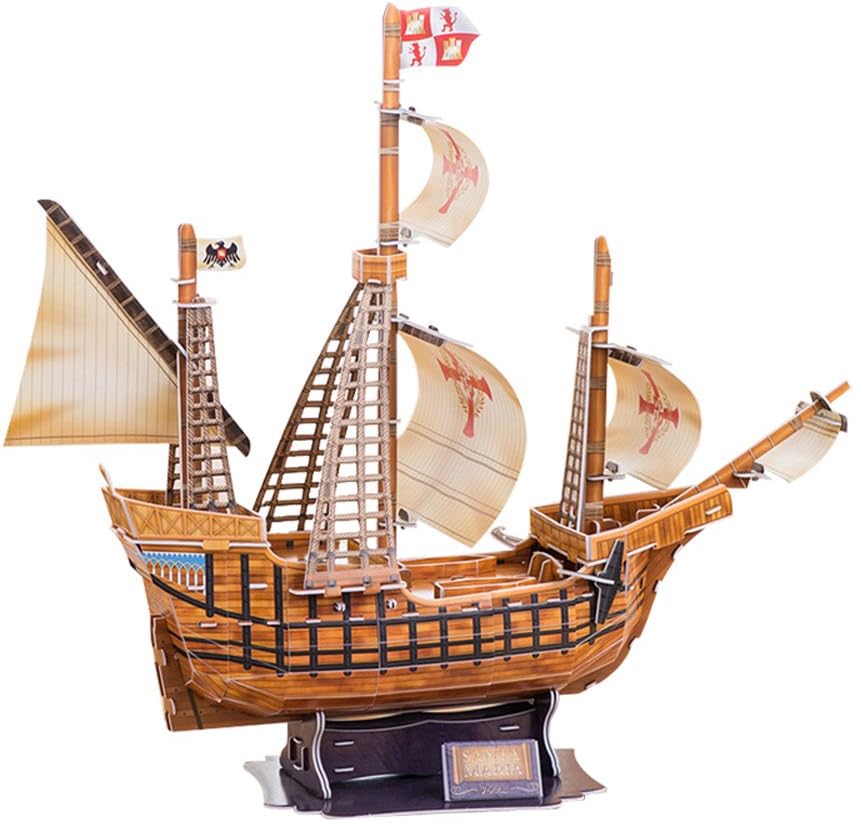
Image: A side view of the completed Santa Maria 3D puzzle, highlighting the ship's structure and mast arrangement.
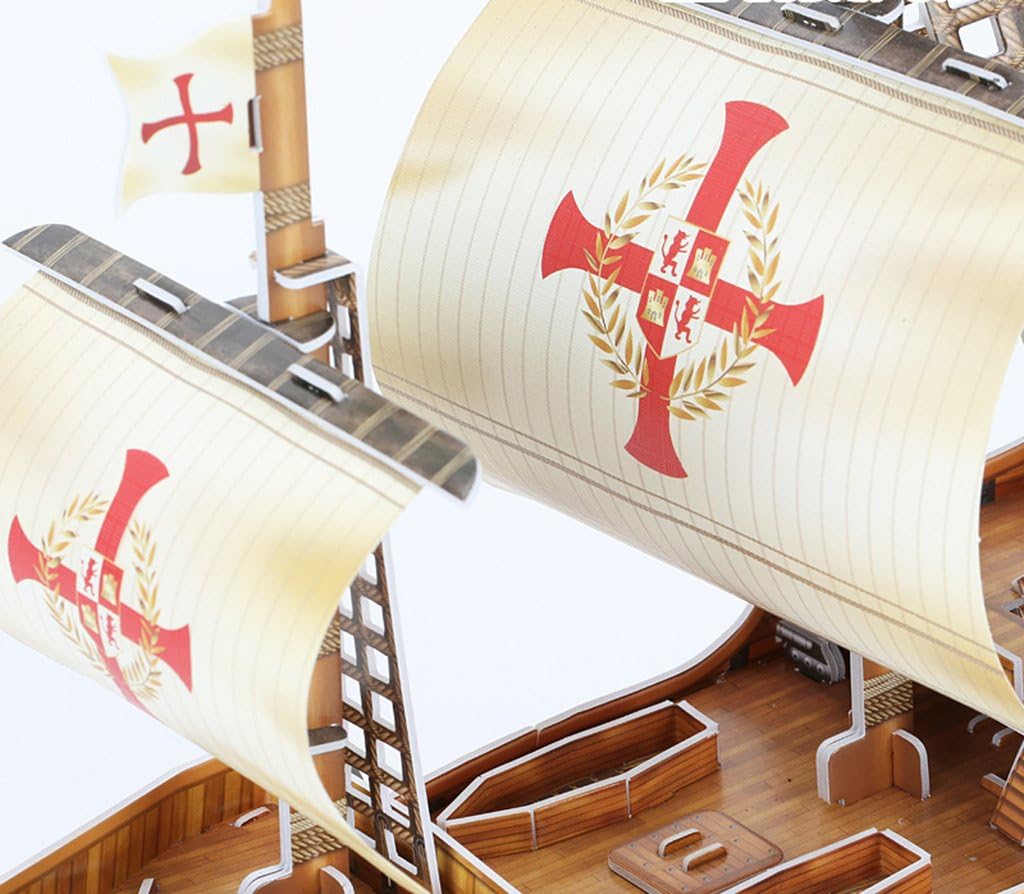
Image: A close-up image of the detailed sails on the Santa Maria 3D puzzle, showing the printed emblems and texture.
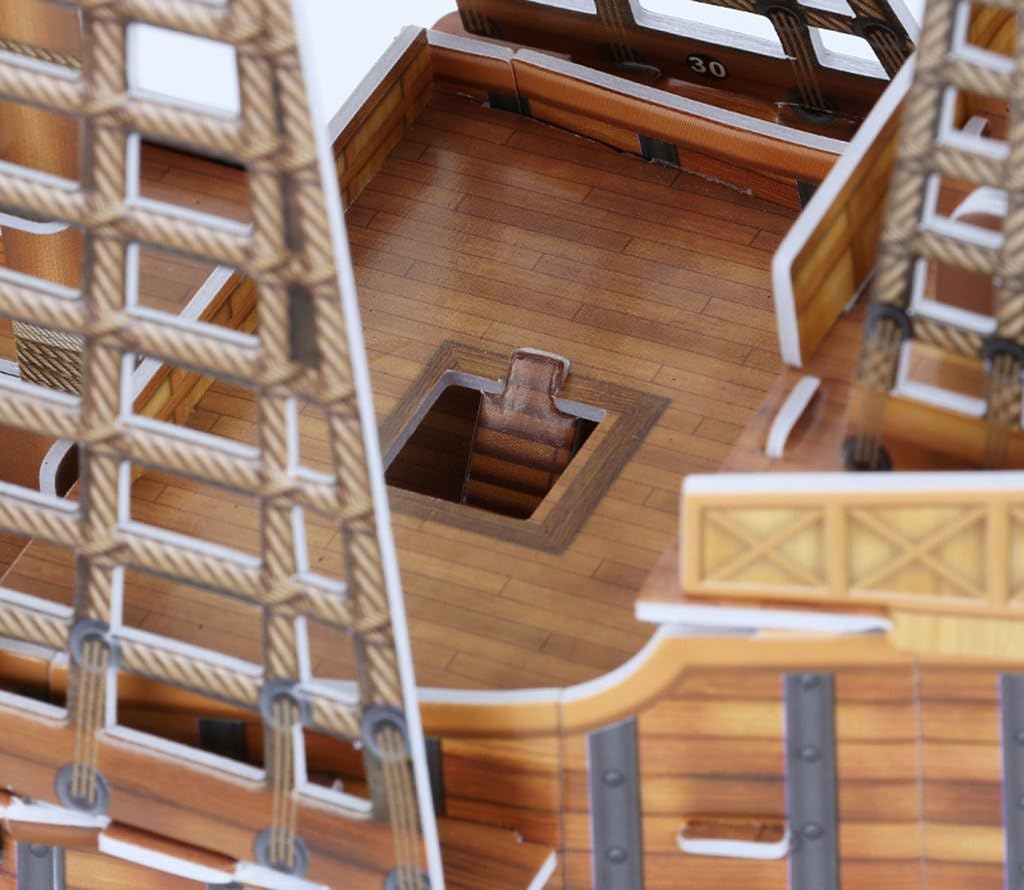
Image: A detailed view of the ship's deck interior, illustrating the wooden planking texture and structural elements of the puzzle.
Maintenance
To maintain the appearance of your 3D puzzle, gently dust it with a soft, dry cloth. Avoid using liquid cleaners or abrasive materials, as these can damage the paper and foam board. Store the model in a cool, dry environment away from direct sunlight to prevent warping or discoloration.
Troubleshooting
Difficulty Connecting Pieces
If pieces are difficult to connect, ensure they are correctly oriented and that the tabs align precisely with the slots. Do not force pieces, as this may cause damage. Gently wiggle and apply even pressure to achieve a secure fit.
Missing Pieces
Before contacting support, carefully re-check all packaging materials and the surrounding area for any small, detached pieces. If a piece is genuinely missing, refer to the support section for assistance.
Damaged Pieces
If a piece is damaged during assembly, assess if it can be carefully repaired with a small amount of craft glue. For significant damage that prevents completion, contact customer support.
Specifications
| Feature | Detail |
|---|---|
| Model Number | T4008h |
| Built-up Model Size | 17.3" L x 6.3" W x 15.4" H (44 x 16 x 39 cm) |
| Number of Pieces | 113 |
| Material | Paper and EPS Foam Board |
| Recommended Age | 6 years and up |
| Assembly Time | Approximately 150-180 minutes |
| Item Weight | 1.16 ounces |
| Product Dimensions (Box) | 6.3 x 17.32 x 15.35 inches |
| Manufacturer | CubicFun |
Warranty and Support
For any inquiries regarding missing parts, assembly issues, or product information, please contact CubicFun customer support. Refer to the product packaging or the official CubicFun website for contact details. Please retain your proof of purchase for any warranty claims or support requests.