Introduction
The Singer Talent 3321 Sewing Machine is designed to provide a reliable and user-friendly experience for various sewing tasks, from basic repairs to creative projects. This manual will guide you through the essential steps to set up, operate, and maintain your machine, ensuring optimal performance and longevity. With its 21 sewing programs, including utility and decorative stitches, and features like a 4-stage buttonhole and practical free arm, the Talent 3321 is an excellent choice for beginners and experienced sewers alike.

Figure 1: Front view of the Singer Talent 3321 Sewing Machine, showcasing its compact design and control dials.
1. Setup
1.1 Unpacking and Placement
Carefully remove the sewing machine from its packaging. Retain all packaging materials for future storage or transport. Place the machine on a stable, flat surface with adequate lighting. Ensure there is enough space around the machine for comfortable operation.
1.2 Power Connection
Connect the power cord to the machine's power input socket and then plug it into a suitable electrical outlet. Connect the foot pedal cord to its designated socket on the machine. The on/off switch is located on the side of the machine.

Figure 2: Side view illustrating the power cord connection point and the main power switch.
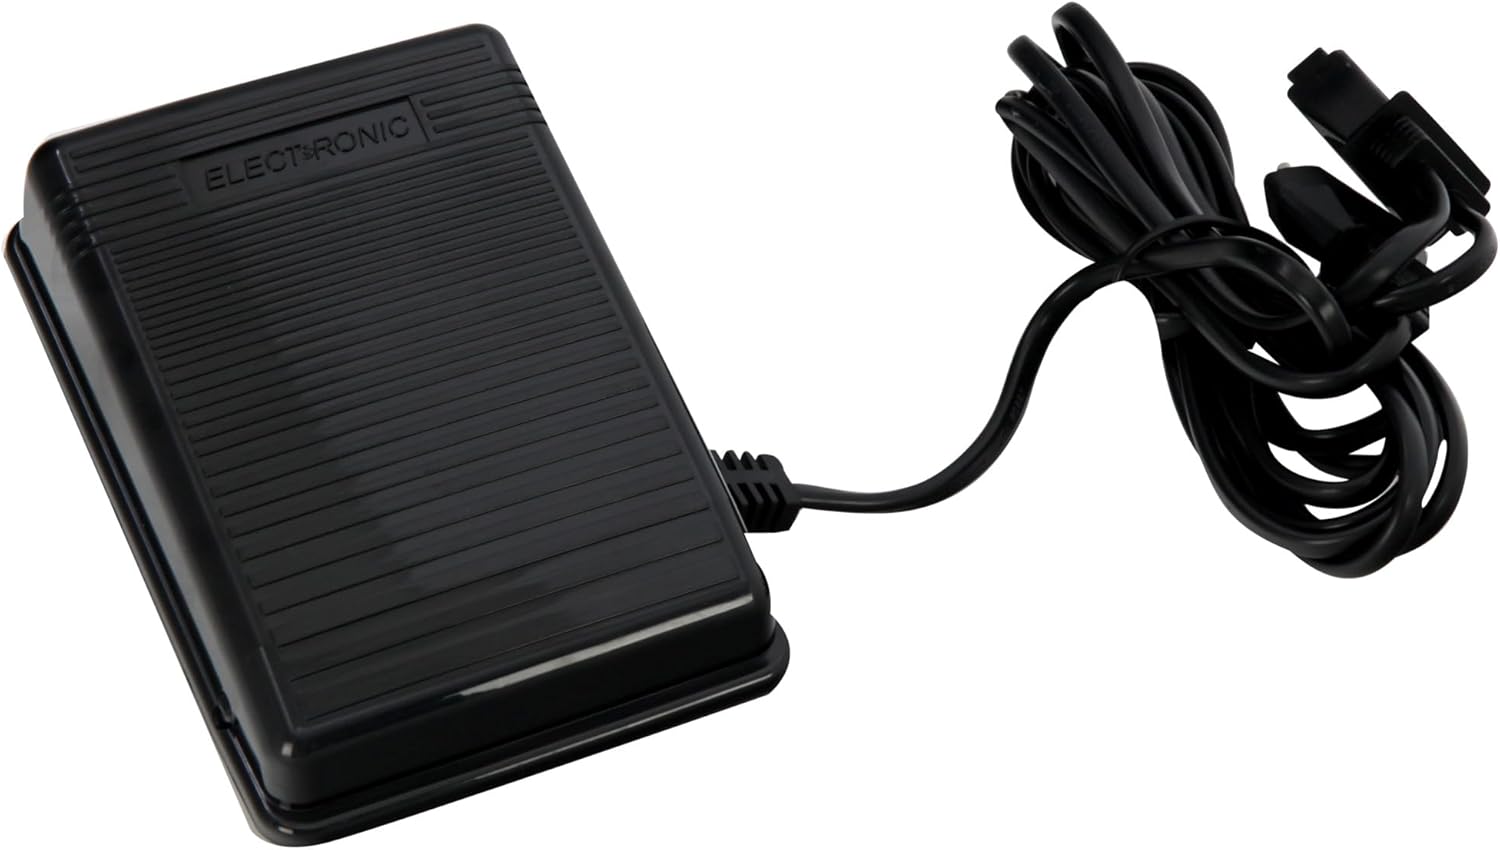
Figure 3: The electronic foot pedal, essential for controlling sewing speed.
1.3 Threading the Machine
Proper threading is crucial for smooth operation and consistent stitches. Follow the numbered guides on the machine for upper thread path. For the bobbin, ensure it is wound correctly and inserted into the bobbin case as per the machine's instructions, typically located under the needle plate.

Figure 4: Detailed view of the needle and presser foot area, important for correct threading.

Figure 5: The bobbin compartment, accessible by opening the free arm, for bobbin insertion.
2. Operating Instructions
2.1 Stitch Selection
The Singer Talent 3321 offers 21 built-in stitch programs. To select a stitch, turn the stitch pattern dial to align the desired stitch symbol with the indicator mark. Refer to the stitch chart on the machine for available patterns, including utility, decorative, and stretch stitches.

Figure 6: The stitch length and pattern selection dials for choosing your desired stitch.
2.2 Adjusting Stitch Length and Width
Adjust the stitch length using the upper dial, typically marked with numbers 0-4. The stitch width, particularly for zigzag stitches, can be adjusted using the dedicated slider or dial, allowing for customization up to 6 mm width.

Figure 7: Tension and stitch width adjustment sliders for fine-tuning your stitches.
2.3 Buttonhole Function
The machine features a 4-stage buttonhole function. Follow the specific instructions in the full manual for attaching the buttonhole foot and completing each stage to create perfectly sized buttonholes.
2.4 Free Arm Sewing
To sew cylindrical items like sleeves, cuffs, or pant hems, slide off the accessory storage compartment to reveal the free arm. This allows fabric to be easily maneuvered around the narrow arm.

Figure 8: The Singer Talent 3321 in operation, demonstrating its use with fabric.
3. Maintenance
Regular maintenance ensures the longevity and smooth operation of your sewing machine. Always unplug the machine from the power outlet before performing any maintenance.
3.1 Cleaning
Use a small brush to remove lint and dust from the bobbin area, feed dogs, and needle plate. Periodically remove the needle plate to clean underneath it. A soft cloth can be used to wipe down the exterior of the machine.
3.2 Lubrication
Consult the full instruction manual for specific lubrication points and recommended oil types. Over-oiling can attract lint, so follow guidelines carefully.
4. Troubleshooting
This section addresses common issues you might encounter with your Singer Talent 3321 Sewing Machine. For more complex problems, refer to the complete manual or contact customer support.
| Problem | Possible Cause | Solution |
|---|---|---|
| Skipped Stitches | Incorrect needle, bent needle, improper threading, wrong needle size for fabric. | Change needle, re-thread machine, use correct needle type/size. |
| Thread Breaking | Improper threading, tension too tight, poor quality thread, bent needle, burr on needle plate. | Re-thread machine, adjust tension, use good quality thread, replace needle, check for burrs. |
| Machine Not Starting | Power cord not connected, foot pedal not connected, main power switch off. | Check all connections, ensure power switch is on. |
| Uneven Stitches | Incorrect tension, improper bobbin winding, fabric not feeding smoothly. | Adjust tension, re-wind bobbin, ensure fabric is guided evenly. |
5. Specifications
| Feature | Detail |
|---|---|
| Brand | Singer |
| Model Number | 3321 (also referred to as 3221 in some documentation) |
| Colour | White |
| Product Dimensions | Approximately 42.42 x 34.29 x 23.37 cm (16.7 x 13.5 x 9.2 inches) |
| Item Weight | 6.8 Kilograms (14.99 lbs) |
| Material | Metal (internal frame) |
| Stitch Programs | 21 (including utility, decorative, and stretch stitches) |
| Buttonhole Type | 4-stage buttonhole |
| Free Arm | Yes |
| Power Source | Corded Electric |
| UPC | 037431883100, 374318831008 |
6. Warranty and Support
For information regarding your product's warranty, please refer to the warranty card included with your purchase or visit the official Singer website. For technical support, spare parts, or service inquiries, please contact Singer customer service through their official channels. Keep your purchase receipt as proof of purchase.


