1. Introduction
This manual provides essential information for the safe operation, maintenance, and repair of your Craftsman 900.277230 4-1/2-inch Angle Grinder. Please read this manual thoroughly before using the tool to ensure proper handling and to prevent injury or damage. Keep this manual accessible for future reference.
2. General Safety Information
Always follow basic safety precautions to reduce the risk of fire, electric shock, and personal injury. This includes, but is not limited to:
- Wear Eye Protection: Always wear safety goggles or safety glasses with side shields.
- Wear Hearing Protection: Use earplugs or earmuffs during operation.
- Wear Respiratory Protection: If grinding produces dust, wear a dust mask or respirator.
- Secure Workpiece: Always clamp or secure the workpiece to prevent movement during operation.
- Keep Work Area Clean: Cluttered areas invite accidents.
- Avoid Dangerous Environments: Do not use power tools in damp or wet locations, or expose them to rain.
- Use the Right Tool: Do not force a small tool or attachment to do the job of a heavy-duty tool.
- Disconnect Power: Always disconnect the tool from the power source before making adjustments, changing accessories, or performing maintenance.
- Inspect Tool: Before each use, check for damaged parts, misalignment, or any condition that may affect its operation.
3. Product Overview
The Craftsman 900.277230 is a 4-1/2-inch angle grinder designed for various tasks such as grinding, cutting, and polishing metal or masonry. It features a robust motor and a compact design for ease of use.
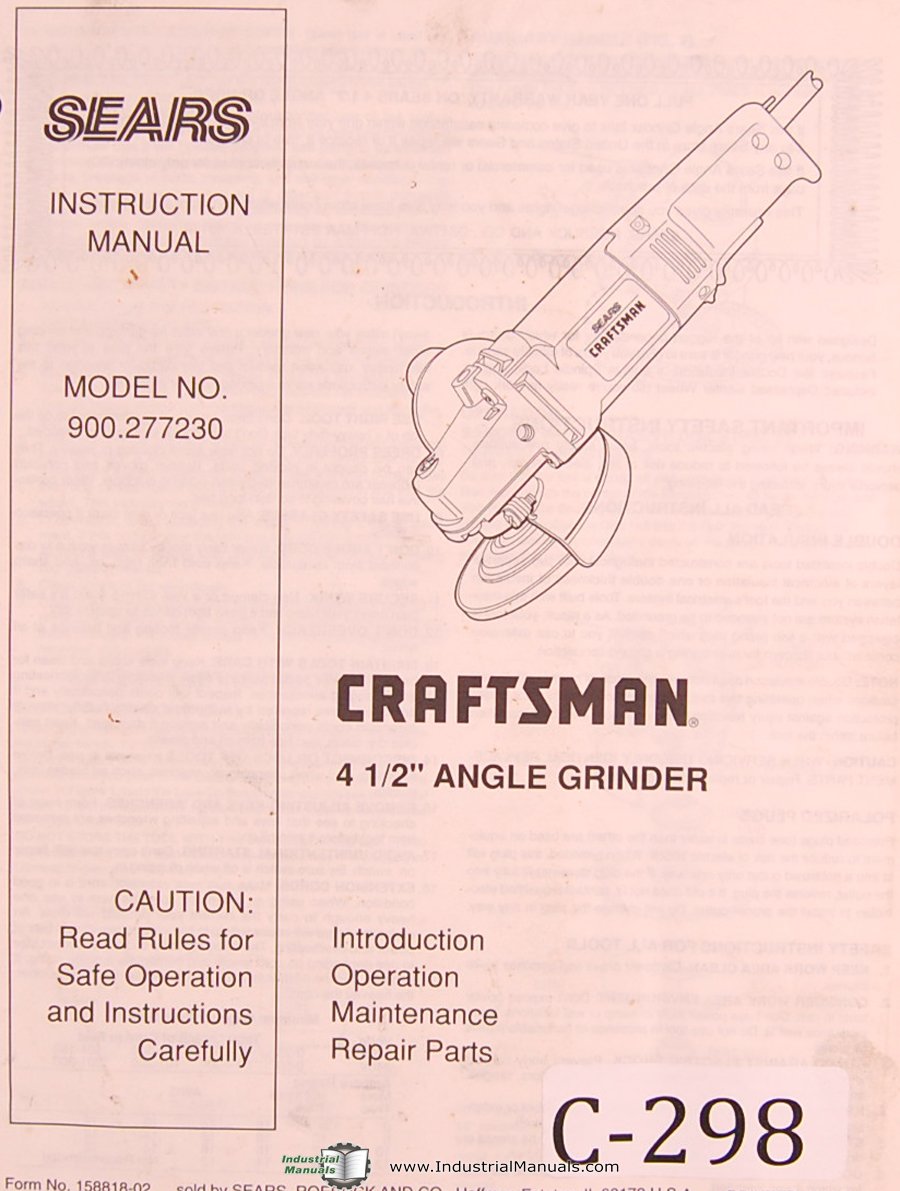
Figure 1: Craftsman 900.277230 4-1/2-inch Angle Grinder. This image shows the main body of the angle grinder, including the motor housing, handle, and the spindle where grinding wheels are attached. The protective guard is also visible.
Components:
- Spindle Lock Button: Used to lock the spindle for easy accessory changes.
- Auxiliary Handle: Provides additional grip and control. Can be mounted on either side.
- Wheel Guard: Protects the user from sparks and debris. Must always be in place.
- Power Switch: On/Off control for the motor.
- Grinding Wheel/Disc: (Sold separately) Various types available for different applications.
4. Setup
4.1 Attaching the Auxiliary Handle
Screw the auxiliary handle into one of the threaded holes on either side of the gear housing. Ensure it is tightened securely before operation.
4.2 Installing the Wheel Guard
Position the wheel guard over the gear housing so that the tabs align with the slots. Rotate the guard to the desired position for optimal protection and tighten the clamping screw firmly. Never operate the grinder without the wheel guard properly installed.
4.3 Mounting Grinding/Cutting Wheels
- Disconnect the grinder from the power source.
- Press and hold the spindle lock button.
- Using the spanner wrench provided, loosen and remove the outer flange nut.
- Place the desired grinding or cutting wheel onto the spindle, ensuring it sits flush against the inner flange.
- Replace the outer flange nut and tighten it securely with the spanner wrench while holding the spindle lock button. Do not overtighten.
- Ensure the wheel is properly seated and spins freely without wobbling before connecting to power.
5. Operating Instructions
5.1 Powering On/Off
To turn the grinder ON, slide the power switch to the "I" position. To turn it OFF, slide the switch to the "O" position. Some models may have a paddle switch that requires continuous pressure to operate.
5.2 Grinding Techniques
- Hold the grinder firmly with both hands.
- Allow the wheel to reach full speed before contacting the workpiece.
- Apply light, even pressure. Do not force the tool.
- Maintain a shallow angle (typically 15-30 degrees) between the grinding wheel and the workpiece for optimal material removal and control.
- Move the grinder smoothly across the surface to prevent gouging and ensure an even finish.
- Avoid grinding directly into corners or edges, as this can cause kickback.
5.3 Cutting Techniques
- Use only cutting discs designed for angle grinders.
- Hold the grinder firmly and ensure the workpiece is securely clamped.
- Make straight cuts. Do not attempt to bend or twist the cutting disc during operation.
- Allow the disc to cut through the material without excessive force.
- Be aware of sparks and debris, directing them away from yourself and others.
6. Maintenance
Regular maintenance ensures the longevity and safe operation of your angle grinder. Always disconnect the tool from the power source before performing any maintenance.
6.1 Cleaning
- Clean the tool's ventilation openings regularly to prevent overheating. Use compressed air if available.
- Wipe down the exterior with a damp cloth. Do not use harsh chemicals or solvents.
- Remove any dust or debris from the wheel guard and spindle area.
6.2 Carbon Brush Inspection/Replacement
The carbon brushes wear down over time. If the motor performance decreases or sparks become excessive, the brushes may need inspection or replacement. Refer to the repair parts section for brush part numbers. This procedure should ideally be performed by a qualified service technician.
6.3 Cord Inspection
Regularly inspect the power cord for any signs of damage, cuts, or fraying. A damaged cord must be replaced immediately by a qualified technician to prevent electric shock.
7. Troubleshooting
| Problem | Possible Cause | Solution |
|---|---|---|
| Grinder does not start. | No power supply. Faulty power switch. Worn carbon brushes. | Check power outlet and cord. Contact service for switch replacement. Inspect and replace carbon brushes. |
| Excessive sparking at motor. | Worn carbon brushes. Dirty commutator. | Inspect and replace carbon brushes. Have commutator cleaned by a technician. |
| Tool overheats. | Blocked ventilation slots. Overloading the tool. | Clean ventilation slots. Reduce pressure and allow the tool to cool. |
| Excessive vibration. | Damaged or unbalanced wheel. Loose flange nut. | Replace the grinding wheel. Tighten the flange nut securely. |
8. Specifications
| Feature | Detail |
|---|---|
| Model Number | 900.277230 |
| Disc Diameter | 4-1/2 inches (115 mm) |
| Power Source | Corded Electric |
| Brand | Craftsman |
| Pages in Manual | 9 |
Note: Specific electrical ratings (voltage, amperage, RPM) are typically found on the product's nameplate. Always refer to the tool itself for precise specifications.
9. Repair Parts
For a complete list of repair parts and their corresponding part numbers for your Craftsman 900.277230 angle grinder, please refer to the exploded diagram and parts list typically found at the end of the original printed manual or on the official Craftsman service website. When ordering parts, always provide the full model number (900.277230) to ensure compatibility.
Commonly replaced parts may include carbon brushes, spindle lock components, and power cords.
10. Warranty & Support
Craftsman products are backed by a limited warranty. For detailed warranty information, including terms, conditions, and duration, please refer to the warranty card included with your product or visit the official Craftsman website. Do not attempt to repair the tool yourself if it is under warranty, as this may void the warranty.
For technical support, service, or to locate an authorized service center, please contact Craftsman customer service through their official website or the contact information provided in your product packaging.


