
1. Introduction
The BIC Acoustech PL-66 Surround Speakers are designed to deliver clear, dynamic sound for both music and home theater systems. Featuring an angled cabinet design for wide dispersion, these speakers are equipped with a 6.5-inch mid/high frequency aluminum dome horn tweeter, a 6.5-inch woofer with a heavy-duty surround, and a 5x7-inch passive radiator for enhanced bass output. The elegant enclosures feature hand-rubbed black lacquer tops and bottoms, providing a durable and aesthetically pleasing finish.
2. Safety Instructions
- Read all instructions before operating the speakers.
- Retain these instructions for future reference.
- Heed all warnings on the product and in the operating instructions.
- Do not use this apparatus near water.
- Clean only with a dry cloth.
- Do not block any ventilation openings. Install in accordance with the manufacturer's instructions.
- Do not install near any heat sources such as radiators, heat registers, stoves, or other apparatus (including amplifiers) that produce heat.
- Protect the power cord from being walked on or pinched, particularly at plugs, convenience receptacles, and the point where they exit from the apparatus.
- Only use attachments/accessories specified by the manufacturer.
- Unplug this apparatus during lightning storms or when unused for long periods of time.
- Refer all servicing to qualified service personnel. Servicing is required when the apparatus has been damaged in any way, such as power-supply cord or plug is damaged, liquid has been spilled or objects have fallen into the apparatus, the apparatus has been exposed to rain or moisture, does not operate normally, or has been dropped.
3. Package Contents
Your BIC Acoustech PL-66 Surround Speakers package should include:
- 2 x BIC Acoustech PL-66 Surround Speakers
- Mounting brackets (pre-installed or included separately)
- Instruction Manual (this document)
4. Setup and Installation
4.1 Speaker Placement
The PL-66 speakers are designed for use as surround or bookshelf speakers. Their angled cabinet design helps to disperse sound widely, creating an immersive listening experience. For optimal surround sound, place the speakers to the sides or slightly behind the main listening area, at or slightly above ear level.

Image: Angled view of the PL-66 speaker, highlighting its design for wide sound dispersion.
Consider the room acoustics and the distance from walls. Avoid placing speakers directly into corners, which can overemphasize bass. Experiment with placement to find the best sound balance for your listening environment.
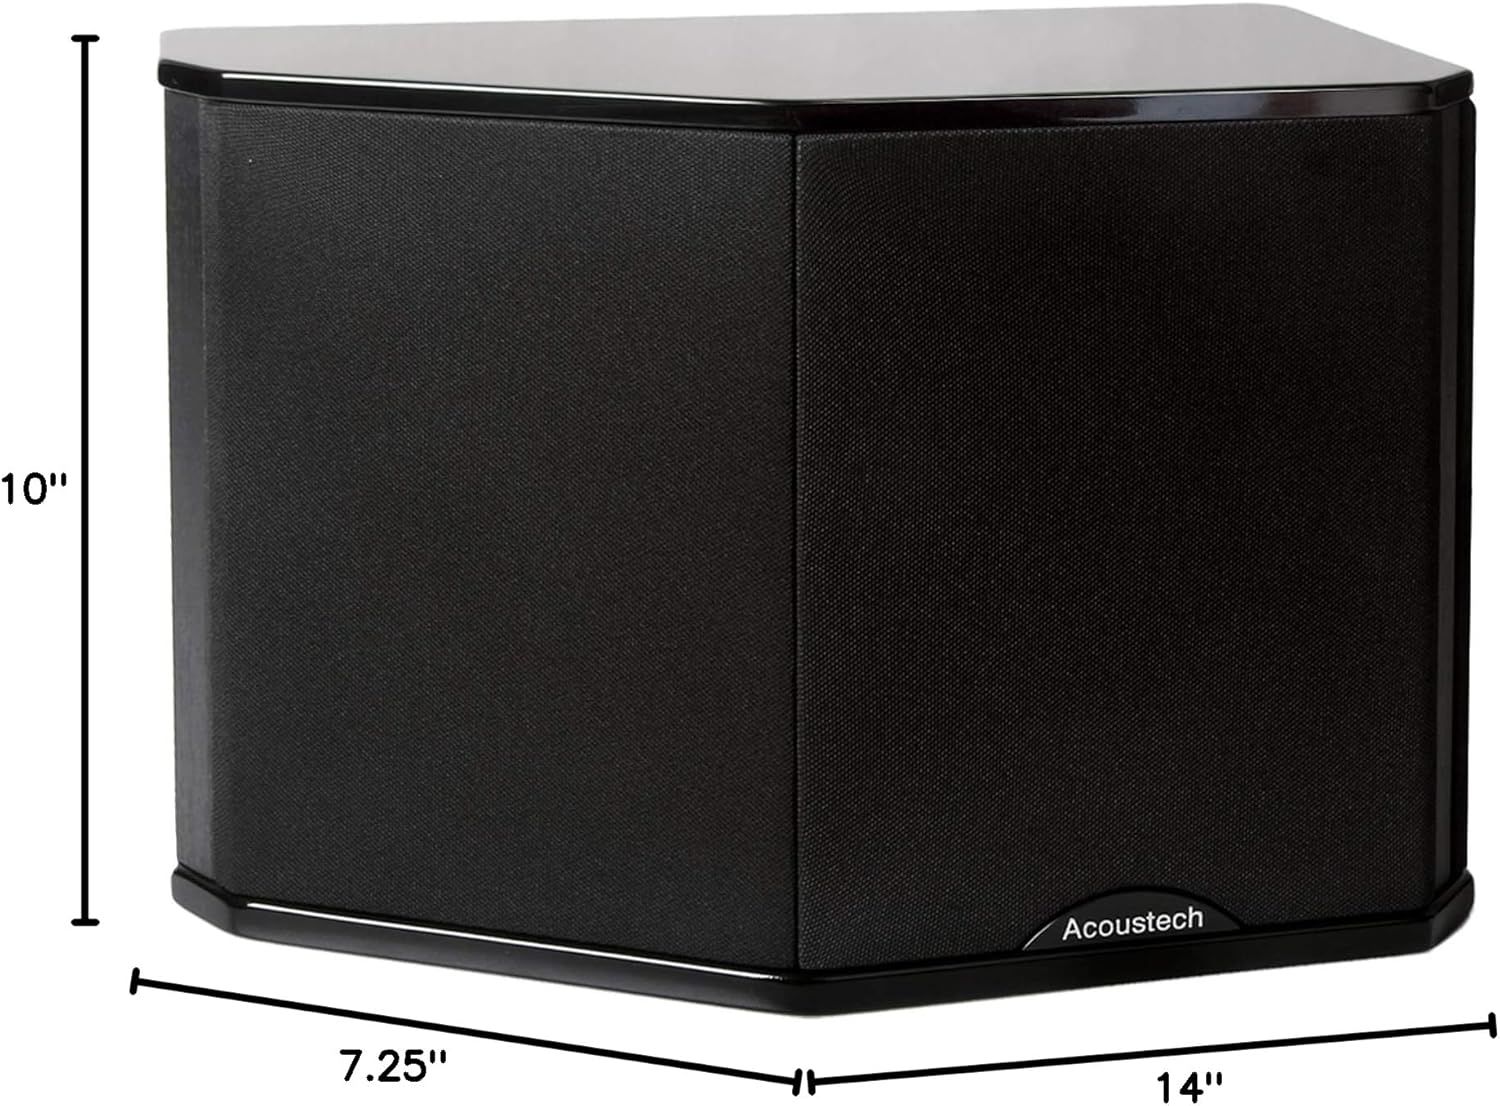
Image: Product dimensions for planning placement. The speaker measures 14 inches deep, 7.25 inches wide, and 10 inches high.
4.2 Connecting to an Amplifier/Receiver
Ensure your amplifier or receiver is turned off before making any connections.
- Prepare Speaker Wire: Strip approximately 1/2 inch (1.25 cm) of insulation from the ends of your speaker wires. Twist the bare strands tightly.
- Identify Polarity: Observe the polarity markings (+ and -) on both your speakers and your amplifier/receiver. It is crucial to connect positive (+) terminals on the amplifier to positive (+) terminals on the speakers, and negative (-) terminals on the amplifier to negative (-) terminals on the speakers. Incorrect polarity can result in poor sound quality and reduced bass response.
- Connect to Speakers: Unscrew the binding posts on the back of the PL-66 speaker. Insert the bare wire ends into the holes and tighten the binding posts securely.
- Connect to Amplifier/Receiver: Connect the other end of the speaker wires to the corresponding surround speaker output terminals on your amplifier/receiver, maintaining correct polarity.

Image: Close-up of the rear panel showing speaker terminals and model information. Ensure correct polarity when connecting speaker wires.
4.3 Mounting (Optional)
The PL-66 speakers are equipped with integrated mounting brackets for wall installation. Ensure that the wall can support the weight of the speakers (approximately 28 pounds each). Use appropriate wall anchors (not included) for secure mounting.
- Mark Mounting Points: Hold the speaker against the wall at the desired location and mark the positions for the mounting screws through the brackets.
- Install Anchors: Drill pilot holes and install appropriate wall anchors if mounting into drywall. If mounting into a stud, drill pilot holes only.
- Secure Speakers: Attach the speakers to the wall using screws that engage with the anchors or studs. Ensure they are firmly secured before releasing.

Image: Rear view of the speaker showing the integrated mounting brackets for wall installation.
5. Operation
Once the speakers are properly connected to your amplifier/receiver, you can begin enjoying your audio. Follow these general guidelines:
- Power On: Turn on your amplifier/receiver and select the appropriate input source.
- Volume Control: Start with the volume at a low level and gradually increase it to a comfortable listening level.
- Receiver Settings: If using a home theater receiver, access its setup menu to configure speaker sizes (typically 'small' for surround speakers), crossover frequencies (e.g., 80-120 Hz), and channel levels for optimal sound balance.
- Break-in Period: Like many speakers, the PL-66 may benefit from a break-in period of several hours of normal use to allow the drivers to loosen up and achieve their full sonic potential.
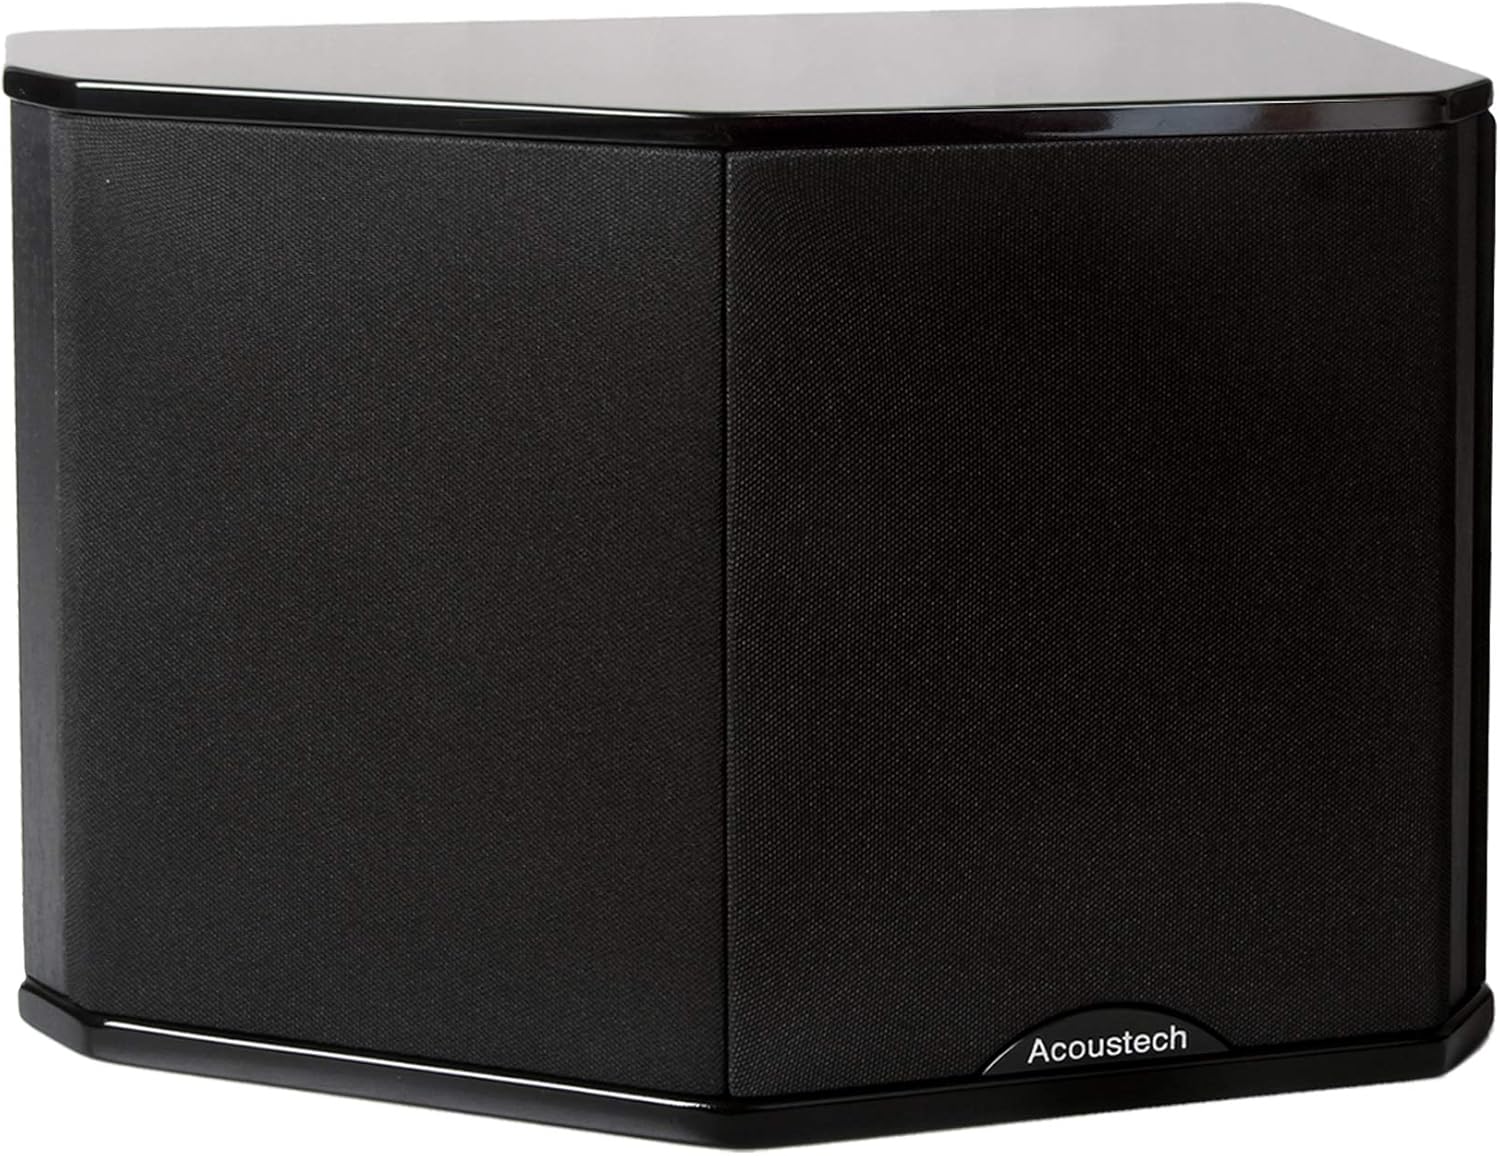
Image: Front view of the PL-66 speaker with the grille on. The grille protects the drivers and can be removed for a different aesthetic.
6. Maintenance
- Cleaning: Dust the speaker cabinets with a soft, dry cloth. For the black lacquer finish, a slightly damp cloth followed by a dry one can be used, but avoid harsh chemicals or abrasive cleaners.
- Grilles: The speaker grilles can be gently removed for cleaning. Use a soft brush or vacuum cleaner with a brush attachment to remove dust.
- Avoid Moisture: Do not expose the speakers to excessive moisture or direct sunlight, which can damage the finish and internal components.
- Driver Protection: Avoid touching the speaker drivers (woofer, tweeter, passive radiator) directly, as this can cause damage.

Image: Front view of the PL-66 speaker with the grille removed, showing the drivers. Handle with care during cleaning.
7. Troubleshooting
| Problem | Possible Cause | Solution |
|---|---|---|
| No sound from speakers | Incorrect wiring; Amplifier/receiver off or wrong input selected; Speaker wire disconnected or damaged. | Check all speaker wire connections for correct polarity and secure fit. Ensure amplifier/receiver is on and set to the correct input. Test with another audio source. |
| Distorted or unclear sound | Overdriven amplifier; Loose speaker connections; Damaged speaker driver. | Reduce volume. Check speaker wire connections. Inspect speaker drivers for visible damage. |
| Weak or no bass | Incorrect speaker polarity; Incorrect receiver settings (crossover, speaker size). | Verify correct speaker wire polarity (+ to + and - to -). Adjust receiver's speaker settings, ensuring surround speakers are set to 'small' and crossover is appropriate (e.g., 80-120 Hz). |
| Sound imbalance between speakers | Uneven speaker placement; Incorrect channel level settings on receiver. | Adjust speaker placement for symmetry. Use your receiver's channel level calibration feature to balance output. |
8. Specifications
| Model Name | PL 66 |
| Brand | BIC |
| Speaker Type | Bookshelf / Surround |
| Material | Aluminum, Plastic, Wood |
| Product Dimensions (D x W x H) | 14" x 7.25" x 10" |
| Item Weight | 28 pounds (each) |
| Impedance | 8 Ohms |
| Speaker Maximum Output Power | 175 Watts |
| Woofer Diameter | 6.5 Inches |
| Tweeter Diameter | 6.5 Inches (Horn) |
| Surround Sound Channel Configuration | 5.1 (as surround speakers) |
| Connectivity Technology | Wired |
| Mounting Type | Shelf Mount / Wall Mount |
9. Warranty Information
The BIC Acoustech PL-66 Surround Speakers come with a Limited Warranty. Please refer to the warranty card included with your purchase or contact BIC customer support for specific terms and conditions regarding coverage and duration.
10. Customer Support
For technical assistance, troubleshooting, or warranty inquiries, please contact BIC customer support. Refer to the contact information provided in your product packaging or visit the official BIC website for the most up-to-date support details.
