
Epson C31CB10021
Contents
Epson ReadyPrint T20 Direct Thermal Printer User Manual
Model: C31CB10021
1. Introduction
This manual provides comprehensive instructions for the setup, operation, maintenance, and troubleshooting of your Epson ReadyPrint T20 Direct Thermal Printer (Model C31CB10021). Please read this manual thoroughly before using the printer to ensure correct operation and to maximize its lifespan.
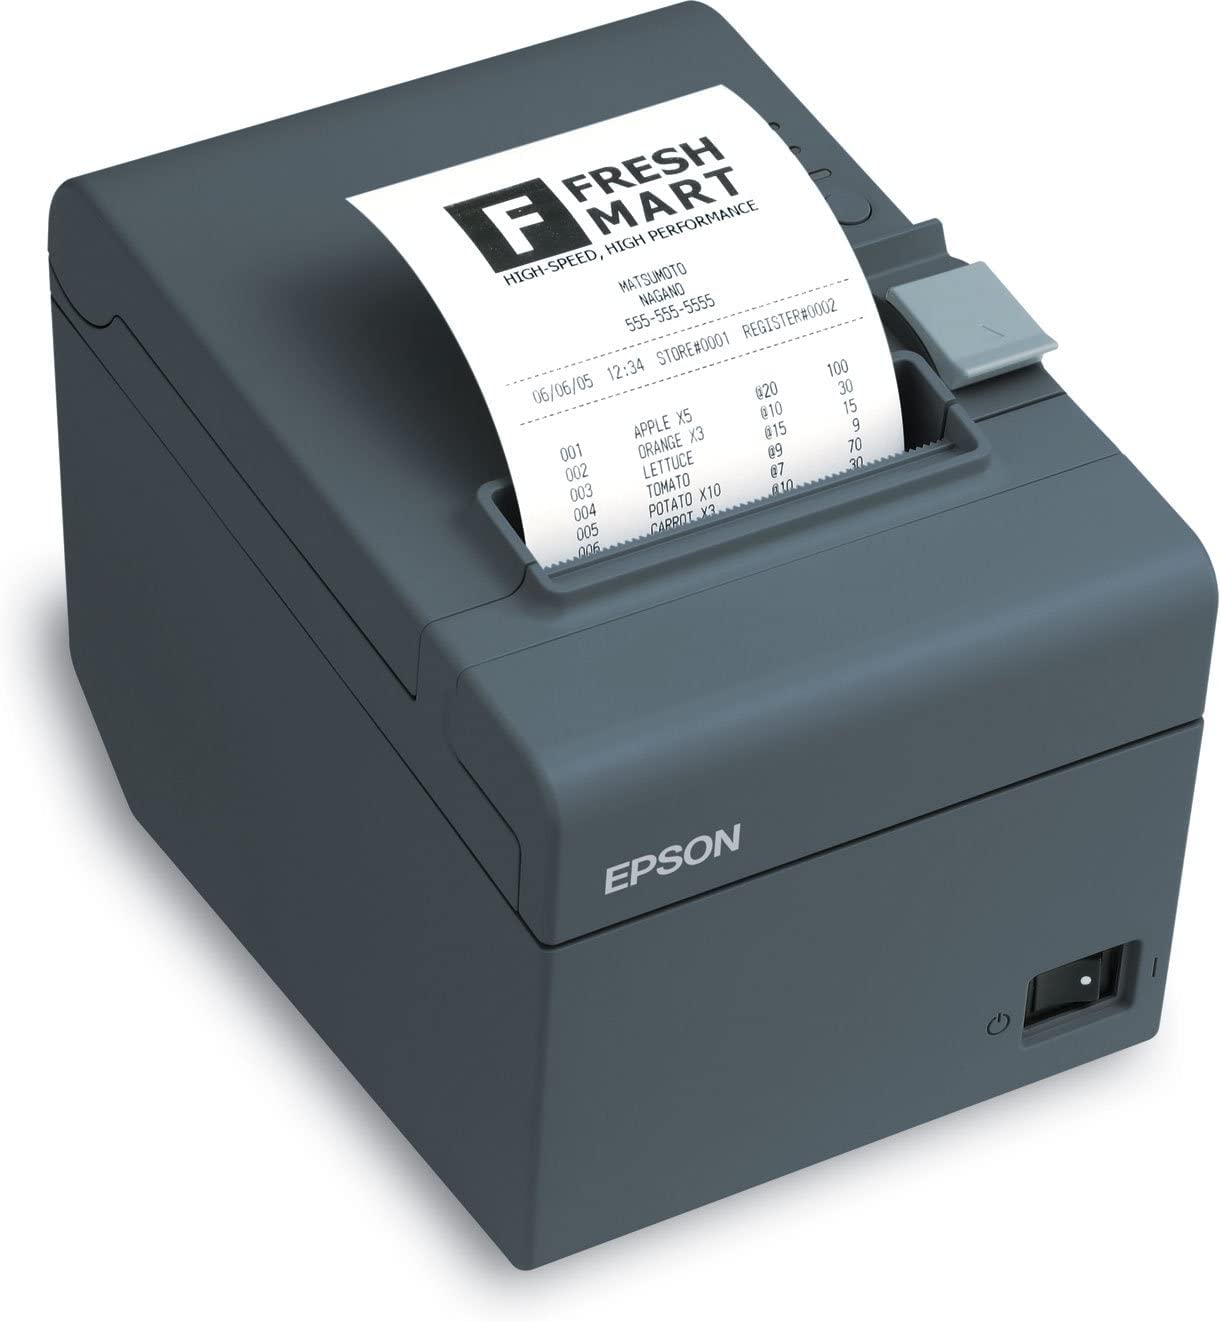
Image 1: Epson ReadyPrint T20 Direct Thermal Printer. This image displays the compact design of the thermal receipt printer, showing its paper output slot and general form factor.
2. Setup
2.1 Unpacking
Carefully remove the printer and all accessories from the packaging. Verify that all components are present:
- Epson ReadyPrint T20 Printer
- Power Adapter
- USB Cable
- Starter Paper Roll
- Instruction Manual (this document)
2.2 Connecting Power
- Connect the power adapter to the printer's power input port.
- Plug the power cord into a standard electrical outlet.
- Ensure the power indicator light on the printer illuminates.
2.3 Loading Paper
- Open the printer's paper cover by pressing the release latch.
- Insert a new thermal paper roll with the paper feeding from the bottom of the roll.
- Pull a small amount of paper past the cutter.
- Close the paper cover firmly until it clicks into place.
2.4 Connecting to a Computer (USB)
The Epson ReadyPrint T20 connects via USB. It is not compatible with Bluetooth or Ethernet.
- Connect one end of the provided USB cable to the USB port on the printer.
- Connect the other end of the USB cable to an available USB port on your computer.
2.5 Driver Installation
For optimal performance, install the latest printer drivers from the official Epson support website. The printer is compatible with various operating systems. Refer to the Epson website for specific driver downloads and installation instructions for your system.
3. Operating Instructions
3.1 Basic Printing
Once the printer is connected and drivers are installed, you can print receipts from your point-of-sale (POS) software or application. Ensure the Epson ReadyPrint T20 is selected as the default printer in your software settings.
3.2 Auto Cut Function
The printer features an automatic cutter that severs receipts after printing. This function is typically enabled by default. If you experience issues, check your printer settings within your operating system or POS software.
3.3 Cash Drawer Port
The printer includes a cash drawer port. Connect your compatible cash drawer to this port using the appropriate cable. The printer will send a signal to open the cash drawer upon completion of a transaction, as configured in your POS software.
3.4 Paper Width Settings
The printer supports different paper widths. Ensure your software settings match the paper width you are using to prevent printing errors or truncated receipts.
- Standard Mode: Paper width 80mm: 48/64 columns; Paper width 58mm: 35/46 columns
- 42 Column Mode: Paper width 80mm: 42/60 columns; Paper width 58mm: 42/31 columns
4. Maintenance
4.1 Cleaning the Printer
Regular cleaning helps maintain print quality and extends the printer's life.
- Exterior: Wipe the exterior with a soft, damp cloth. Do not use abrasive cleaners or solvents.
- Print Head: Use a cotton swab lightly moistened with isopropyl alcohol to gently clean the thermal print head. Allow it to dry completely before use.
- Paper Path: Remove any paper dust or debris from the paper path using a soft brush or compressed air.
Always turn off and unplug the printer before cleaning.
4.2 Replacing Paper Rolls
When the paper roll is nearly empty, a red line will appear on the paper, indicating it needs replacement. Follow the steps in Section 2.3 "Loading Paper" to replace the roll.
5. Troubleshooting
If you encounter issues with your printer, refer to the following common problems and solutions:
| Problem | Possible Cause | Solution |
|---|---|---|
| Printer does not power on. | Power cable disconnected; Power outlet faulty. | Ensure power cable is securely connected. Test the outlet with another device. |
| No printing occurs. | Paper jam; Out of paper; USB cable disconnected; Incorrect driver/settings. | Clear any paper jams. Load new paper. Reconnect USB cable. Verify printer drivers and settings in your software. |
| Poor print quality. | Dirty print head; Low quality paper. | Clean the print head (see Section 4.1). Use recommended thermal paper. |
| Cash drawer does not open. | Cash drawer cable disconnected; Software settings incorrect. | Ensure cash drawer cable is securely connected to the printer. Check POS software settings for cash drawer activation. |
If the problem persists, consult the Epson support website or contact customer service.
6. Specifications
Key technical specifications for the Epson ReadyPrint T20 Direct Thermal Printer:
- Model Name: C31CB10021
- Printing Technology: Direct Thermal
- Connectivity: USB (Not Bluetooth or Ethernet)
- Printer Output: Monochrome
- Maximum Print Resolution: 203 dpi
- Maximum Print Speed (Monochrome): 1 page per minute (Note: This specification is provided as '1 pages_per_minute' in the product data. Receipt printer speeds are typically measured in mm/sec or lines/sec.)
- Supported Paper Widths: 80mm, 58mm
- Built-In Media: Auto Cutter, Cash Drawer Port
- Special Feature: Energy Star certified
- Item Dimensions (D x W x H): 7"D x 5"W x 5"H
- Item Weight: 1700 g
- Compatible Devices: Laptops, PC
7. Warranty and Support
7.1 Product Warranty
Epson products are covered by a limited warranty. For detailed information regarding your product's warranty period and terms, please refer to the warranty card included with your printer or visit the official Epson website. Keep your purchase receipt as proof of purchase.
7.2 Customer Support
For technical assistance, driver downloads, FAQs, or to contact customer service, please visit the official Epson support website: epson.com/support.
Ask a question about this manual
Ask about setup, troubleshooting, compatibility, parts, safety, or missing instructions. Manuals+ will review the question and use this page’s manual context to help answer it.