
Introduction
This user manual provides detailed instructions for the safe and effective operation of your Microlife BP3MS1-4K Blood Pressure Monitor. Please read this manual thoroughly before first use and keep it for future reference. This device is designed for accurate measurement of blood pressure and heartbeat at home.
Safety Information
- Consult your doctor before using this device if you have any medical conditions.
- Do not use the device on infants, children, or individuals unable to express consent.
- Avoid taking measurements in a moving vehicle or during physical activity.
- Keep the device and its components out of reach of small children.
- Use only original Microlife accessories and parts.
Product Overview
The Microlife BP3MS1-4K Blood Pressure Monitor is a comprehensive system for home blood pressure monitoring. It includes the main unit, an arm cuff, and necessary power accessories.

Image: Complete set of the Microlife BP3MS1-4K Blood Pressure Monitor, including the main unit, a carrying case, an arm cuff, a power adapter, and a USB cable, laid out on a flat surface.
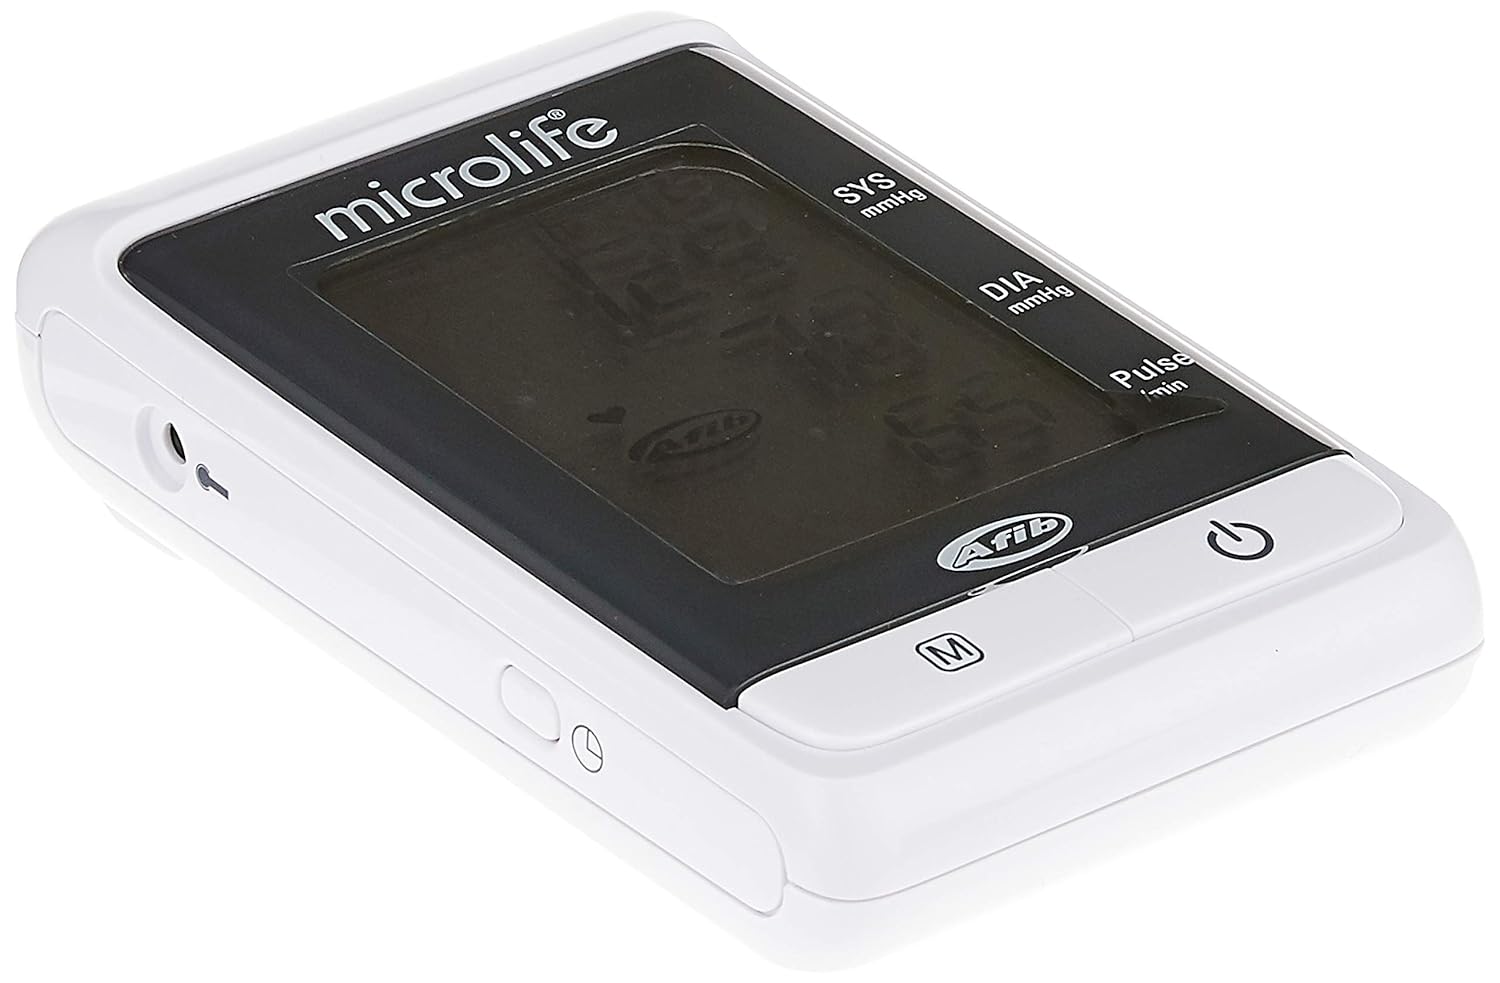
Image: A detailed view of the Microlife BP3MS1-4K Blood Pressure Monitor unit, highlighting its display screen and control buttons.
The device features an XL-Display for easy reading of measurements and includes a USB port for data transfer.
Setup
1. Power Supply
The Microlife BP3MS1-4K can be powered by batteries or an AC adapter.
- Battery Installation: Open the battery compartment on the back of the device. Insert the required batteries, ensuring correct polarity (+/-). Close the compartment. A low battery indicator will appear on the display when batteries need replacement.
- AC Adapter Connection: Connect the AC adapter to the device's power input jack and then plug it into a wall outlet.
2. Cuff Connection
Insert the air tube connector of the cuff firmly into the air jack on the side of the monitor unit.
3. Setting Date and Time
Refer to the device's on-screen prompts or specific button combinations (usually involving the 'M' or 'Set' button) to set the current date and time. This ensures accurate time-stamping for stored measurements.
Operating Instructions
1. Preparing for Measurement
- Avoid eating, smoking, or exercising for at least 30 minutes before measurement.
- Rest for 5-10 minutes in a quiet environment before taking a reading.
- Sit upright with your back supported, feet flat on the floor, and legs uncrossed.
- Place your arm on a table so the cuff is at heart level.
2. Applying the Cuff
Wrap the cuff around your bare upper arm, approximately 2-3 cm above the elbow joint. Ensure the air tube runs down the center of your arm. The cuff should be snug but not too tight.
3. Taking a Measurement (MAM Technology)
The device features MAM (Microlife Average Mode) technology, which automatically takes three measurements in quick succession and calculates an average for a more reliable result.
- Press the ON/OFF button to start the measurement.
- The cuff will inflate, and the device will automatically take three consecutive readings with a short pause between each.
- After the third measurement, the average systolic, diastolic, and pulse readings will be displayed on the XL-Display.

Image: The display of the Microlife BP3MS1-4K Blood Pressure Monitor showing a time of 12:15, systolic pressure of 129 mmHg, diastolic pressure of 78 mmHg, and a pulse rate of 65 beats per minute.
4. Memory Function
The device stores up to 200 measurements. To review past readings, press the M (Memory) button. Each press will cycle through the stored measurements.
5. USB Connectivity
The integrated USB port allows for data transfer to a computer for analysis and tracking. Refer to the Microlife software instructions for detailed steps on connecting and downloading data.
Maintenance
Cleaning
- Clean the monitor unit and cuff with a soft, dry cloth.
- If necessary, use a cloth lightly dampened with water or a mild, non-abrasive cleaner.
- Do not use harsh chemicals, abrasive cleaners, or immerse the device in water.
Storage
- Store the device in its carrying case in a cool, dry place, away from direct sunlight and extreme temperatures.
- If not in use for an extended period, remove the batteries to prevent leakage.
Troubleshooting
| Problem | Possible Cause | Solution |
|---|---|---|
| Device does not turn on. | Low or dead batteries; incorrect battery insertion; power adapter issue. | Replace batteries; check battery polarity; ensure power adapter is securely connected. |
| Error message on display. | Cuff not applied correctly; excessive movement during measurement; irregular heartbeat detected. | Reapply cuff correctly; remain still and quiet; consult a doctor if irregular heartbeat persists. |
| Inaccurate readings. | Improper cuff size; incorrect measurement posture; recent physical activity. | Ensure correct cuff size for your arm; follow preparation guidelines; rest before measurement. |
| No data transfer via USB. | Incorrect cable connection; software not installed or running. | Check USB cable connection; install Microlife software and ensure it is running. |
If problems persist, contact Microlife customer support.
Specifications

Image: The Microlife BP3MS1-4K Blood Pressure Monitor unit with measurement lines indicating its dimensions, approximately 15 cm (6.3 inches) in height.
| Feature | Detail |
|---|---|
| Model Number | BP A200 AFIB |
| Product Dimensions | 15.2 x 4.2 x 9.2 cm |
| Item Weight | 393 g |
| Measurement Method | Oscillometric |
| Memory | 200 measurements |
| Display | XL-Display |
| Special Features | MAM technology (3 automatic measurements), Clinically tested (BHS protocol), USB port, Low battery indicator |
| Power Source | Battery Powered |
| Included Components | Cuff |
Warranty and Support
Microlife products are manufactured to the highest quality standards. For information regarding warranty coverage, technical support, or service, please refer to the warranty card included with your product or visit the official Microlife website. Keep your purchase receipt as proof of purchase for warranty claims.


