1. Introduction
Thank you for choosing the ProMaster FM650 Manual Electronic Flash. This flash unit is designed to provide reliable manual illumination for your photography needs. It is ideal for use with older point-and-shoot cameras or as a versatile slave flash in multi-flash setups. Please read this manual thoroughly before using the flash to ensure proper operation and to maximize its performance.
2. Safety Precautions
To prevent damage to the product or injury to yourself or others, please observe the following safety precautions:
- Do not attempt to disassemble or repair the flash unit yourself. Refer all servicing to qualified personnel.
- Keep the flash unit dry. Do not expose it to rain, moisture, or high humidity.
- Avoid direct eye contact with the flash light, especially at close range, as it can cause temporary vision impairment.
- Use only recommended batteries. Do not mix old and new batteries or different types of batteries.
- Keep out of reach of children.
- Do not operate the flash near flammable gases or liquids.
3. Package Contents
Verify that all items are present in your package:
- ProMaster FM650 Manual Electronic Flash Unit
- Instruction Manual (this document)
Note: Batteries are not included and must be purchased separately.
4. Product Overview
Familiarize yourself with the components of your ProMaster FM650 flash unit:
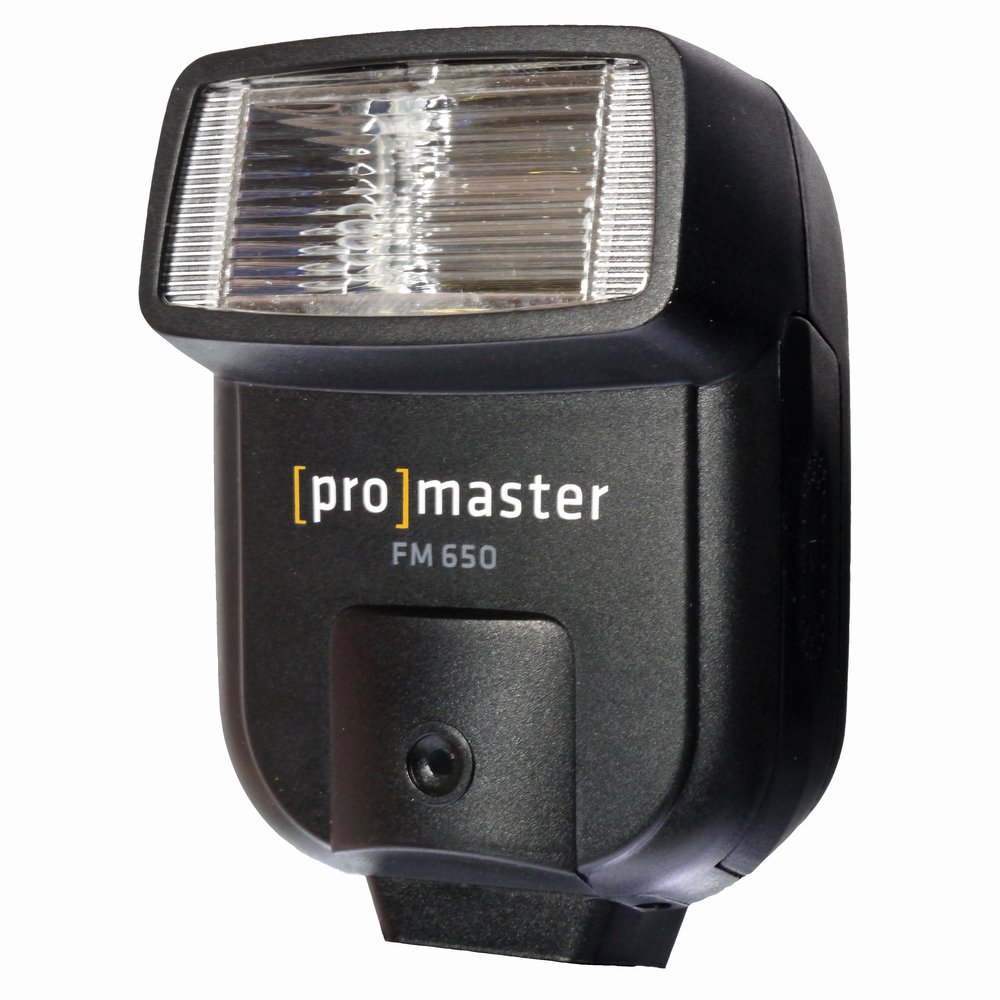
Figure 4.1: ProMaster FM650 Manual Electronic Flash. This image displays the compact design of the flash, featuring the flash tube, optical sensor, and the hot shoe connection point at the base for mounting onto a camera or stand.
- Flash Head: Contains the flash tube that emits light.
- Optical Slave Sensor: Detects light from another flash to trigger the FM650 in slave mode.
- Power Switch: Turns the flash unit on or off.
- Ready Light: Illuminates when the flash is fully charged and ready to fire.
- Hot Shoe Mount: Connects the flash to a camera's hot shoe or a flash stand.
- Battery Compartment: Holds the batteries required for operation.
5. Setup
5.1 Battery Installation
- Ensure the flash unit is turned off.
- Locate the battery compartment cover, usually on the side or back of the unit.
- Open the cover and insert two (2) AA-size alkaline or rechargeable NiMH batteries, observing the correct polarity (+/-) indicated inside the compartment.
- Close the battery compartment cover securely.
5.2 Mounting the Flash
The FM650 can be mounted in two primary ways:
- On-Camera: Slide the hot shoe mount of the flash into your camera's hot shoe. Ensure it is fully seated. Some cameras may have a locking mechanism; if so, secure the flash.
- Off-Camera: Attach the flash to a compatible light stand or bracket using its hot shoe mount. This is common when using the flash in slave mode.
6. Operating the Flash
6.1 Power On/Off
Locate the power switch on the flash unit. Slide it to the "ON" position to power on the flash. The ready light will illuminate once the flash is fully charged and ready to fire. Slide the switch to "OFF" when not in use to conserve battery life.
6.2 Manual Mode (On-Camera)
When mounted on a camera's hot shoe, the FM650 operates as a basic manual flash. It will fire simultaneously with your camera's shutter. You will need to adjust your camera's aperture, ISO, and shutter speed settings to achieve the desired exposure. The flash output is fixed, so exposure control is managed entirely through camera settings.
6.3 Slave Mode (Off-Camera)
The FM650 features an optical slave function, allowing it to be triggered wirelessly by another flash. This is useful for multi-flash setups.
- Ensure the flash is powered on and the ready light is illuminated.
- Position the FM650 so its optical slave sensor (usually a small clear or red window on the front) can "see" the light from your main flash unit.
- When your main flash fires, the FM650's optical sensor will detect the light pulse and trigger the FM650 to fire simultaneously.
Note: The FM650 is a basic optical slave and may not distinguish between pre-flashes (used for red-eye reduction or TTL metering) and the main flash. If your main flash uses pre-flashes, the FM650 might fire prematurely. For best results, use a main flash that does not emit pre-flashes, or use the FM650 with a camera that allows for manual flash control without pre-flashes.
7. Maintenance
7.1 Cleaning
- Wipe the flash unit with a soft, dry cloth.
- For stubborn dirt, use a slightly damp cloth with a mild detergent, then wipe dry immediately.
- Do not use strong cleaning agents, solvents, or abrasive materials.
- Keep the flash tube and optical sensor clean for optimal performance.
7.2 Storage
- Remove batteries if the flash will not be used for an extended period to prevent leakage.
- Store the flash in a cool, dry place, away from direct sunlight and extreme temperatures.
- Protect the flash from dust and moisture.
8. Troubleshooting
| Problem | Possible Cause | Solution |
|---|---|---|
| Flash does not fire. |
|
|
| Flash fires too early in slave mode. |
|
|
| Flash is too dim/bright. |
|
|
9. Specifications
| Model: | ProMaster FM650 |
| Flash Type: | Manual Electronic Flash, Optical Slave |
| Wireless Communication: | Optical Pulse |
| Power Source: | 2 x AA Batteries (not included) |
| Product Dimensions: | 1 x 1 x 1 inches |
| Item Weight: | 2 pounds |
| Manufacturer: | Promaster |
| ASIN: | B005S0E9U4 |
| UPC: | 029144090906 |
10. Warranty and Support
For information regarding warranty coverage, technical support, or service, please refer to the warranty card included with your product or visit the official ProMaster website. Keep your purchase receipt as proof of purchase for any warranty claims.
ProMaster Official Website: www.promaster.com (This is a placeholder link as no specific support link was provided in the input data.)


