1. Product Overview
The ViewSonic PJD5353 is a short throw DLP projector designed for business and education environments. It offers XGA 1024x768 native resolution, 2500 ANSI lumens brightness, and a 3000:1 contrast ratio for clear and vibrant images. Its short throw lens allows for large images from a minimal distance, making it suitable for various room sizes.
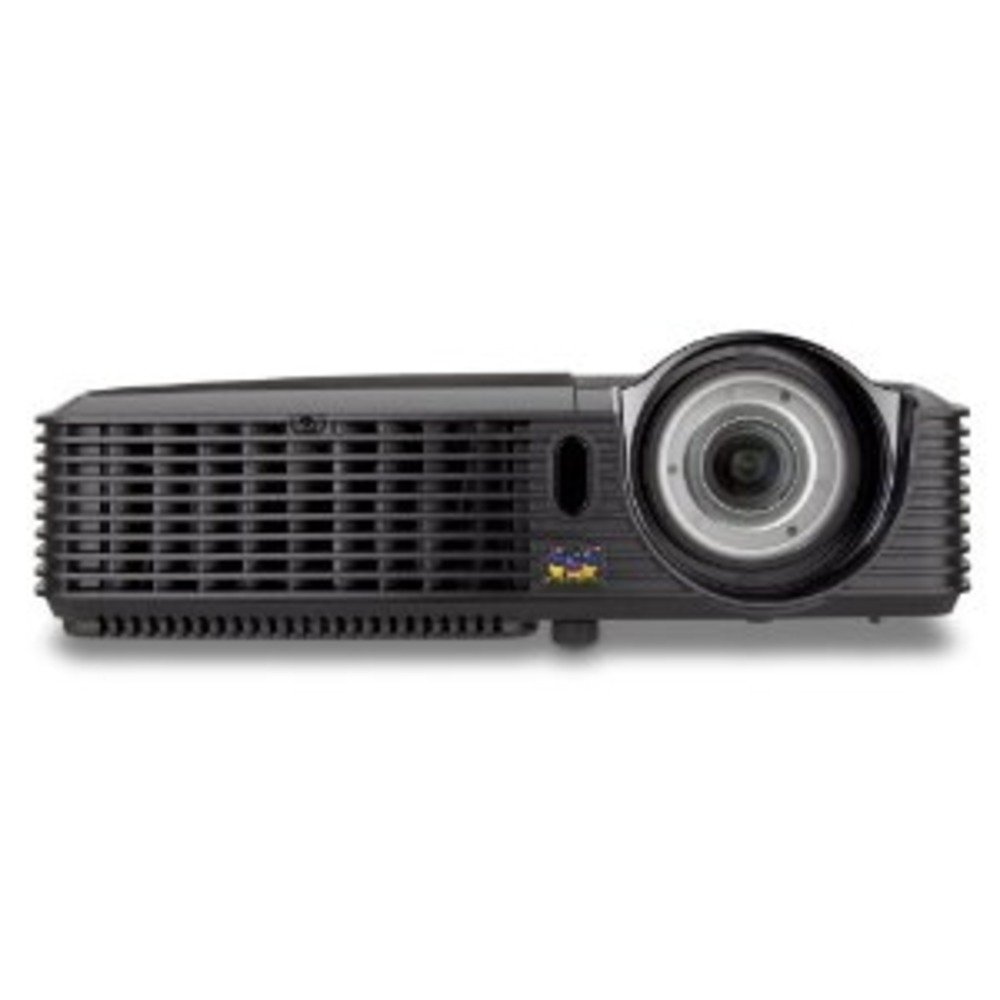
Figure 1.1: ViewSonic PJD5353 DLP Projector. This image displays the projector from an angled perspective, highlighting the projection lens on the front and the control panel located on the top surface.
Key Features:
- XGA 1024x768 DLP projector with 2500 ANSI Lumens and 3000:1 Contrast.
- Short Throw Ratio (TR 0.68) for large images in small spaces.
- Multiple input options: HDMI, dual RGB in, composite, S-video, RGB out, audio in/out, RS232.
- Supports HD 720p and 1080i/p via HDMI.
- 120Hz/3D-Ready technology powered by DLP Link for PC-based 3D applications.
- Digital keystone correction of +/- 40 degrees.
- Integrated 1W speaker.
- Lightweight and portable at 5.7 lbs.
- Lamp life of 5000 hours (Normal mode) / 6000 hours (Eco mode).
- Apple Mac compatible.
- 8 preset picture modes (e.g., bright, cinema, whiteboard).
- Eco Mode for energy savings, extended lamp life, and reduced operating noise.
- Includes remote control with batteries.
2. Setup
2.1 Unpacking and Placement
Carefully remove the projector and all accessories from the packaging. Place the projector on a stable, flat surface. Due to its short throw capability, the projector can be positioned close to the projection screen or wall. For example, a 50-inch image can be achieved from approximately 27 inches away.
2.2 Connecting Power
- Connect the power cord to the projector's power input.
- Plug the other end of the power cord into a grounded electrical outlet.
2.3 Connecting Video Sources
The PJD5353 offers various input ports for connecting different devices:
- HDMI: For high-definition digital video and audio. Supports HD 720p and 1080i/p signals.
- VGA (RGB In): For connecting computers via a VGA cable. Two VGA inputs are available.
- Composite Video: For standard definition video sources.
- S-Video: For improved standard definition video sources.
- Audio In: For connecting external audio sources.
Connect your desired video source (e.g., laptop, DVD player) to the corresponding input port on the projector using the appropriate cable.
2.4 Initial Power On and Focus Adjustment
- Press the power button on the projector or the remote control to turn on the unit. The power indicator light will illuminate.
- Allow a few moments for the projector lamp to warm up and display an image.
- Adjust the focus ring around the lens until the image on the screen is sharp and clear.
- Use the keystone correction function (digital +/- 40 degrees) via the projector's menu or remote control to square the image if the projector is not perfectly perpendicular to the screen.
3. Operation
3.1 Basic Controls
The projector can be controlled using the control panel on the top of the unit or the included remote control.
- Power Button: Turns the projector on or off.
- Source Button: Cycles through available input sources (HDMI, VGA1, VGA2, Video, S-Video).
- Menu Button: Accesses the on-screen display (OSD) menu for settings adjustments.
- Arrow Buttons: Navigate through OSD menu options.
- Enter Button: Confirms selections in the OSD menu.
- Keystone Buttons: Adjusts vertical keystone correction.
3.2 Picture Modes
The projector features 8 preset picture modes optimized for different viewing environments and content types. These include:
- Bright
- Cinema
- Whiteboard
- And others.
Select the appropriate picture mode from the OSD menu to enhance your viewing experience.
3.3 Eco Mode
Activate Eco Mode to reduce power consumption, extend lamp life, and lower operating noise. This mode is ideal for situations where maximum brightness is not required.
3.4 3D Functionality
The PJD5353 is 120Hz/3D-Ready, powered by DLP Link. To utilize 3D features, you will need compatible 3D content, a 3D-capable source device (e.g., PC with 3D software), and DLP Link 3D glasses (sold separately).
4. Maintenance
4.1 Lamp Life and Replacement
The projector lamp has an estimated life of 5000 hours in Normal mode and 6000 hours in Eco mode. When the lamp reaches the end of its life, a warning message may appear, or the lamp indicator light may illuminate. Refer to the full user manual for detailed lamp replacement instructions. Always use genuine ViewSonic replacement lamps.
4.2 Cleaning
- Projector Casing: Use a soft, damp cloth with a mild detergent to clean the exterior. Avoid abrasive cleaners.
- Lens: Gently wipe the lens with a soft, lint-free cloth specifically designed for optical surfaces. Do not use liquid cleaners directly on the lens.
- Air Vents: Periodically check and clean the air vents to ensure proper airflow and prevent overheating. Use a soft brush or compressed air.
Caution: Always unplug the projector from the power outlet before cleaning.
5. Troubleshooting
Common Issues and Solutions:
- No Image on Screen:
- Ensure the projector is powered on and the lamp is illuminated.
- Verify that the video cable is securely connected to both the projector and the source device.
- Press the "Source" button on the projector or remote to select the correct input source.
- Check the resolution settings of your source device; ensure it is compatible with the projector's supported resolutions.
- No Sound:
- If using HDMI, ensure the audio is being sent through the HDMI cable.
- If using an analog audio cable, ensure it is properly connected to the "Audio In" port.
- Check the volume settings on both the projector and the source device.
- Ensure the integrated speaker is enabled in the projector's OSD menu.
- Remote Control Not Working:
- Check and replace the batteries in the remote control (2 AA batteries are included).
- Ensure there are no obstructions between the remote control and the projector's IR receiver.
- Point the remote directly at the projector.
- Image is Distorted or Blurry:
- Adjust the focus ring on the lens.
- Use the keystone correction function to correct trapezoidal distortion.
- Ensure the projector is placed on a stable surface and is not vibrating.
For more detailed troubleshooting, refer to the complete user manual or visit the ViewSonic support website.
6. Specifications
| Feature | Description |
|---|---|
| Model Number | PJD5353 |
| Display Technology | DLP |
| Native Resolution | XGA (1024 x 768) |
| Brightness | 2500 ANSI Lumens |
| Contrast Ratio | 3000:1 |
| Throw Ratio | 0.68 (Short Throw) |
| Keystone Correction | Digital +/- 40 degrees (Vertical) |
| Lamp Life (Normal/Eco) | 5000 / 6000 hours |
| Connectivity | HDMI, 2x VGA In, Composite Video, S-Video, Audio In/Out, RS232 |
| HD Support | 720p, 1080i/p (via HDMI) |
| 3D Ready | 120Hz/DLP Link |
| Integrated Speaker | 1W |
| Product Dimensions | 9.2 x 11.2 x 3.2 inches |
| Item Weight | 5.7 pounds |
| Included Accessories | Remote control with 2 AA batteries |
7. Warranty & Support
7.1 Warranty Information
This ViewSonic product is covered by a limited warranty. For specific warranty terms and conditions, including duration and coverage details, please refer to the warranty card included with your product or visit the official ViewSonic website. Keep your proof of purchase for warranty claims.
7.2 Customer Support
For technical assistance, product registration, or to download the complete user manual, please visit the official ViewSonic support website or contact their customer service department. Contact information can typically be found on the ViewSonic website or in the product packaging.


