1. Introduction
This manual provides detailed instructions for setting up, operating, maintaining, and troubleshooting your Dell UltraSharp U2312HM 23-inch IPS LED LCD Monitor. Please read this manual thoroughly to ensure proper use and to maximize the performance and lifespan of your monitor.
The Dell UltraSharp U2312HM monitor features a 23-inch IPS panel with LED backlighting, offering a Full HD 1920x1080 resolution, wide viewing angles, and excellent color consistency. It includes a highly adjustable stand and multiple connectivity options to enhance your viewing experience and productivity.
2. Safety Information
Observe the following safety precautions when using your monitor:
- Power Source: Use only the power cord and adapter provided with your monitor. Ensure the power outlet is properly grounded.
- Ventilation: Do not block ventilation openings on the monitor. Allow adequate space around the monitor for proper airflow.
- Placement: Place the monitor on a stable, flat surface. Avoid placing it in direct sunlight, near heat sources, or in environments with excessive dust or humidity.
- Cleaning: Disconnect the power cord before cleaning. Use a soft, damp cloth for cleaning the screen and casing. Avoid using abrasive cleaners or solvents.
- Handling: Handle the monitor with care. Avoid applying pressure to the screen.
- Servicing: Do not attempt to service the monitor yourself. Refer all servicing to qualified service personnel.
3. Package Contents
Verify that all components are present in your package:
- Dell UltraSharp U2312HM Monitor Panel
- Monitor Stand (Base and Riser)
- Power Cable
- DVI Cable
- VGA Cable
- USB Upstream Cable
- Documentation (this user manual, safety information)
4. Setup
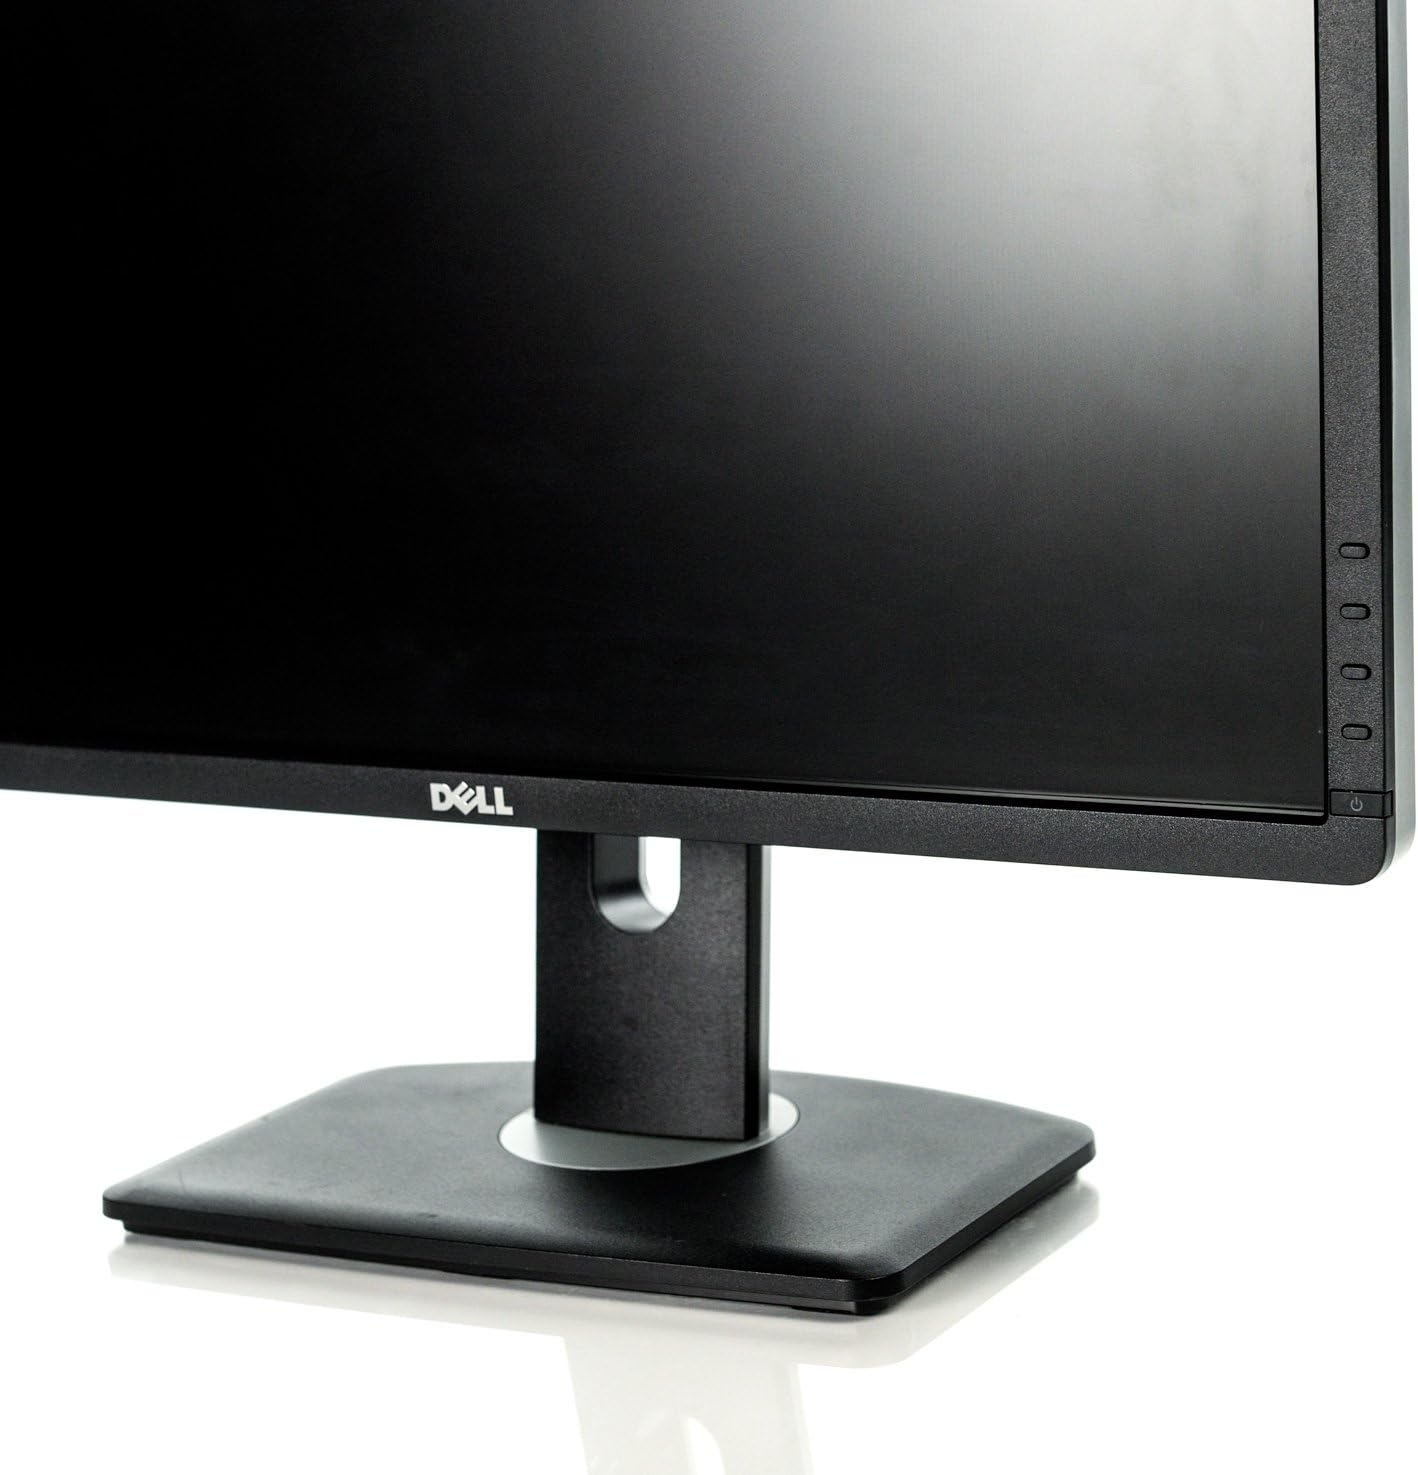
4.1 Assembling the Monitor Stand
- Place the monitor panel face down on a soft, clean cloth to prevent scratches.
- Attach the riser to the monitor panel by aligning the tabs and pushing until it clicks into place.
- Attach the stand base to the riser. Tighten the captive screw on the bottom of the base to secure it.

4.2 Connecting the Monitor
Connect the necessary cables to the monitor and your computer:
- Power Cable: Connect the power cable to the monitor's power port and then to a grounded electrical outlet.
- Video Cable: Connect one end of the DVI, DisplayPort, or VGA cable to the corresponding port on the monitor and the other end to your computer's graphics card. Use only one video connection at a time.
- USB Upstream Cable: To enable the monitor's USB ports, connect the square end of the USB upstream cable to the monitor's upstream USB port and the rectangular end to an available USB port on your computer.

4.3 Initial Power On
- Ensure all cables are securely connected.
- Press the power button on your computer.
- Press the power button on the front of the monitor. The power indicator light will illuminate.
- The monitor should automatically detect the active input. If not, you may need to manually select the input source using the OSD menu.
5. Operating the Monitor
5.1 Front Panel Controls
The monitor features several buttons on the front bezel for accessing and navigating the On-Screen Display (OSD) menu.
- Power Button: Turns the monitor on or off.
- Menu Buttons: Used to access the OSD menu and navigate through options.
- Input Select: Allows manual selection of the video input source.
5.2 On-Screen Display (OSD) Menu
The OSD menu allows you to adjust various monitor settings:
- Press any of the menu buttons to activate the OSD.
- Use the navigation buttons to scroll through menu options.
- Press the select button to enter a sub-menu or confirm a selection.
- Common settings include:
- Brightness/Contrast: Adjusts the display's luminance and contrast levels.
- Input Source: Manually switch between DVI, DisplayPort, or VGA inputs.
- Color Settings: Adjust color temperature, gamma, and preset modes.
- Power Management: Configure PowerNap and dynamic dimming features.
- Press the exit button to close the OSD menu.
5.3 Adjusting the Monitor Position
The Dell U2312HM monitor offers ergonomic adjustments for optimal viewing comfort:
- Height Adjustment: Gently push or pull the monitor panel up or down along the stand riser. The height adjustment range is 130mm (5.12 inches).
- Tilt Adjustment: Tilt the monitor panel forward (up to 4°) or backward (up to 21°) to find your preferred viewing angle.
- Swivel Adjustment: Rotate the monitor panel left or right on its base.
- Pivot Function: Rotate the monitor panel 90 degrees to switch between landscape and portrait orientation. Ensure sufficient clearance before pivoting.

5.4 Using the USB Hub
The monitor includes a built-in USB 2.0 hub with four downstream ports for connecting peripherals.

- Ensure the USB upstream cable is connected from the monitor to your computer.
- Connect your USB devices (e.g., keyboard, mouse, flash drive) to the USB downstream ports on the monitor. There are two ports on the side and two on the rear.
6. Maintenance
6.1 Cleaning the Monitor
- Turn off the monitor and unplug the power cord from the electrical outlet.
- Use a soft, lint-free cloth lightly dampened with water or a non-abrasive screen cleaner to wipe the screen surface.
- For the monitor casing, use a soft, dry cloth. Avoid spraying liquids directly onto the monitor.
6.2 General Care
- Avoid exposing the monitor to extreme temperatures or humidity.
- Do not place heavy objects on the monitor or its cables.
- If storing the monitor, use its original packaging or a protective cover.
7. Troubleshooting
If you encounter issues with your monitor, refer to the following common solutions:
| Problem | Possible Cause | Solution |
|---|---|---|
| No power | Power cable disconnected; power outlet issue | Ensure power cable is securely connected to monitor and outlet. Check if the outlet is functional. |
| No image on screen | Video cable disconnected; incorrect input selected; computer not powered on | Check video cable connections. Use the OSD menu to select the correct input source. Ensure computer is powered on and not in sleep mode. |
| Image is blurry or distorted | Incorrect resolution; video cable issue | Set display resolution to 1920x1080. Check video cable for damage or loose connections. |
| Colors are incorrect | Color settings misconfigured | Adjust color settings in the OSD menu. Reset to factory defaults if necessary. |
| USB ports not working | USB upstream cable disconnected | Ensure the USB upstream cable is connected from the monitor to your computer. |
If the problem persists after attempting these solutions, please contact Dell technical support.
8. Specifications
Key technical specifications for the Dell UltraSharp U2312HM monitor:
| Feature | Specification |
|---|---|
| Model Number | U2312HM |
| Screen Size | 23 inches (58.42 cm) |
| Panel Type | IPS (In-plane Switching), anti-glare |
| Resolution | Full HD 1920 x 1080 at 60Hz |
| Aspect Ratio | 16:9 (widescreen) |
| Max Viewing Angle | 178° vertical, 178° horizontal |
| Brightness | 300 cd/m² (typical) |
| Color Gamut | 82% (CIE 1976) |
| Contrast Ratio | 1000:1 (typical), 2 Million:1 (max, dynamic) |
| Response Time | 8ms (gray to gray) with overdrive |
| Video Connectors | DVI-D (HDCP), DisplayPort (DP), VGA |
| USB Ports | 5 USB (1 upstream, 4 downstream) |
| Item Weight | 14.3 pounds |
| Product Dimensions | 8.78 x 16.54 x 25 inches (LxWxH) |
9. Warranty and Support
Your Dell UltraSharp U2312HM monitor is covered by a limited hardware warranty provided by Dell. For specific warranty terms and conditions, please refer to the documentation included with your purchase or visit the official Dell support website.
For technical assistance, troubleshooting, or warranty claims, please contact Dell Technical Support. You will typically need your monitor's service tag or serial number when contacting support.
Locating the Serial Number: The serial number is usually found on a label on the back of the monitor. An example serial number format is CN-0T9MJ3-74445-27U-BABL.

For the most up-to-date support resources, drivers, and contact information, please visit the official Dell Support website: www.dell.com/support