Introduction
This instruction manual provides essential information for the proper use and care of your Minolta Hi-Matic AF2 Auto Focus 35mm Film Camera. Please read this manual thoroughly before operating the camera to ensure optimal performance and longevity.
Product Overview
Familiarize yourself with the main components of your Minolta Hi-Matic AF2 camera.

Figure 1: Front View. This image displays the front of the Minolta Hi-Matic AF2 camera, highlighting the Minolta Lens 38mm 1:2.8, the auto-focus mechanism, and the built-in flash unit with its ON/OFF switch.

Figure 2: Top View. This image shows the top of the Minolta Hi-Matic AF2 camera, featuring the film advance lever, shutter button, and the camera's model name.
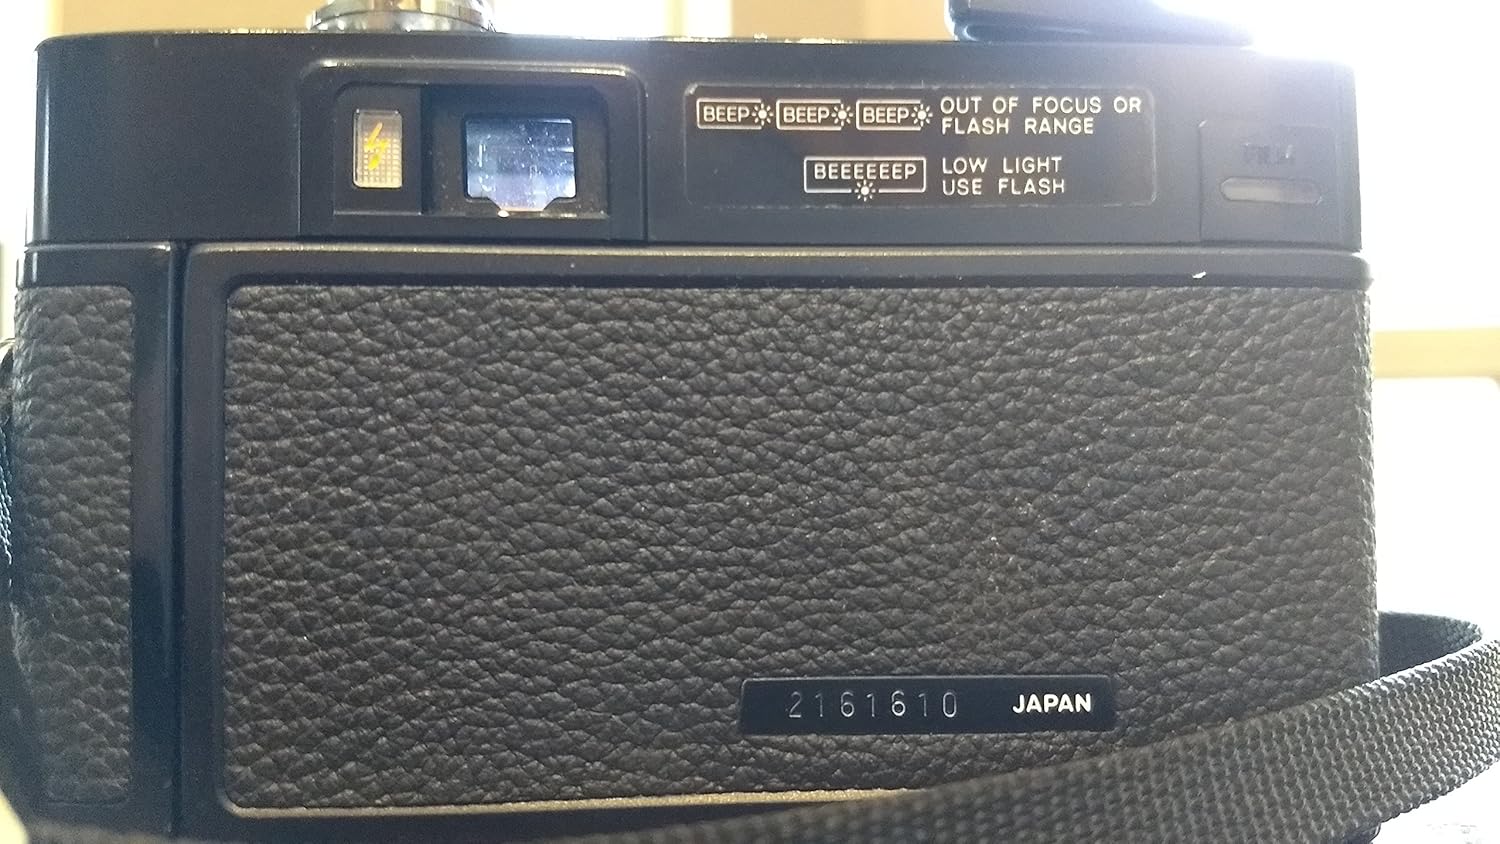
Figure 3: Back View. This image illustrates the back of the Minolta Hi-Matic AF2 camera, including the viewfinder, film counter, and indicators for out-of-focus/flash range and low light conditions.
Key Components:
- Lens: Minolta Lens 38mm 1:2.8 (46mm filter thread).
- Autofocus System: Automatically adjusts focus for sharp images.
- Built-in Flash: For low-light conditions, with an ON/OFF switch.
- Viewfinder: For composing your shots.
- Film Advance Lever: Manually advances film after each shot.
- Shutter Button: To capture photographs.
- ISO Dial: Manually set film speed (up to 400 ISO).
Setup
1. Battery Installation
- Locate the battery compartment, typically on the bottom or side of the camera.
- Open the battery compartment cover.
- Insert the required AA batteries, ensuring correct polarity (+/-) as indicated inside the compartment.
- Close the battery compartment cover securely.
- Note: Ensure the battery contacts are clean to prevent corrosion and ensure proper function.
2. Film Loading
- Open the camera back by sliding the latch (usually on the side).
- Place a 35mm film cartridge into the film chamber on the left side.
- Pull the film leader across to the take-up spool on the right side and insert it into one of the slots.
- Advance the film slightly using the film advance lever until the sprocket holes engage with the take-up spool teeth.
- Close the camera back firmly until it latches.
- Advance the film two or three times, pressing the shutter button each time, until the film counter shows "1". This ensures the film is properly loaded and ready for the first exposure.
3. Setting Film Speed (ISO/ASA)
- Locate the ISO/ASA dial on the camera lens barrel.
- Rotate the dial to match the ISO speed of the film you have loaded (e.g., 100, 200, 400). This setting is crucial for accurate exposure.
Operating the Camera
1. Taking a Photograph
- Look through the viewfinder to compose your shot.
- Gently press the shutter button halfway down. The camera's autofocus system will engage and set the focus.
- If the focus is achieved and lighting is adequate, fully press the shutter button to take the picture.
- After taking a picture, advance the film using the film advance lever until it stops, preparing for the next shot.
2. Using the Built-in Flash
- The Minolta Hi-Matic AF2 features a built-in flash for low-light conditions.
- Locate the flash ON/OFF switch, typically near the flash unit on the front of the camera.
- Slide the switch to "ON" to activate the flash. Allow a few seconds for the flash to charge. A ready light (if present) will illuminate when charged.
- Slide the switch to "OFF" when flash is not required to conserve battery power.
3. Film Rewinding
- Once you have taken all exposures on the roll of film (the film advance lever will no longer advance), it's time to rewind the film.
- Locate the film rewind button (usually on the bottom of the camera) and press it.
- Rotate the film rewind crank (usually on the top left of the camera) clockwise until you feel the tension release, indicating the film is fully rewound into its cartridge.
- Open the camera back and remove the film cartridge.
Maintenance
- Cleaning the Lens: Use a soft, lint-free cloth or lens brush to gently clean the lens surface. Avoid harsh chemicals.
- Battery Compartment: Regularly check the battery compartment for any signs of corrosion. Clean contacts with a cotton swab and rubbing alcohol if necessary. Remove batteries during long periods of non-use.
- Camera Body: Wipe the camera body with a soft, dry cloth. Avoid exposing the camera to excessive dust, moisture, or extreme temperatures.
- Storage: Store the camera in a cool, dry place, preferably in a camera bag or case to protect it from impacts and dust.
Troubleshooting
| Problem | Possible Cause | Solution |
|---|---|---|
| Camera does not power on / Flash does not fire. | Dead or incorrectly inserted batteries. Corroded battery contacts. | Replace batteries with fresh AA batteries. Ensure correct polarity. Clean battery contacts. |
| Film advance lever is stuck. | Film not properly loaded. End of film roll reached. | Check film loading. If at end of roll, rewind film. |
| "BEEP BEEP BEEP" sound. | Subject is out of focus range or too close/far for autofocus. | Adjust distance to subject. Ensure subject is within the camera's focusing capabilities. |
| "BEEEEEEP" sound. | Low light conditions detected. | Activate the built-in flash for proper exposure. |
| Film door is difficult to open. | Mechanism might be stiff due to age or lack of use. | Apply gentle, even pressure. Avoid forcing it to prevent damage. |
| Underexposed photos (especially with bright sky). | Camera's metering system may be influenced by bright backgrounds. | Try to frame shots to minimize large areas of bright sky, or use flash as a fill light if possible. |
Specifications
| Feature | Detail |
|---|---|
| Model Name | Hi-Matic AF2 |
| Lens | Minolta Lens 38mm 1:2.8 |
| Film Type | 35mm Film |
| Focus Type | Auto Focus (Phase Detection) |
| Exposure Control | Automatic |
| Flash | Built-In, Automatic Flash Modes |
| ISO Setting | Manual (up to 400) |
| Viewfinder | Optical |
| Power Source | AA Batteries (Based on user reviews, not official specs) |
| Item Weight | 476 Grams |
Warranty and Support
Information regarding warranty coverage and customer support for the Minolta Hi-Matic AF2 camera is not available in the provided product data. For assistance, please refer to the original purchase documentation or contact the seller directly.


