Introduction and Safety Information
This manual provides essential instructions for the safe operation, assembly, maintenance, and troubleshooting of your CLEVA HONG KONG VBV809PF Wet/Dry Vacuum with Detachable Blower. Please read all instructions carefully before using the appliance to ensure proper function and to prevent injury or damage.
Important Safety Instructions:
- Always disconnect the power cord from the electrical outlet before performing any maintenance or making adjustments.
- Do not operate the vacuum near flammable liquids, gases, or explosive dusts.
- Do not pick up anything that is burning or smoking, such as cigarettes, matches, or hot ashes.
- Ensure all filters are correctly installed before operation.
- This appliance is for household and light commercial use only.
Package Contents
Carefully unpack the box and ensure all items are present and undamaged. If any parts are missing or damaged, do not operate the appliance and contact customer support.
- VBV809PF Wet/Dry Vacuum Unit (8-gallon tank, motor head)
- 7' x 1-1/4" Secure Fit Hose
- Two Extension Wands
- Cartridge Filter (for dry vacuuming)
- Reusable Foam Filter (for wet vacuuming)
- Crevice Tool
- Utility Nozzle
- User Manual
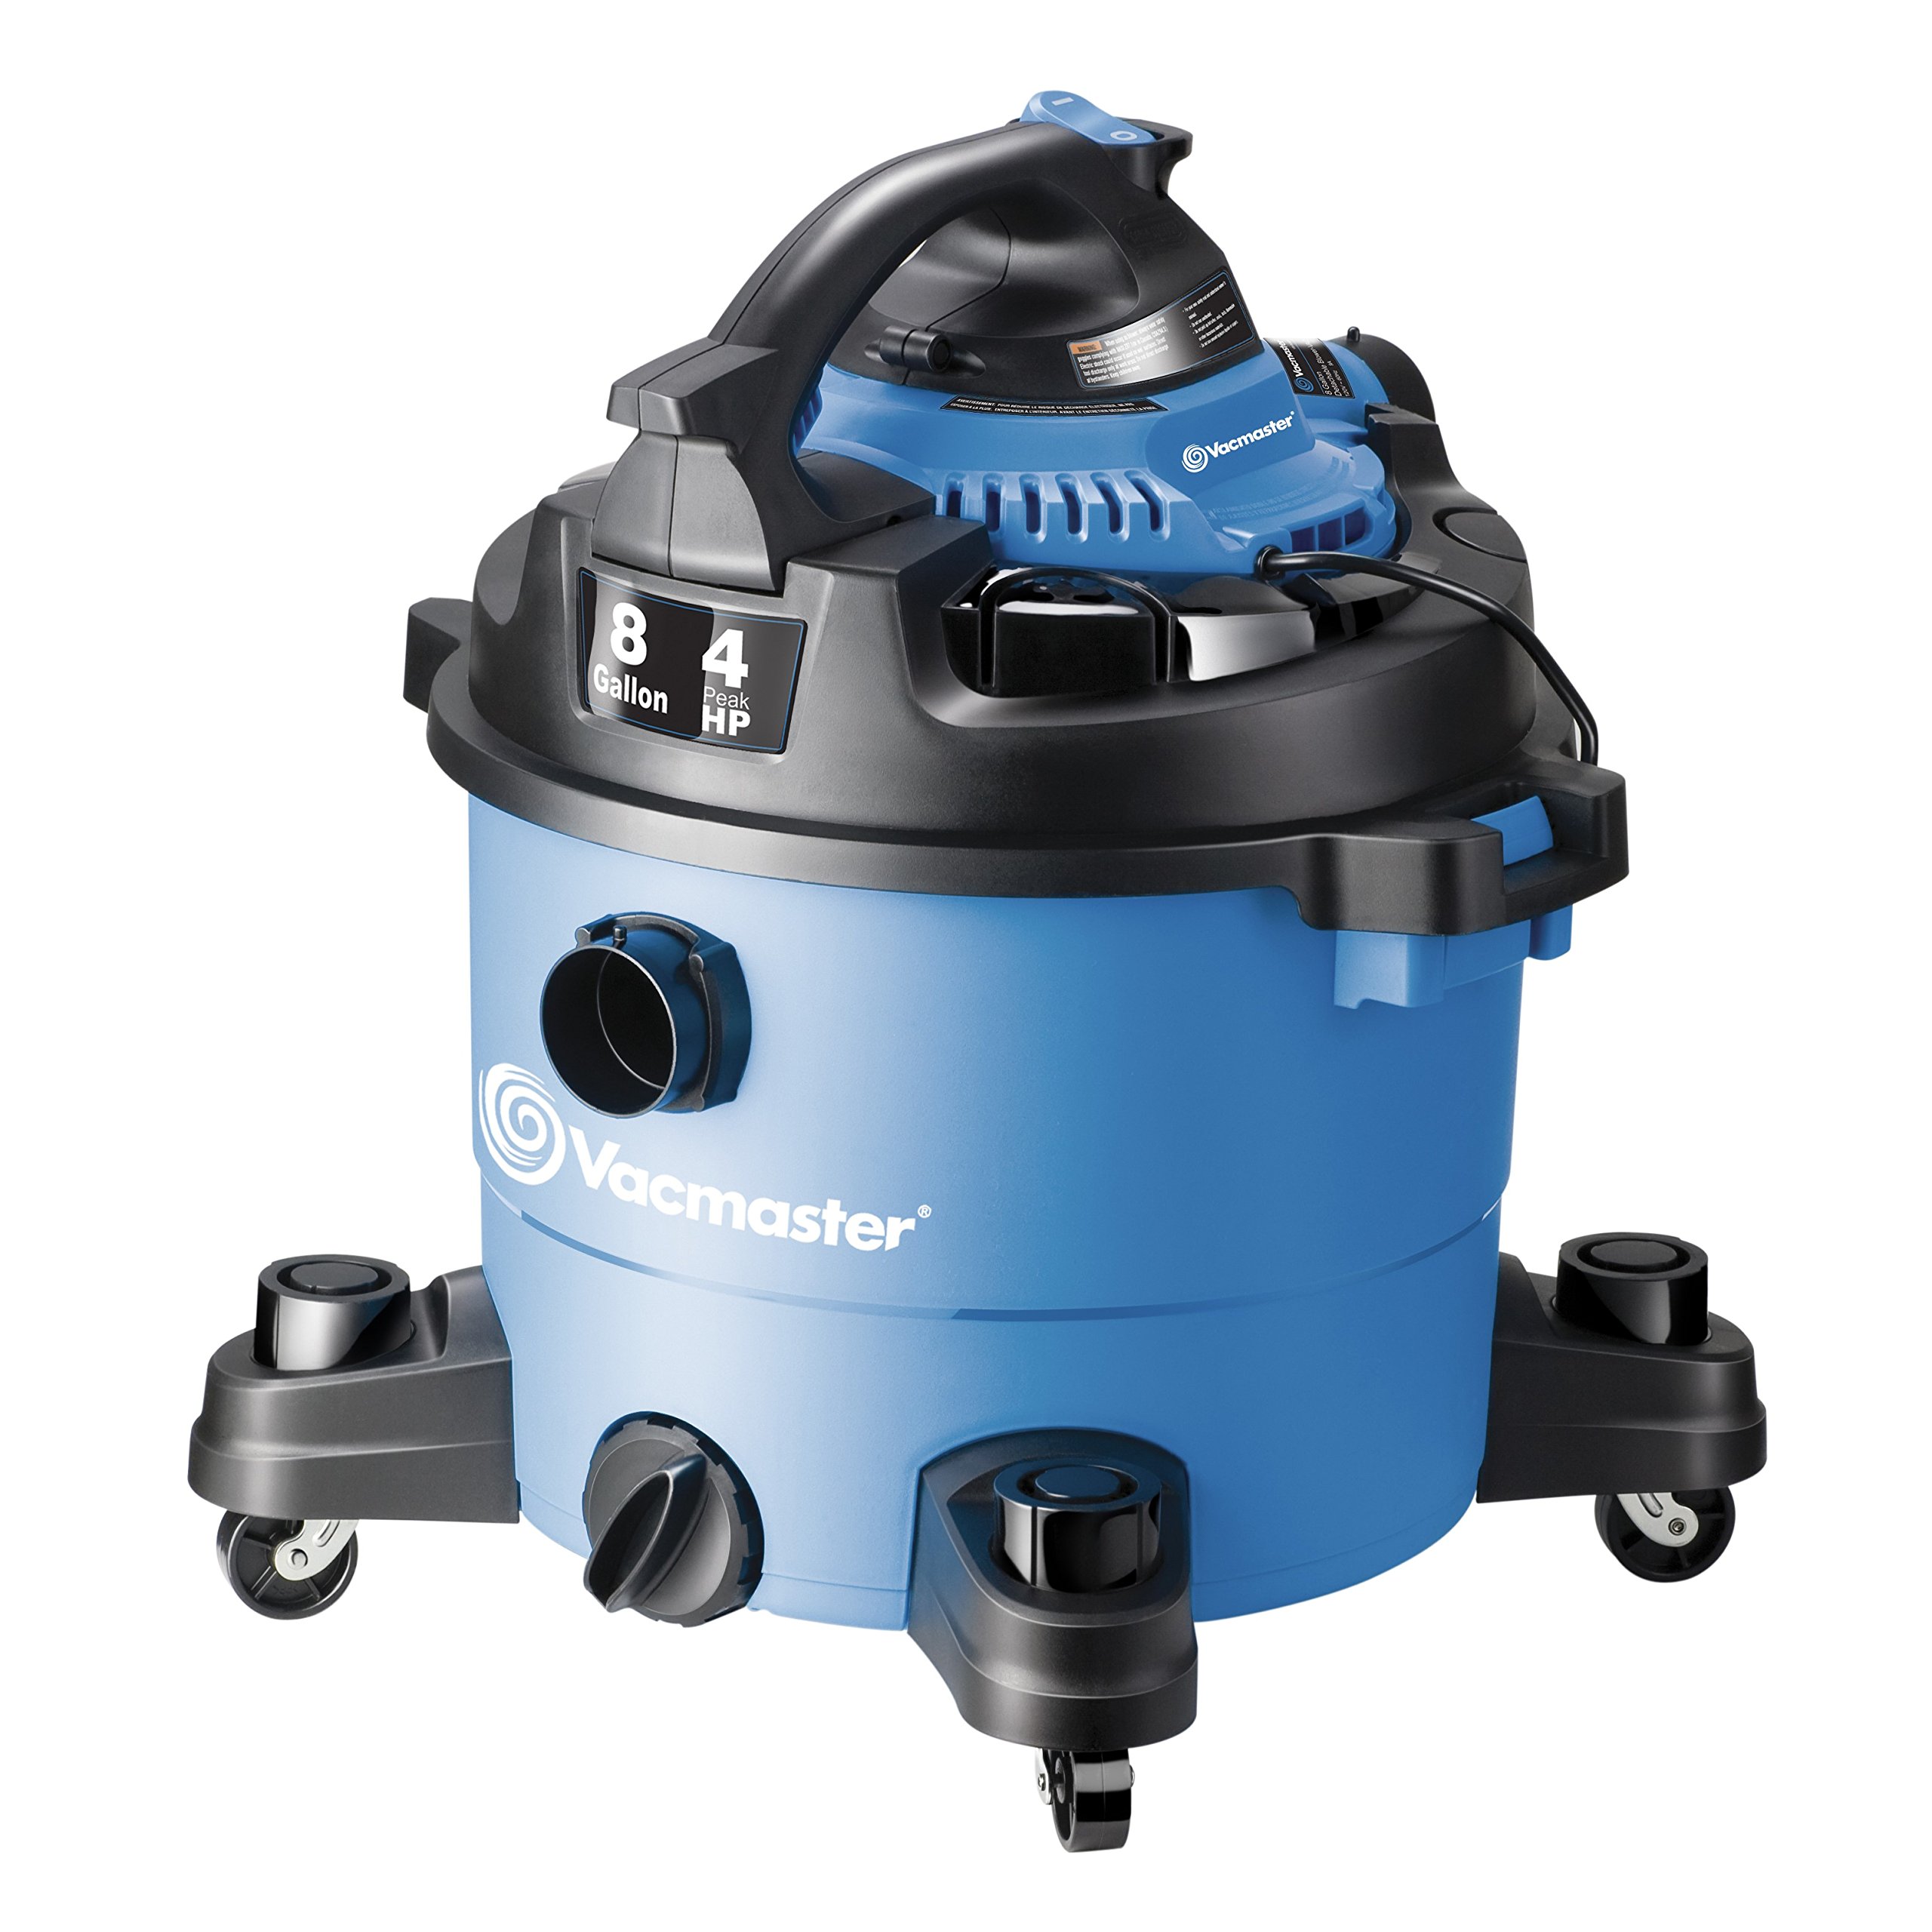
Image: The VBV809PF Wet/Dry Vacuum with its main components and included accessories laid out. This includes the main unit, hose, wands, and various nozzles.
Assembly and Setup
Follow these steps to assemble your wet/dry vacuum:
- Attach Casters (if separate): If your unit includes separate casters, insert them into the caster feet on the bottom of the tank until they click into place.
- Install Filter:
- For Dry Vacuuming: Install the cartridge filter over the filter cage. Secure it with the filter cap or retaining ring as per the diagram in the manual.
- For Wet Vacuuming: Remove the cartridge filter. Install the reusable foam filter over the filter cage.
- Secure Motor Head: Place the motor head onto the tank, aligning it properly. Secure the motor head with the side latches.
- Connect Hose: Insert the large end of the 7' x 1-1/4" secure fit hose into the vacuum port on the tank. Twist to lock it securely.
- Attach Accessories: Connect the desired extension wands and nozzle (crevice tool or utility nozzle) to the free end of the hose.
Operating Instructions
Your VBV809PF unit offers three primary functions: dry vacuuming, wet vacuuming, and a detachable blower.
1. Dry Vacuuming
- Ensure the cartridge filter is properly installed.
- Plug the power cord into a grounded electrical outlet.
- Turn the vacuum ON using the large on/off switch.
- Begin vacuuming dry debris.
- When finished, turn the vacuum OFF and unplug it.
2. Wet Vacuuming
- Remove the cartridge filter and install the reusable foam filter.
- Plug the power cord into a grounded electrical outlet.
- Turn the vacuum ON using the large on/off switch.
- Begin vacuuming liquids. The vacuum will automatically shut off when the tank is full.
- When finished, turn the vacuum OFF and unplug it.
- Draining the Tank: Unlatch the motor head and remove it. Carefully tilt the tank to pour out the liquid, or use the extra large drain plug located at the bottom of the tank for quick disposal.
3. Detachable Blower Function
This unit converts into a 190 MPH leaf blower with an effortless press of a button.
- Ensure the vacuum is OFF and unplugged.
- Unlatch the motor head from the tank.
- Locate the blower port on the motor head.
- Insert the large end of the hose into the blower port. Twist to lock it securely.
- Plug the power cord into a grounded electrical outlet.
- Turn the blower ON using the switch.
- Direct the hose to blow debris.
- When finished, turn the blower OFF and unplug it.
Maintenance
Regular maintenance ensures optimal performance and extends the life of your vacuum.
Cleaning the Tank
- After each use, especially wet vacuuming, empty the tank and rinse it with water.
- Wipe the tank dry to prevent mold and mildew growth.
Filter Maintenance
- Cartridge Filter: For dry use, tap off excess dust into a waste bin. If heavily soiled, rinse under running water and allow to air dry completely before reinstallation. Do not use for wet vacuuming.
- Foam Filter: For wet use, rinse thoroughly with water after each use and allow to air dry completely before storing or using again.
- Replace filters when they show signs of wear or damage, or if suction power significantly decreases.
Accessory Storage
Utilize the onboard accessory storage to keep all tools organized and readily available.
Troubleshooting
Before contacting customer service, review the following common issues and solutions:
| Problem | Possible Cause | Solution |
|---|---|---|
| Vacuum does not start | No power; Faulty switch | Check power outlet and circuit breaker; Ensure power cord is fully plugged in; Contact service if switch is faulty. |
| Loss of suction | Clogged hose/nozzle; Full tank; Dirty/clogged filter; Air leak | Clear obstruction; Empty tank; Clean or replace filter; Check all connections for tightness. |
| Motor overheats/shuts off | Clogged filter; Full tank (wet vac); Prolonged heavy use | Clean/replace filter; Empty tank; Allow motor to cool down before restarting. |
| Water coming from exhaust | Tank is full (wet vac); Foam filter not installed or damaged | Empty tank; Ensure foam filter is correctly installed and undamaged. |
Specifications
- Model: VBV809PF
- Tank Capacity: 8 Gallons
- Peak Horsepower: 4 HP
- Power Source: AC (Alternating Current)
- Material: Polypropylene
- Hose Dimensions: 7 feet length x 1-1/4 inches diameter
- Cord Length: 12 feet
- Product Dimensions (L x W x H): 44.45 x 42.42 x 52.58 cm (17.5 x 16.7 x 20.7 inches)
- Item Weight: 8.71 kg (19.2 lbs)
- Included Components: Shop Wet Dry Vacuums (main unit, hose, 2 wands, cartridge filter, crevice tool, utility nozzle, reusable foam filter)
Warranty and Support
For warranty information or technical support, please refer to the warranty card included with your product or contact CLEVA HONG KONG customer service directly. Keep your purchase receipt as proof of purchase for any warranty claims.
Customer Service Contact: Please visit the official CLEVA HONG KONG website or refer to the contact details provided in your product packaging for the most up-to-date support information.


