Introduction
The shift3 XL-90 Entertainment Projector is designed to display images up to 90 inches on walls or ceilings, transforming any space into an entertainment hub. This manual provides comprehensive instructions for the safe and efficient use of your projector, covering setup, operation, maintenance, and troubleshooting.
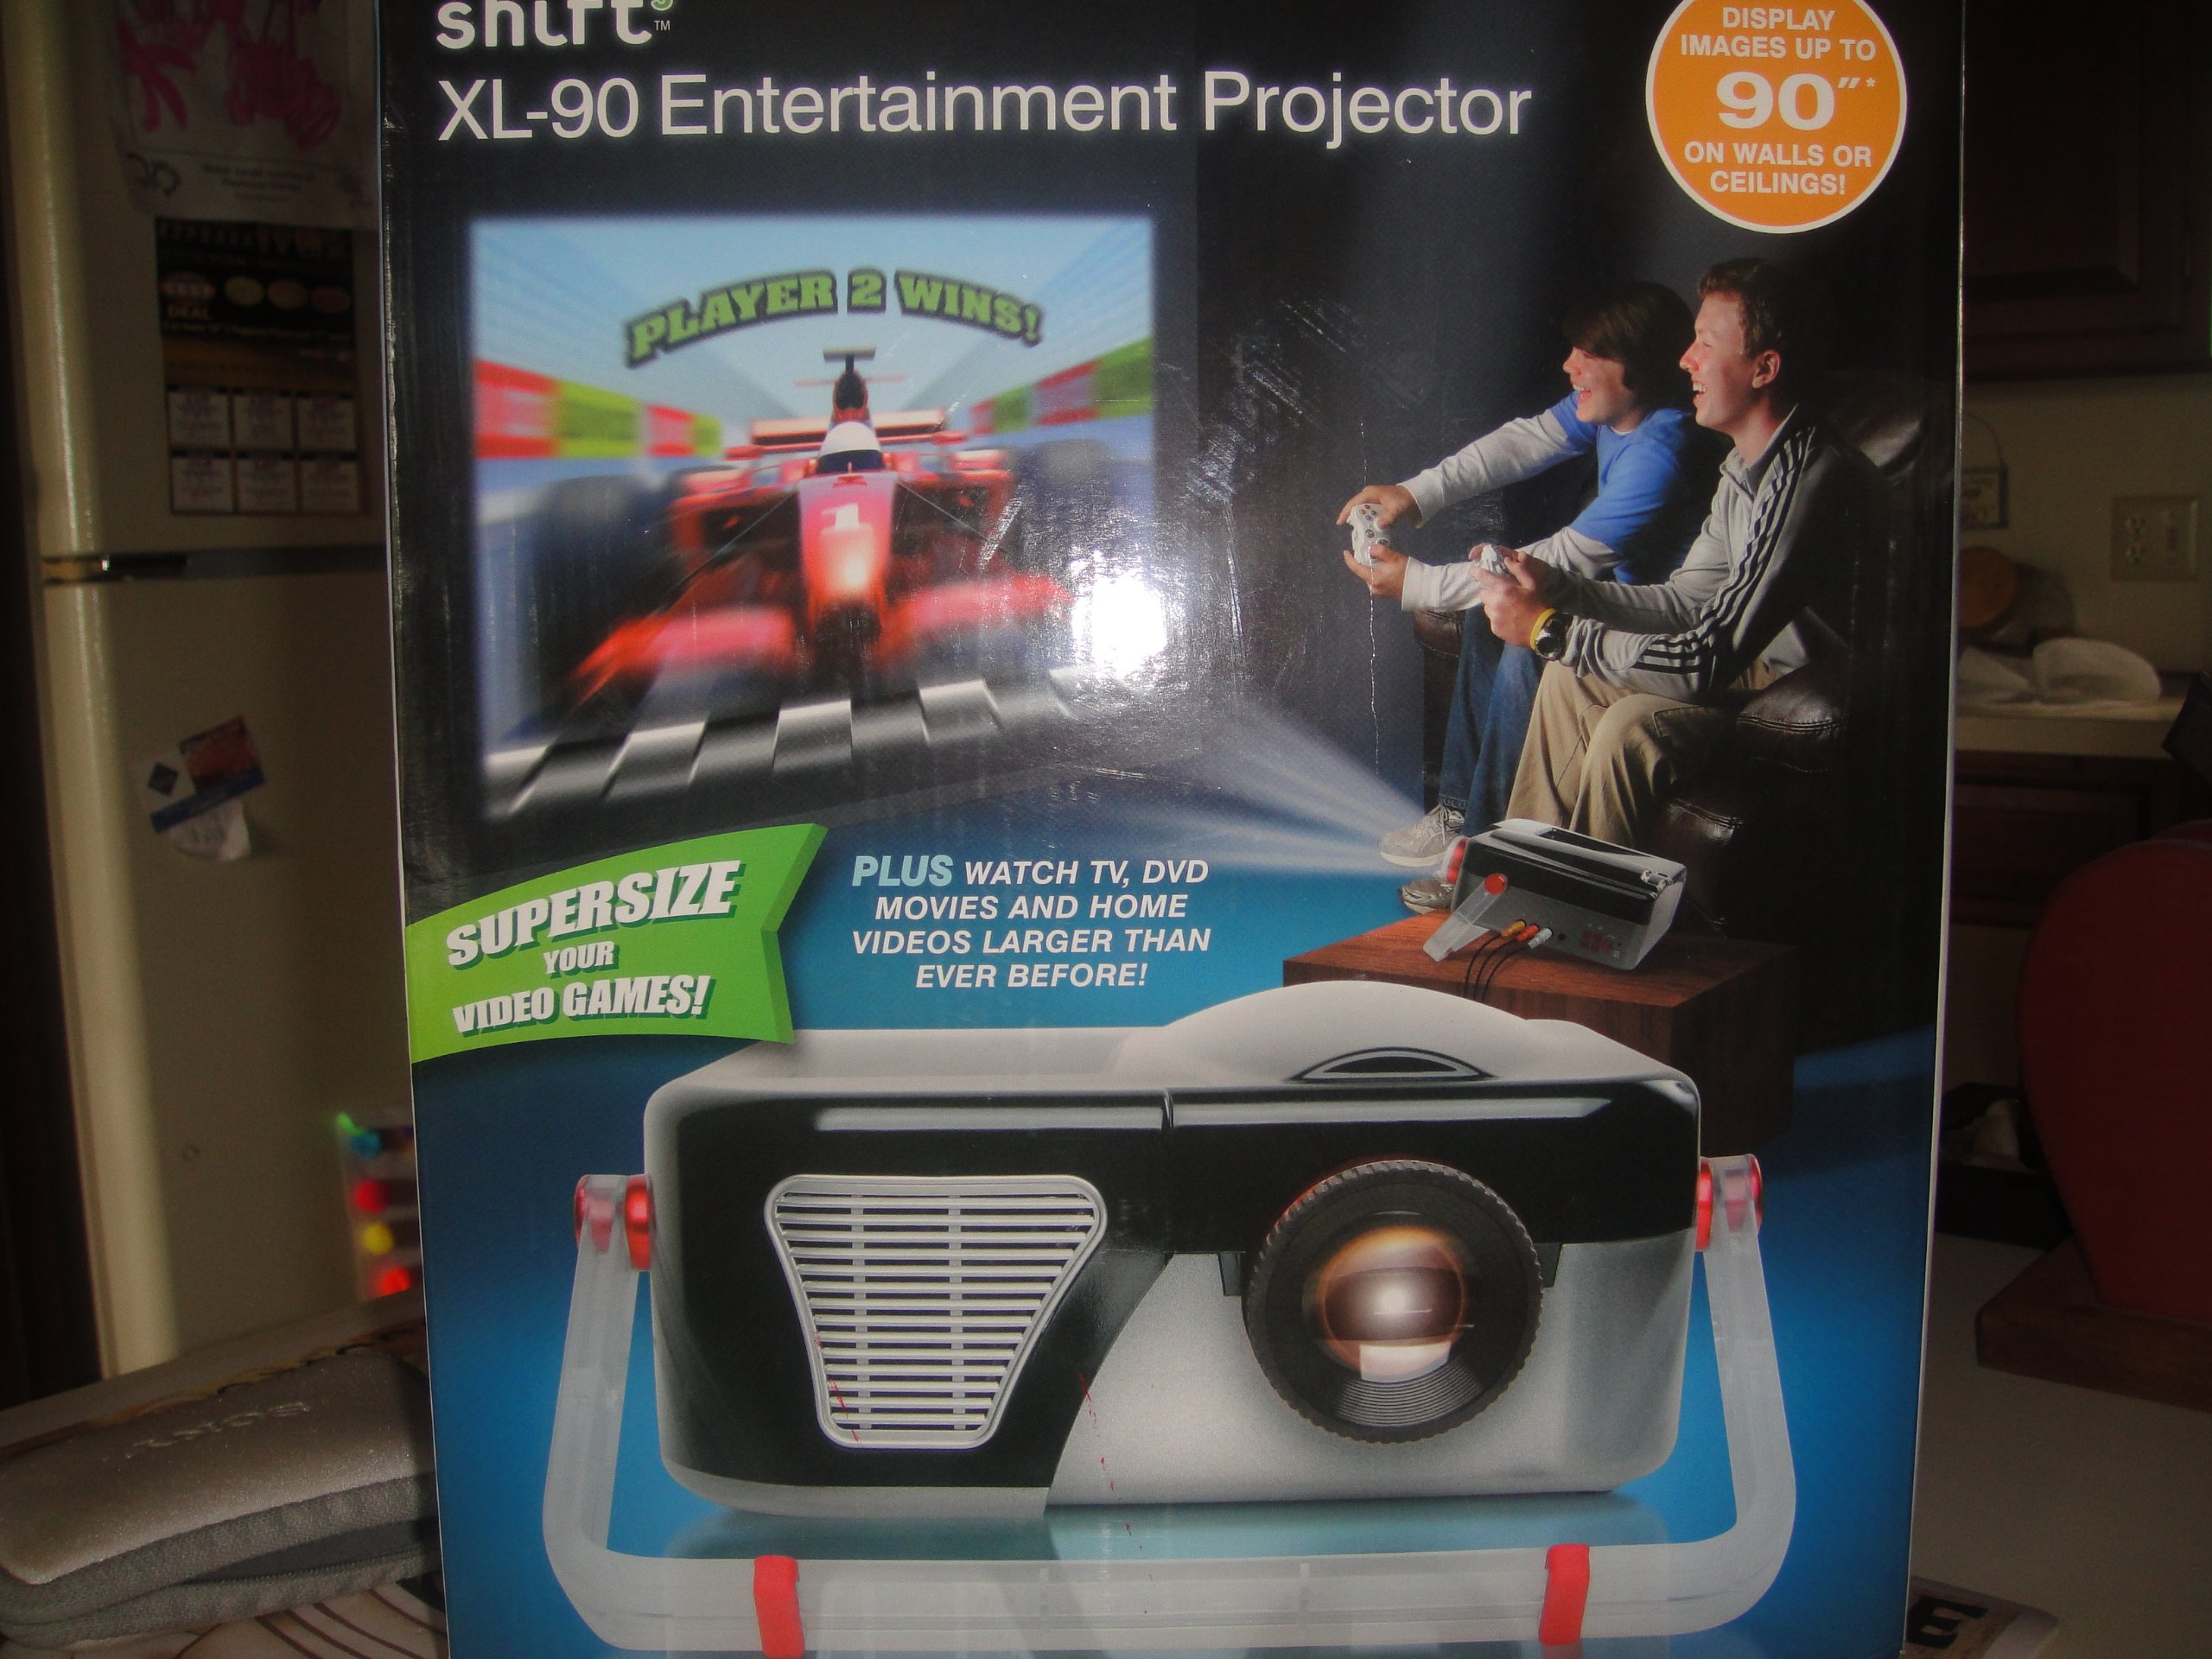
Figure 1: The shift3 XL-90 Entertainment Projector. This image displays the projector's main body, highlighting its compact design and primary lens.
Setup
1. Unpacking
Carefully remove all components from the packaging. Ensure the following items are present:
- shift3 XL-90 Projector
- Power Adapter
- Remote Control (if included)
- User Manual (this document)
2. Placement
The projector can be placed on a flat surface, wall-mounted, or ceiling-mounted. Ensure the projector is positioned at an appropriate distance from the projection surface to achieve the desired screen size (up to 90 inches).
- Desktop Placement: Place the projector on a stable, level surface.
- Wall Mount: Use a compatible wall mount kit (sold separately) and follow its installation instructions.
- Ceiling Mount: Use a compatible ceiling mount kit (sold separately) and follow its installation instructions.
3. Power Connection
- Connect the power adapter to the projector's power input port.
- Plug the power adapter into a standard electrical outlet.
- The power indicator light should illuminate.
4. Connecting Input Sources
Connect your desired video source (e.g., laptop, streaming device) to the projector using appropriate cables (HDMI, VGA, etc., depending on available ports).
As an internet-ready device, the projector may also support wireless connections or built-in streaming capabilities. Refer to the on-screen menu for network setup.
Operating Instructions
1. Powering On/Off
- To Power On: Press the Power button on the projector or the remote control. The projector will initiate its startup sequence.
- To Power Off: Press the Power button again. A confirmation message may appear. Confirm to shut down the projector. Allow the projector to cool down before unplugging.
2. Input Source Selection
Use the "Source" button on the projector or remote control to cycle through available input sources (e.g., HDMI1, HDMI2, VGA, USB, Network).
3. Image Adjustment
- Focus: Rotate the focus ring on the projector lens until the image appears sharp and clear.
- Keystone Correction: If the image appears trapezoidal, use the keystone adjustment (manual or digital, depending on model) to square the image. Refer to the on-screen menu for digital keystone settings.
- Zoom: Adjust the zoom ring (if available) to change the image size without moving the projector.
4. Network and Internet Features
As an internet-ready device, the XL-90 can connect to your home network. Navigate to the "Network Settings" menu to connect to Wi-Fi or an Ethernet connection. Once connected, you can access built-in streaming apps or browse the internet directly from the projector.
Maintenance
1. Cleaning the Lens
Gently wipe the projector lens with a soft, lint-free cloth specifically designed for optical surfaces. Do not use abrasive cleaners or excessive force, as this can scratch the lens.
2. Cleaning the Projector Casing
Use a soft, dry cloth to clean the exterior casing of the projector. For stubborn marks, a slightly damp cloth with mild detergent can be used, followed by a dry wipe. Ensure no liquid enters the projector vents.
3. Air Filter Cleaning/Replacement (if applicable)
Some projectors include an air filter to prevent dust accumulation. If your model has one, refer to the specific instructions for cleaning or replacing it to maintain optimal performance and prevent overheating.
4. Storage
When not in use for extended periods, store the projector in a cool, dry place, away from direct sunlight and extreme temperatures. Cover the lens with its cap to protect it from dust.
Troubleshooting
| Problem | Possible Cause | Solution |
|---|---|---|
| No image displayed |
|
|
| Image is blurry |
|
|
| Image is trapezoidal |
|
|
| No sound |
|
|
Specifications
| Feature | Detail |
|---|---|
| Model Number | 6.94202E+11 |
| Brand | shift3 |
| Display Resolution (Native) | 1920 x 1080 |
| Display Resolution (Maximum) | 1920 x 1080 |
| Special Feature | Internet-ready |
| Form Factor | Desktop |
| Mounting Type | Wall Mount, Ceiling Mount |
| Parcel Dimensions | 33.02 x 27.94 x 27.18 cm |
| Item Weight | 2.22 kg |
| Date First Available | May 25 2014 |


