1. Introduction
This manual provides essential information for the safe and effective installation, operation, and maintenance of your Satco 80-1044 Full Range Turn Knob Dimmer Socket. This product is designed to provide adjustable light output for compatible lighting fixtures, offering full range dimming capabilities through a convenient turn knob.
The Satco 80-1044 is a 150W dimmer socket featuring a 1/8 IPS, 3-piece stamped solid brass construction with a polished brass finish, operating at 120V with an Uno thread. Please read this manual thoroughly before installation and retain it for future reference.
2. Safety Information
WARNING: Risk of Electric Shock. Installation requires knowledge of electrical systems. If not qualified, do not attempt installation. Contact a qualified electrician.
- Always disconnect power at the circuit breaker or fuse box before installing, servicing, or removing the dimmer socket.
- Ensure all wiring connections are secure and comply with local and national electrical codes.
- Do not exceed the maximum wattage rating of 150W for this dimmer socket.
- This product is designed for indoor use only in dry locations.
- Inspect the dimmer socket for any damage before installation. Do not install if damaged.
- Keep away from water and moisture.
3. Package Contents
Carefully unpack your Satco 80-1044 Full Range Turn Knob Dimmer Socket and verify that all components are present and undamaged.
- 1 x Satco 80-1044 Full Range Turn Knob Dimmer Socket
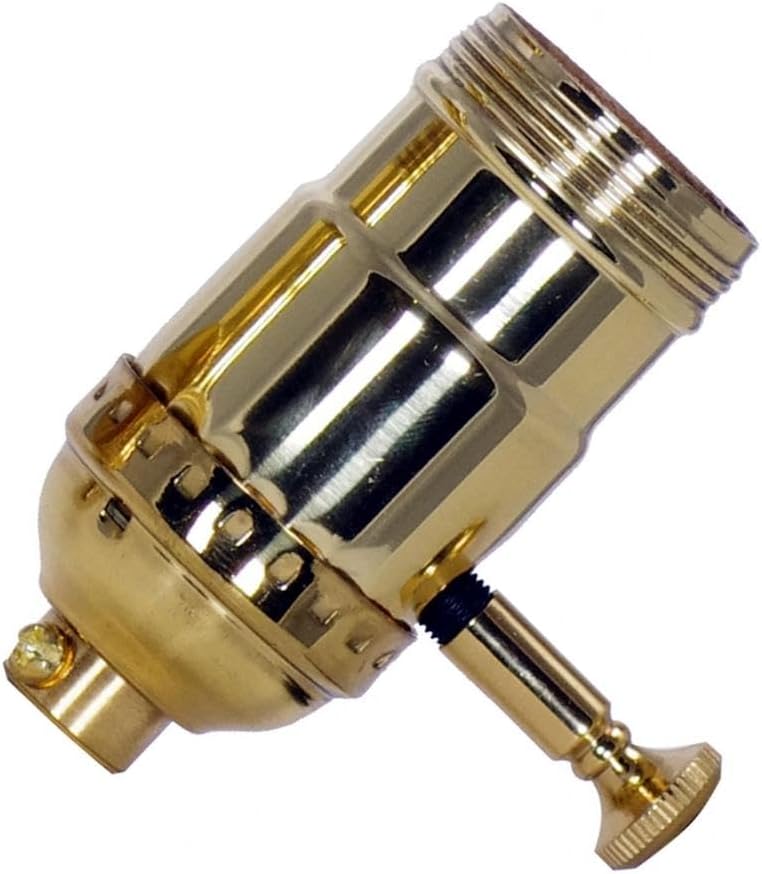
Image: The Satco 80-1044 Full Range Turn Knob Dimmer Socket, showcasing its polished brass finish and turn knob mechanism.
4. Setup and Installation
This dimmer socket is intended for integration into compatible lighting fixtures. Professional installation by a qualified electrician is highly recommended to ensure safety and compliance with electrical codes.
4.1. Pre-Installation Steps
- Turn Off Power: Locate the circuit breaker or fuse that supplies power to the fixture where the dimmer socket will be installed. Turn off the power completely. Verify power is off using a voltage tester.
- Prepare Fixture: Ensure the lighting fixture is suitable for a dimmer socket and can accommodate its dimensions (approximately 10"L x 10"W x 10"H).
4.2. Wiring Instructions
The Satco 80-1044 dimmer socket is designed for 120V applications. Specific wiring will depend on your fixture's design. Generally, connections involve:
- Connecting the hot (live) wire from the power source to the appropriate terminal on the dimmer socket.
- Connecting the neutral wire from the power source to the appropriate terminal.
- Connecting the load wire (to the bulb/fixture) to the corresponding terminal.
- Ensuring proper grounding if applicable to your fixture.
Refer to the wiring diagram provided with your lighting fixture or consult a qualified electrician for precise wiring instructions.
4.3. Mounting
Once wired, secure the dimmer socket within the fixture using its 1/8 IPS threading and any other mounting points provided by the fixture. Ensure it is firmly seated and stable.
4.4. Final Check
Before restoring power, double-check all connections for tightness and ensure no bare wires are exposed. Confirm the dimmer socket is correctly positioned.
5. Operating Instructions
The Satco 80-1044 dimmer socket features a full-range turn knob for easy operation.
- Turning On/Off: Rotate the turn knob clockwise until you hear a click to turn the light on. Continue rotating clockwise to increase brightness. Rotate counter-clockwise to decrease brightness. Rotate counter-clockwise until you hear a click to turn the light off.
- Dimming: Once the light is on, rotate the knob clockwise to brighten the light or counter-clockwise to dim the light to your desired level.
Ensure that the light bulb used with this dimmer socket is compatible with dimming functionality.
6. Maintenance
The Satco 80-1044 dimmer socket requires minimal maintenance.
- Cleaning: Ensure power is off before cleaning. Wipe the exterior of the dimmer socket with a soft, dry cloth. Do not use abrasive cleaners, solvents, or liquids, as these can damage the finish or internal components.
- Inspection: Periodically inspect the dimmer socket for any signs of wear, damage, or loose connections. If any issues are found, disconnect power and consult a qualified electrician for repair or replacement.
7. Troubleshooting
If you experience issues with your Satco 80-1044 dimmer socket, refer to the following common problems and solutions:
| Problem | Possible Cause | Solution |
|---|---|---|
| Light does not turn on. | No power to the fixture; Loose wiring connection; Faulty bulb; Dimmer socket failure. | Check circuit breaker/fuse. Ensure power is on. Verify all wiring connections are secure (with power off). Replace the light bulb. If issues persist, consult an electrician. |
| Light does not dim or dims improperly. | Non-dimmable bulb; Overloaded circuit; Dimmer socket malfunction. | Ensure you are using a dimmable light bulb. Check total wattage does not exceed 150W. If issues persist, consult an electrician. |
| Dimmer knob feels loose or unresponsive. | Internal mechanism wear or damage. | This indicates a potential internal issue. The unit may need replacement. Consult an electrician. |
If troubleshooting steps do not resolve the issue, discontinue use and contact a qualified electrician or Satco customer support.
8. Specifications
Key technical specifications for the Satco 80-1044 Full Range Turn Knob Dimmer Socket:
- Model Number: 80-1044
- Brand: Satco
- Type: Full Range Turn Knob Dimmer Socket
- Wattage Rating: 150W
- Voltage: 120V
- Material: 3 Piece Stamped Solid Brass
- Finish: Polished Brass
- Thread Type: Uno Thread, 1/8 IPS
- Product Dimensions: Approximately 10"L x 10"W x 10"H (as per package dimensions, actual product dimensions may vary slightly for internal components)
- Item Weight: Approximately 10 pounds
- Power Source: Corded Electric
9. Warranty and Support
For warranty information regarding your Satco 80-1044 Full Range Turn Knob Dimmer Socket, please contact the manufacturer directly. Warranty terms and conditions may vary.
For technical support or further assistance, please visit the official Satco website or contact their customer service department. Keep your purchase receipt for warranty claims.
Note: This manual is for informational purposes only. Satco reserves the right to make changes to product specifications without prior notice.


