Introduction
This manual provides instructions for the installation, operation, maintenance, and troubleshooting of the Satco 80-1098 3-Way (2 Circuit) Turn Knob Socket. This socket is designed for use in lighting fixtures requiring a 3-way (2 circuit) function with a removable turn knob. It features an aluminium body with a nickel finish, rated for 250W and 250V, and includes a set screw for secure installation.
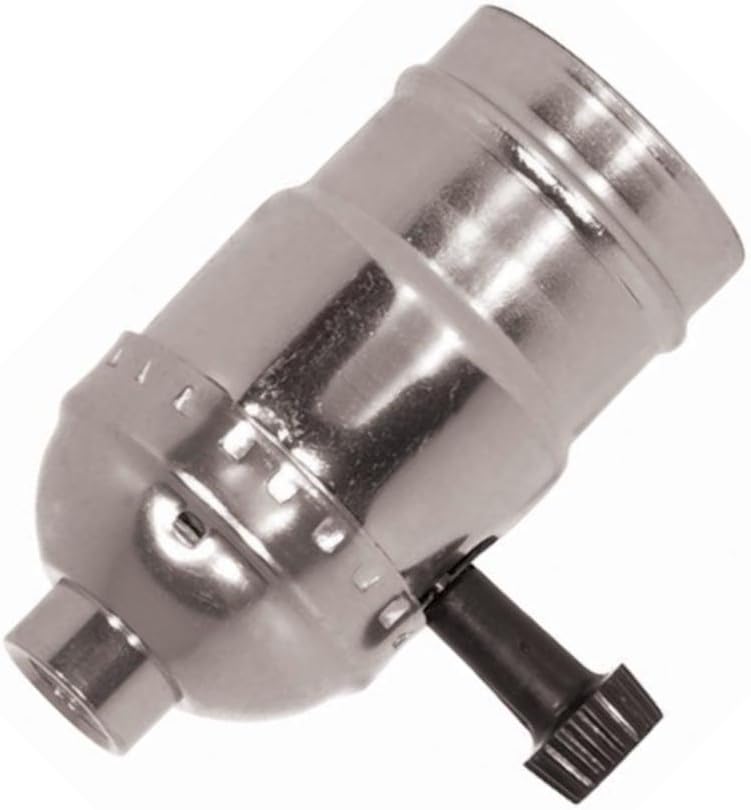
Figure 1: Satco 80-1098 3-Way (2 Circuit) Turn Knob Socket. This image shows the metallic, cylindrical light socket with a black turn knob protruding from its side. The socket has a threaded base for mounting and a threaded top for bulb insertion.
Safety Information
Read all instructions carefully before installation and use. Failure to follow these instructions may result in electrical shock, fire, or other hazards.
- Disconnect Power: Always ensure power is turned off at the circuit breaker or fuse box before installing, servicing, or cleaning the socket.
- Qualified Electrician: If you are unsure about any part of the installation process, consult a qualified electrician.
- Proper Wiring: Ensure all wiring connections are secure and comply with local electrical codes.
- Indoor Use Only: This product is intended for indoor use in dry locations only. Do not expose to moisture or extreme temperatures.
- Wattage Limit: Do not exceed the maximum wattage rating of 250W. Using higher wattage bulbs can cause overheating and fire.
- Handle with Care: The socket may become hot during operation. Allow it to cool before handling.
Setup and Installation
The Satco 80-1098 socket is designed for screw-in installation. Follow these steps for proper setup:
- Prepare the Fixture: Ensure the lighting fixture or lamp base is compatible with a 1/8 IPS threaded connection.
- Turn Off Power: Before beginning, turn off the power supply to the fixture at the main circuit breaker.
- Thread the Socket: Carefully thread the base of the Satco 80-1098 socket onto the 1/8 IPS pipe or threaded rod of your lighting fixture. Ensure it is snug but do not overtighten.
- Secure with Set Screw: Use the provided set screw to firmly secure the socket in place, preventing rotation.
- Wire Connections: Connect the electrical wires from your fixture to the appropriate terminals inside the socket. Typically, the ribbed or marked wire connects to the neutral terminal (silver screw), and the smooth or unmarked wire connects to the hot terminal (brass screw). The ground wire (if present) connects to the green screw or ground terminal. Refer to your fixture's wiring diagram if available.
- Assemble Socket Shell: Carefully reassemble the socket shell, ensuring all components are properly aligned and secured.
- Install Bulb: Screw in a compatible light bulb (E26/E27 base, maximum 250W) into the socket.
- Restore Power: Once installation is complete and all connections are secure, restore power at the circuit breaker.
Operating Instructions
The Satco 80-1098 socket features a 3-way (2 circuit) turn knob for controlling light output.
- Turning On/Off: Rotate the black turn knob clockwise to cycle through the light settings.
- 3-Way Functionality:
- First Turn: Activates the first circuit (e.g., low light).
- Second Turn: Activates the second circuit (e.g., medium light, or a different set of filaments).
- Third Turn: Activates both circuits (e.g., high light).
- Fourth Turn: Turns the light off.
- Removable Knob: The knob is removable for certain applications or aesthetic preferences. To remove, gently pull the knob straight out. To reattach, align the flat side of the knob's shaft with the flat side of the socket's stem and push firmly until it clicks into place.
Maintenance
Regular maintenance ensures the longevity and safe operation of your Satco 80-1098 socket.
- Cleaning: Ensure power is off before cleaning. Wipe the exterior of the socket with a soft, dry cloth. Do not use abrasive cleaners, solvents, or liquids directly on the socket.
- Inspection: Periodically inspect the socket for any signs of damage, wear, or loose connections. If any damage is observed, discontinue use and replace the socket.
- Bulb Replacement: Always turn off power and allow the bulb to cool before replacing it. Ensure the replacement bulb does not exceed the 250W maximum rating.
Troubleshooting
If you encounter issues with your Satco 80-1098 socket, refer to the following common problems and solutions:
| Problem | Possible Cause | Solution |
|---|---|---|
| Light does not turn on. | No power to fixture, faulty bulb, loose wiring, faulty socket. | Check circuit breaker. Replace bulb. Inspect and tighten wiring connections (with power off). If issues persist, replace socket. |
| Light flickers or dims inconsistently. | Loose bulb, loose wiring, incompatible 3-way bulb, faulty socket. | Ensure bulb is screwed in tightly. Check wiring connections. Use a proper 3-way incandescent bulb. Replace socket if necessary. |
| Turn knob does not cycle through settings. | Knob not properly seated, internal mechanism issue. | Ensure the removable knob is fully pushed onto the stem. If the issue persists, the internal mechanism may be faulty, and the socket should be replaced. |
| Socket feels hot to the touch. | Over-wattage bulb, poor ventilation, internal short. | Ensure bulb wattage does not exceed 250W. Provide adequate ventilation for the fixture. Discontinue use immediately and replace if overheating persists. |
If troubleshooting steps do not resolve the issue, contact customer support or a qualified electrician.
Specifications
| Model Number | 80-1098 |
| Brand | Satco |
| Type | 3-Way (2 Circuit) Turn Knob Socket |
| Material | Aluminium (Nickel Finish) / Glass (as per specifications) |
| Wattage Rating | 250W |
| Voltage Rating | 250V |
| Connection Type | 1/8 IPS |
| Installation Method | Screw In |
| Dimensions (Approx.) | 10 x 10 x 10 inches |
| Item Weight (Approx.) | 10 pounds |
| UPC | 045923810985 |
| Included Components | Satco 80-1098 3-Way (2 Circuit) Turn Knob Socket With Removable Knob |
Warranty and Support
For warranty information, please contact the manufacturer directly. The manufacturer's warranty details are typically provided with the product packaging or can be obtained by contacting Satco customer service.
For technical support or inquiries regarding the Satco 80-1098 socket, please refer to the contact information provided by Satco or the retailer from whom the product was purchased.
Note: Warranty information is subject to change. Always refer to the most current information provided by the manufacturer.


