
1. Product Overview
The Frigidaire 241872509 Door Gasket is a genuine replacement part designed for Frigidaire refrigerators. This gasket ensures an optimal seal for your appliance door, maintaining internal temperatures and energy efficiency. It is engineered to exact specifications to guarantee proper fit and performance.
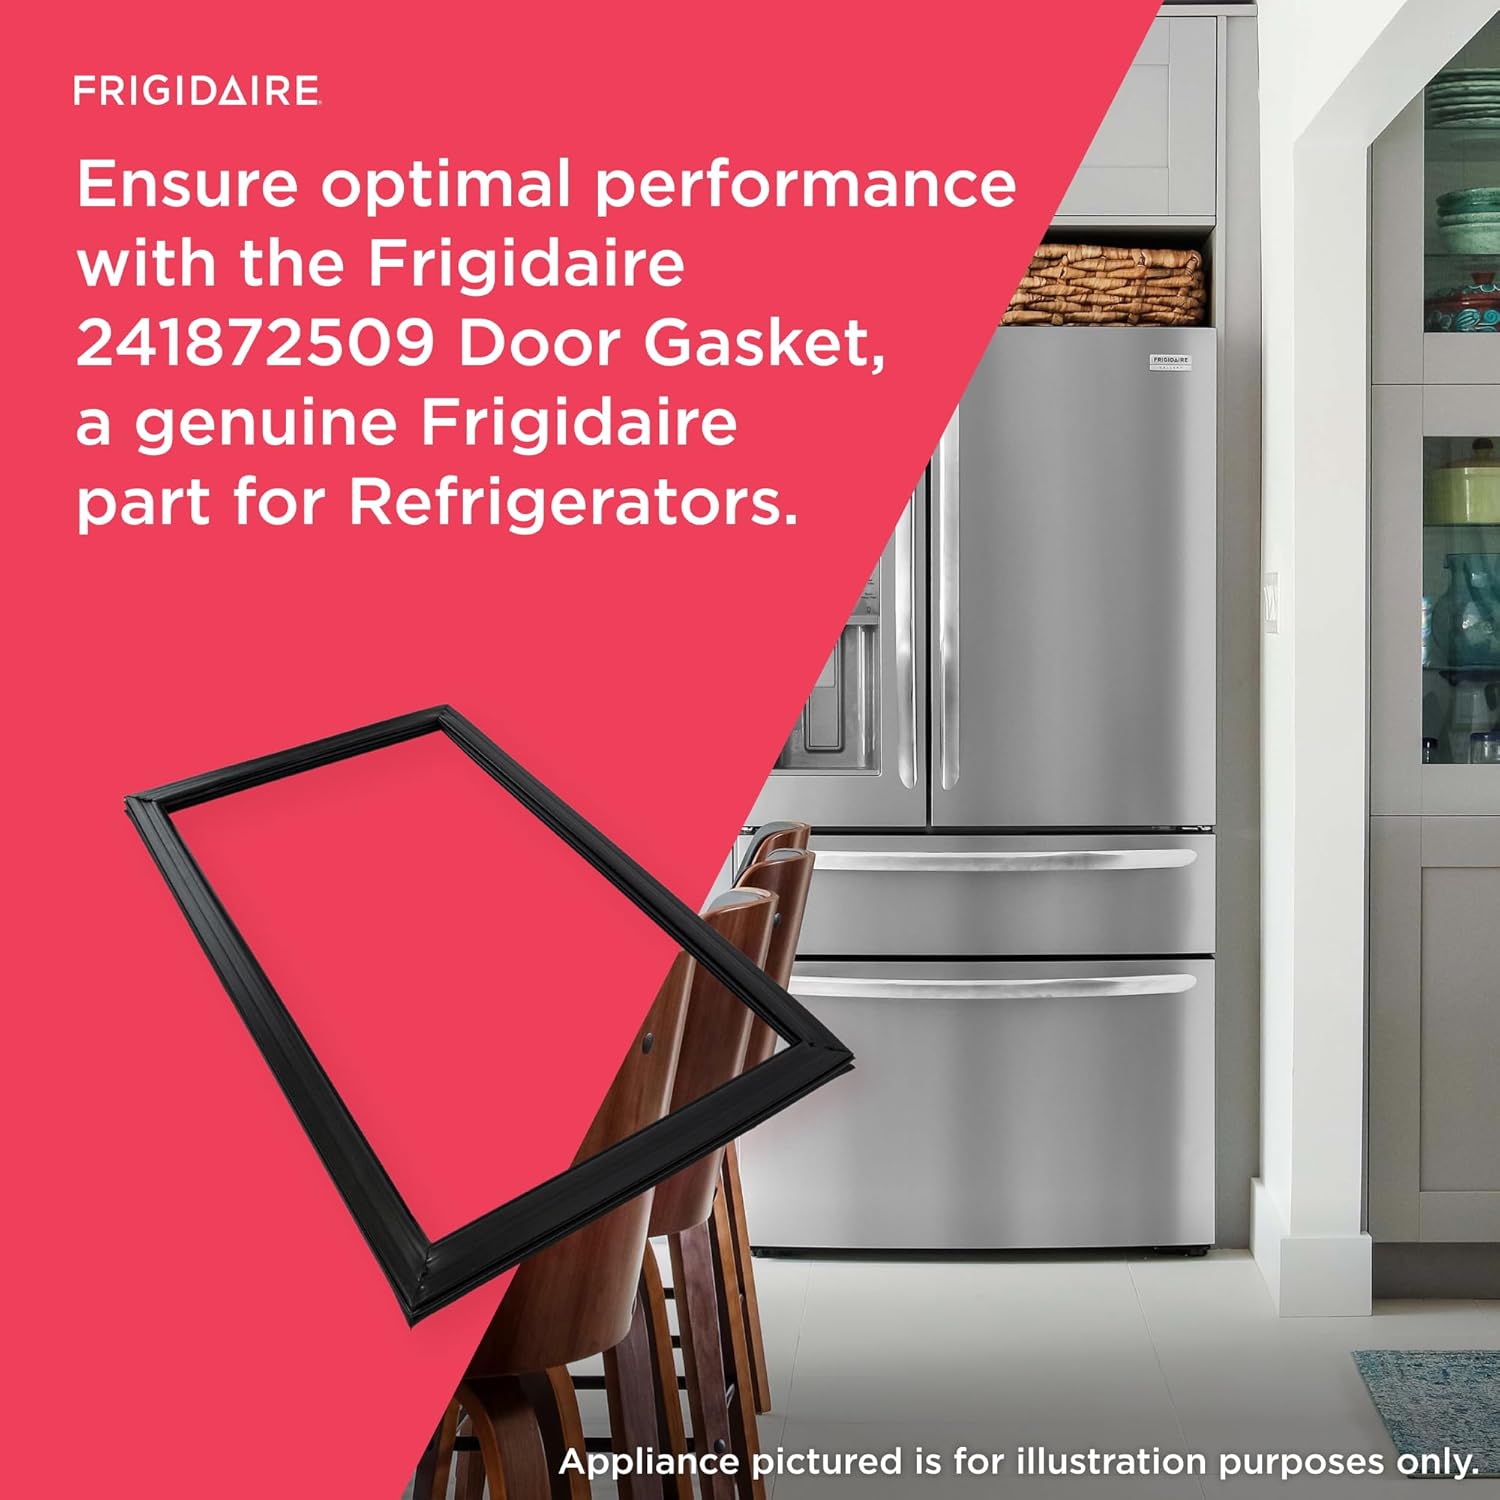
Image: The Frigidaire 241872509 Door Gasket, designed to ensure optimal performance for your refrigerator.
2. Compatibility
This genuine Frigidaire 241872509 Door Gasket is compatible with a wide range of Frigidaire refrigerator models. Please verify your specific model number against the list below to ensure compatibility before installation.

Image: A visual representation indicating where to find model compatibility information for the door gasket.
Compatible models include, but are not limited to:
- BLRT86TE, CRTE184J, CRTE187J, CRT18CDM, CRT182HN, CRT182IP, CRT185HL, CRT185HP, CRT185IL, CRT185IP, CRT185LB, CRT185LS, CRT188HL
- FRT18B5J, FRT18G6J, FRT18G6P, FRT18L4J, FRT18S6A, FRT18S6J, FRT18S8K, GLHT186J, BRT18HP7J, CFHT1842L, CFHT1842P, CFHT1843L, CFHT1843P
- CFTR1826L, CFTR1826P, CGHT1846M, CGHT1846P, CRTE183IA, CRTE184HJ, CRTE184IJ, CRT18HCDM, CRT184SBM
- DFHT1843M, DFHT1843P, DGHT1844K, DGHT1844P, FFHI1817L, FFHI1826L, FFHI1826P, FFHT1800P, FFHT1814L, FFHT1816L, FFHT1816P
- FFHT1817L, FFHT1817P, FFHT1826L, FFHT1826P, FFHT1842L, FFTR18D2P, FFTR1814L, FFTR1817L, FFUI1826M
- FGHT1832P, FGHT1834K, FGHT1844K, FGHT1844P, FGHT1846K, FGHT1846P, FGUI1849L, FRT18HP7J, FRT18HS6D, FRT18HS6J
- FRT18HS7J, FRT18HS8K, FRT18IL6D, FRT18IL6J, FRT18IS6C, FRT18IS6J, FRT8HIS6F, FTHD18P4K, FTMD18P4K, GLHT184TJ
- GLHT188WH, GLRT188WJ, GRTG20V5G, KATR1816M, KATR1816P, KRTG20V5G, LFHI1826L, LFHT1817L, LFTR1814L
- LFTR1814N, LGHT1837L, LGHT1837N, LGUI1849L, MRTG20V5M, MRTW20V6P, NFTR18X4L, NFTR18X4P
- PLHT189SS, PRTG20V5G, WRTD20V4G, WRTD20V4M, WRT18MP6C
3. Safety Information
Always prioritize safety when performing appliance repairs. Before beginning any installation or maintenance, ensure the refrigerator is unplugged from the power supply.
Tools Required:
- Gloves
- Safety Glasses

Image: Installation information, including recommended skill level (DIY Beginner), estimated install time (10 minutes), and required tools (gloves, safety glasses).
Skill Level:
This repair is suitable for a DIY Beginner. For optimal results, it is recommended that someone with basic DIY skills performs this installation.
4. Installation Instructions
Follow these steps carefully to replace your refrigerator door gasket.
- Preparation: Turn off the power supply to the refrigerator. Remove all contents from the refrigerator and clean the door seal slot using a soft brush or an old toothbrush to remove any dirt or debris.
- Gasket Restoration (if needed): If the new gasket has wrinkles from transportation, you can restore its original shape. Place the gasket in a bathtub with water at approximately 70°C (158°F) for 5-10 minutes. Ensure the card slot side is up and the magnetic strip side is down. Alternatively, let it dry in the sun for an hour or so to help it recover.
- Initial Placement: Attach the new refrigerator seal to the refrigerator door. Leave it for 6 hours to allow it to fully unfold and activate its magnetism.
- Remove Old Seal: After 12 hours, carefully remove the original refrigerator seal.
- Install New Seal: Begin by installing the four corners of the new gasket. Align the corners with the card slot and press them firmly into place.
- Secure the Sides: From both sides, work towards the middle, pressing the gasket along the slot. Ensure the inner side is pressed in place.
- Check for Evenness: After installation, observe whether there are any uneven areas. If an uneven installation is present, use a hair dryer to gently blow warm air on the uneven part to help it settle.
- Final Seal Check: Close the refrigerator door and observe if there is any gap. If not, use wide tape to fix the door to the refrigerator. Check around the entire perimeter. If any part of the gasket is not adsorbing properly, use a chopstick or similar tool to gently push it up until it adheres.
- Activate Magnetism: Let the refrigerator run for 24 hours to allow the sealing strip to set and achieve its optimal sealing effect. It is normal for the magnetic force to be weak at first; it will improve after 1-3 days.
Installation Videos:
Refrigerator Door Gasket Installation Guide
Video: A detailed guide on how to install a refrigerator door gasket, including preparation and securing the seal.
242193214 Refrigerator Door Gasket Replacement Overview
Video: A quick overview of the replacement process for the 242193214 refrigerator door gasket.
5. Maintenance
Regular maintenance of your door gasket helps prolong its life and ensures efficient refrigerator operation.
- Cleaning: Periodically clean the gasket with warm water and a mild detergent. Avoid harsh chemicals or abrasive cleaners, as these can damage the rubber.
- Inspection: Regularly inspect the gasket for any signs of wear, tears, cracks, or hardening. A damaged gasket can lead to air leaks and reduced cooling efficiency.
- Flexibility: Ensure the gasket remains flexible. If it becomes stiff, it may not seal properly.
6. Troubleshooting
If you experience issues after replacing the gasket, consider the following:
- Door Not Sealing Properly: Check for any uneven areas in the gasket installation. Re-apply gentle heat with a hair dryer to soften and reshape the gasket if necessary. Ensure the magnetic strip is fully activated by allowing the refrigerator to run for 1-3 days.
- Air Leaks: Perform the paper test: close the door on a piece of paper. If the paper slides out easily, the seal is not tight in that area. Adjust the gasket or re-install the section as needed.
- Excessive Frost/Condensation: This often indicates an air leak. Re-check the gasket installation and ensure it is fully seated and sealing correctly around the entire door frame.
7. Specifications
| Part Number | 241872509 |
| Brand | Frigidaire |
| Color | Black |
| Shape | Rectangular |
| Item Weight | 2.27 lbs (approximate) |
| Dimensions | 29.53 x 18.9 x 1.57 inches (approximate) |
8. Warranty and Support
This Frigidaire genuine part is manufactured to high-quality standards. For specific warranty information, please refer to your original appliance documentation or contact Frigidaire customer support. For further assistance with installation or troubleshooting, please consult a qualified appliance technician.
