Introduction
This manual provides essential instructions for the safe and efficient operation, installation, and maintenance of your Sharp R-25AM microwave oven. Please read this manual thoroughly before using the appliance and retain it for future reference. Proper use will ensure optimal performance and extend the lifespan of your microwave oven.
Important Safety Instructions
When using electrical appliances, basic safety precautions should be followed, including the following:
- Read all instructions before using the appliance.
- Do not attempt to operate this oven with the door open as this can result in harmful exposure to microwave energy.
- Do not place any object between the oven front face and the door or allow soil or cleaner residue to accumulate on sealing surfaces.
- Do not operate the oven if it is damaged. It is particularly important that the oven door closes properly and that there is no damage to the door, hinges, or seals.
- Only qualified service personnel should adjust or repair this appliance.
- Ensure the appliance is properly grounded.
- Do not heat liquids or other foods in sealed containers as they are liable to explode.
- Always use microwave-safe cookware.
Product Overview
Familiarize yourself with the components of your Sharp R-25AM microwave oven.
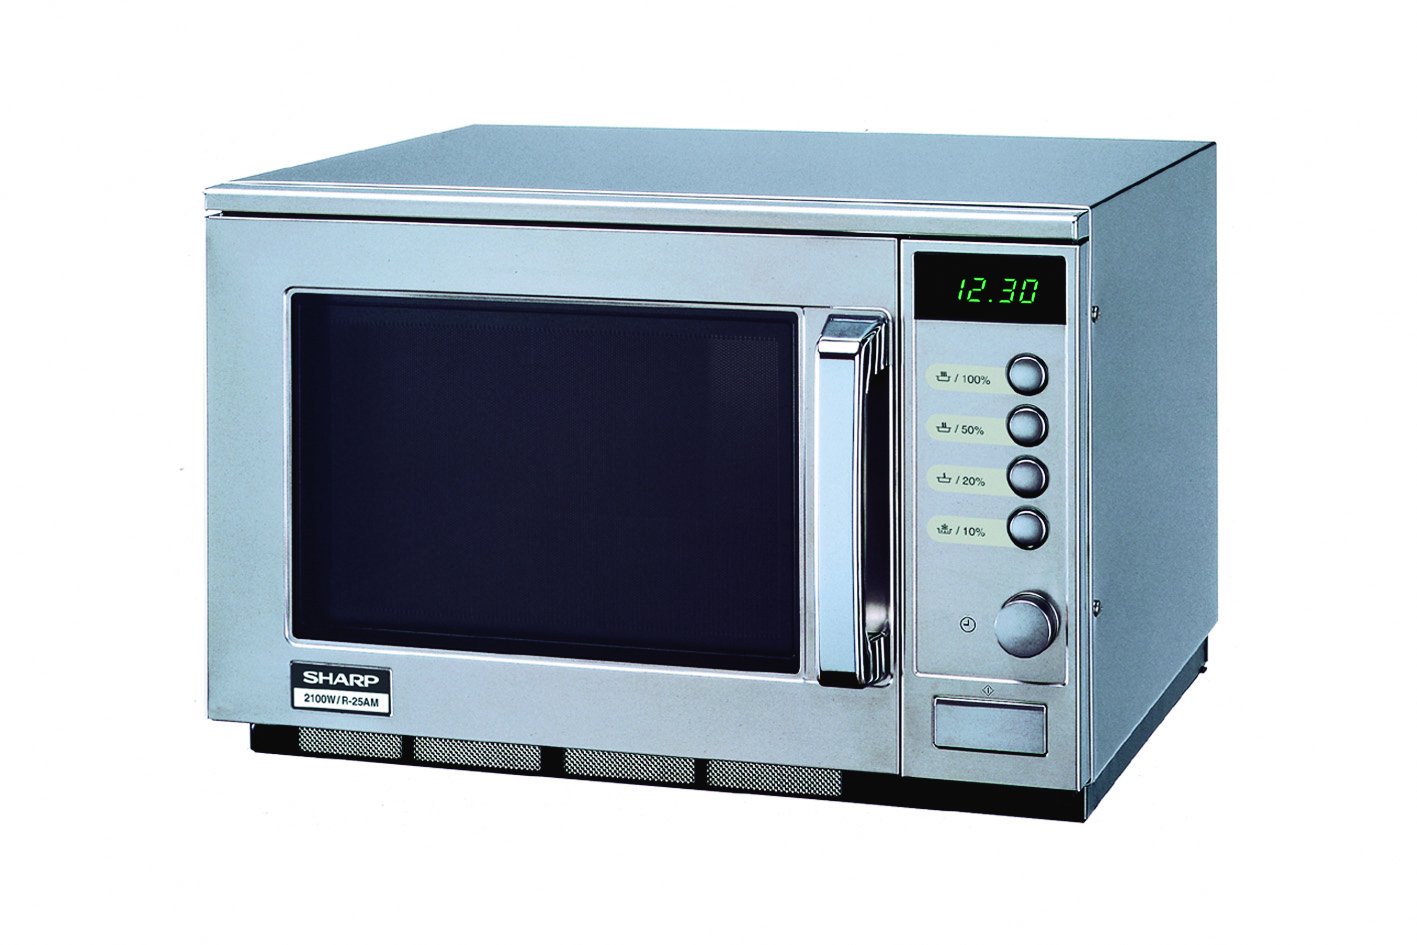
This image displays the front of the Sharp R-25AM microwave oven. It features a stainless steel finish, a dark glass door with a chrome handle, and a control panel on the right. The control panel includes a digital time display (showing '12.30'), four power level buttons (100%, 50%, 20%, 10%), and a rotary dial for setting time or weight. The model number '2100W/R-25AM' is visible on the lower left of the unit.
- Oven Cavity: The interior space where food is placed for cooking.
- Glass Turntable: Rotates food for even cooking.
- Door Assembly: Includes the door, latch, and viewing window.
- Control Panel: Contains the digital display, power level buttons, and rotary dial for setting cooking time and functions.
- Door Handle: Used to open and close the oven door.
Setup and Installation
- Unpacking: Remove all packaging materials from inside and outside the oven. Check for any damage. Do not remove the waveguide cover.
- Placement:
- Place the oven on a flat, stable surface strong enough to hold the oven and the food being cooked.
- Ensure adequate ventilation. Leave a minimum of 10 cm (4 inches) clearance at the rear, 20 cm (8 inches) at the top, and 5 cm (2 inches) on both sides.
- Do not block any ventilation openings.
- Keep the oven away from heat sources and strong magnetic fields.
- Electrical Connection:
- Plug the power cord into a properly grounded electrical outlet (230V, 50Hz, 16A).
- Do not use extension cords or adapters.
Operating Instructions
Setting the Clock
- Ensure the oven is plugged in. The display will show '0:00' or the current time if previously set.
- Press the Clock button (often indicated by a clock icon next to the rotary dial).
- Turn the rotary dial to set the hour. Press the Clock button again.
- Turn the rotary dial to set the minutes. Press the Clock button one more time to confirm.
Microwave Cooking
- Place Food: Put food in a microwave-safe container on the glass turntable. Close the oven door securely.
- Select Power Level: Press one of the power level buttons (100%, 50%, 20%, 10%) to choose the desired cooking intensity. For example, press '100%' for full power (2100W).
- Set Cooking Time: Turn the rotary dial to set the desired cooking time. The display will show the time counting down.
- Start Cooking: The oven will start automatically after setting the time. Some models may require pressing a separate 'Start' button.
- End of Cooking: The oven will beep when cooking is complete. Open the door and carefully remove the food.
Defrosting
The defrost function allows you to thaw frozen foods efficiently.
- Place the frozen food on the turntable.
- Press the Defrost button (if available, or use a lower power setting like 20% or 50%).
- Turn the rotary dial to set the defrost time or weight, depending on the model's features.
- The oven will begin defrosting. It may be necessary to turn the food over halfway through the defrosting process for even thawing.
Maintenance and Cleaning
Regular cleaning and maintenance will ensure your microwave oven operates effectively and safely.
- Cleaning the Interior:
- After each use, wipe the interior with a damp cloth to remove food splatters.
- For stubborn stains, place a bowl of water with lemon juice inside and microwave for 2-3 minutes. The steam will loosen the grime, making it easier to wipe clean.
- Do not use abrasive cleaners or scouring pads.
- Cleaning the Exterior:
- Wipe the exterior surfaces with a soft, damp cloth.
- For stainless steel surfaces, use a specialized stainless steel cleaner to maintain its finish.
- Cleaning the Turntable: The glass turntable and roller ring can be removed and washed in warm, soapy water or in a dishwasher. Ensure they are completely dry before placing them back in the oven.
- Door Seals: Regularly clean the door seals and adjacent parts with a damp cloth to ensure proper sealing and prevent microwave leakage.
Troubleshooting
Before contacting customer service, please refer to the following common issues and solutions:
| Problem | Possible Cause | Solution |
|---|---|---|
| Oven does not start. | Power cord not plugged in; door not closed properly; fuse blown or circuit breaker tripped. | Ensure plug is firmly in outlet; close door securely; check household fuse or reset circuit breaker. |
| Food not heating. | Door not closed properly; incorrect cooking time or power level set. | Ensure door is closed; verify cooking time and power level settings. |
| Light not working. | Bulb needs replacement. | Contact qualified service personnel for bulb replacement. |
| Turntable not rotating. | Turntable not properly placed; debris under turntable. | Ensure turntable and roller ring are correctly positioned; clean any debris. |
Specifications
Key technical specifications for the Sharp R-25AM microwave oven:
- Model: R-25AM
- Brand: Sharp
- Capacity: 20 Litres
- Power Output: 2100 Watts
- Voltage: 230 Volts
- Frequency: 50 Hz
- Installation Type: Countertop
- Material: Stainless Steel
- Product Dimensions (L x W x H): 470 x 510 x 335 mm (approx. 18.5 x 20.1 x 13.2 inches)
- Weight: 33.12 kg (approx. 73 lbs)
- Control Type: Button, Rotary Dial
Warranty and Support
For warranty information, please refer to the warranty card included with your purchase or visit the official Sharp website. For technical support or service inquiries, please contact Sharp customer service directly. Keep your purchase receipt as proof of purchase for warranty claims.
Note: Availability of spare parts is currently unavailable as per product information.


