1. Introduction
This manual provides comprehensive instructions for the setup, operation, and maintenance of your RadioShack CTR-121 Desktop Cassette Recorder. Please read this manual thoroughly before using the device to ensure proper function and longevity.
Key features of the CTR-121 include voice-activated (VOX) recording, auto-level recording, auto stop mechanism, and various input/output jacks for enhanced functionality.
2. Safety Information
Observe the following safety precautions to prevent damage to the unit and ensure user safety:
- Do not expose the unit to rain or moisture.
- Avoid placing the unit near heat sources or in direct sunlight.
- Use only the specified power adapter.
- Do not open the casing; refer all servicing to qualified personnel.
- Keep out of reach of children.
3. Package Contents
Verify that all items are present in the package:
- RadioShack CTR-121 Desktop Cassette Recorder
- AC Power Cord
- User's Guide (this document)
- Safety Instructions
4. Product Overview
Familiarize yourself with the various parts of your CTR-121 recorder.

Figure 1: Front view of the RadioShack CTR-121 Desktop Cassette Recorder, showing the speaker, cassette compartment, and control buttons.
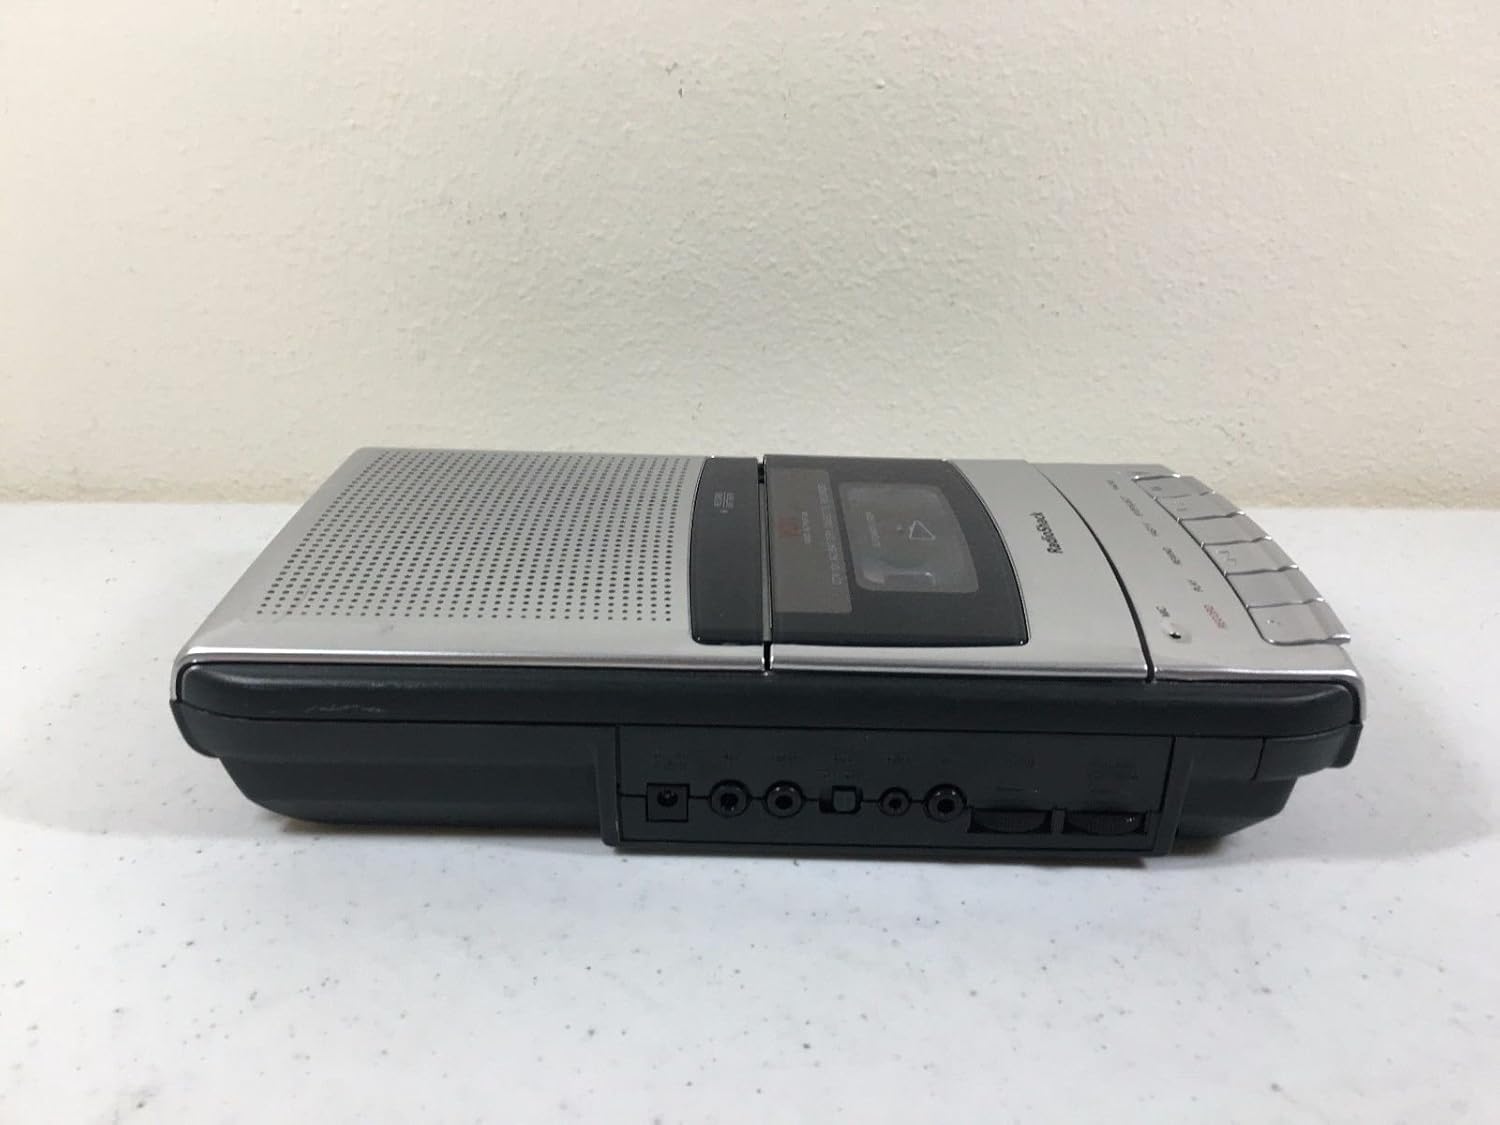
Figure 2: Left side view of the recorder, illustrating the microphone, earphone, and remote control jacks.

Figure 3: Right side view of the recorder, showing the DC power input jack.
The front panel includes controls for Record, Play, Rewind, Fast-F (Fast Forward), Stop/Eject, and Pause. A built-in microphone is located on the front, along with a speaker grille.
5. Setup
5.1 Powering the Unit
The CTR-121 can be powered by either AC power or batteries.
AC Power:
- Ensure the recorder is turned off.
- Connect the supplied AC power cord to the DC IN jack on the right side of the unit (refer to Figure 3).
- Plug the other end of the power cord into a standard AC wall outlet.
Battery Power:
(Note: Battery compartment details are not provided in the product data, so this section will be generic.)
- Open the battery compartment cover, usually located on the bottom or rear of the unit.
- Insert the required number of C-size batteries (not included), observing the correct polarity (+/-) as indicated inside the compartment.
- Close the battery compartment cover securely.
5.2 Connecting Accessories
The CTR-121 features several jacks for external devices (refer to Figure 2):
- MIC Jack: Connect an external microphone for improved recording quality or hands-free operation.
- EARPHONE Jack: Connect headphones or an earphone for private listening.
- REMOTE Jack: Connect a compatible remote control for convenient operation (remote control sold separately).
6. Operating Instructions
6.1 Loading a Cassette Tape
- Press the STOP/EJECT button to open the cassette compartment door.
- Insert a standard audio cassette tape with the open edge facing upwards and the full reel on the left.
- Gently close the cassette compartment door until it clicks shut.
6.2 Recording
Normal Recording:
- Insert a blank or recordable cassette tape.
- Press the RECORD button. The PLAY button will also engage automatically.
- The recording indicator light will illuminate.
- Speak into the built-in microphone or ensure an external microphone is connected and active.
- To stop recording, press the STOP/EJECT button.
Voice-Activated (VOX) Recording:
The VOX feature allows the recorder to start recording automatically when sound is detected and pause when silence occurs, conserving tape.
- Ensure the VOX switch (if present, location not specified in data) is set to the ON position.
- Press the RECORD button. The recorder will enter standby mode.
- Recording will begin when sound is detected and pause during periods of silence.
- To stop VOX recording, press the STOP/EJECT button.
Auto Level Recording:
The CTR-121 features an automatic level control (ALC) system that adjusts the recording volume to an optimal level, preventing distortion from overly loud sounds and ensuring softer sounds are audible.
6.3 Playback
- Insert a recorded cassette tape.
- Press the PLAY button.
- Adjust the volume control (if present, location not specified in data) to your desired listening level.
- To stop playback, press the STOP/EJECT button.
6.4 Fast Forward and Rewind
- To fast forward the tape, press the FAST-F button.
- To rewind the tape, press the REWIND button.
- Press STOP/EJECT to stop fast forwarding or rewinding.
6.5 Pause Function
During recording or playback, press the PAUSE button to temporarily stop the tape movement. Press it again to resume.
6.6 Tone Control
The CTR-121 includes a tone control feature (if present, location not specified in data) to adjust the audio output's treble and bass frequencies, allowing for a customized listening experience.
7. Maintenance
7.1 Cleaning the Tape Heads
Regular cleaning of the tape heads, capstan, and pinch roller is essential for optimal sound quality and to prevent tape damage. Clean these components after every 10-12 hours of use or if sound quality deteriorates.
- Open the cassette compartment.
- Using a cotton swab lightly moistened with isopropyl alcohol or a specialized head cleaning fluid, gently wipe the tape heads, capstan, and pinch roller.
- Allow the components to dry completely before inserting a tape.
7.2 General Care
- Keep the unit free from dust and dirt. Use a soft, dry cloth for cleaning the exterior.
- Do not use abrasive cleaners or solvents.
- When not in use for extended periods, remove batteries to prevent leakage.
8. Troubleshooting
| Problem | Possible Cause | Solution |
|---|---|---|
| Unit does not power on. | No AC power; dead batteries; incorrect battery polarity. | Check AC cord connection and outlet; replace batteries; ensure correct battery polarity. |
| No sound during playback. | Volume too low; headphones connected; dirty tape heads; faulty tape. | Increase volume; disconnect headphones; clean tape heads; try another tape. |
| Poor recording quality. | Dirty tape heads; microphone too far; faulty tape. | Clean tape heads; speak closer to microphone; try a new tape. |
| Tape does not move. | Tape jammed; auto stop engaged; unit not powered. | Open compartment and re-seat tape; ensure power is on. |
9. Specifications
| Model Number | CTR-121 |
| Brand | RadioShack |
| Package Dimensions | 12.8 x 7 x 2.9 inches |
| Item Weight | 2.25 pounds (approximately 1.02 kg) |
| Manufacturer | Radio Shack |
| Compatible Devices | Personal Computer (via USB, if applicable) |
| Hardware Interface | USB (for data transfer, if applicable) |
| Microphone Form Factor | Built-In |
| Format | MP3 Audio (for digital output, if applicable) |
| Headphones Jack | 3.5 millimeters |
| Memory Storage Capacity | 2.2 GB (for digital storage, if applicable) |
| UPC | 040293153236 |
Note: Specifications are subject to change without notice. The "Compatible Devices", "Hardware Interface", "Format", and "Memory Storage Capacity" listed may refer to digital conversion capabilities or compatibility with modern systems, as the primary function is analog cassette recording.
10. Warranty and Support
For warranty information, please refer to the warranty card included with your product or contact RadioShack customer support. Keep your purchase receipt as proof of purchase.
For technical support or service inquiries, please visit the official RadioShack website or contact their customer service department using the information provided in your product packaging or on their website.


