
1. Introduction and Product Overview
The Bosch Professional GRL 300 HV is a robust rotary laser level designed for precise horizontal and vertical leveling tasks on construction sites. Its intuitive interface and automatic self-leveling capabilities ensure quick and accurate measurements, even in challenging outdoor conditions. The integrated shock warning system (ADS) helps prevent leveling errors caused by vibrations or impacts.
Key Features:
- Durable Design: IP54 protection against dust and water, suitable for harsh outdoor environments.
- High Accuracy: Provides precise leveling results with an accuracy of ± 3 mm at 30 m.
- Automatic Self-Leveling: Quick setup with automatic self-leveling up to 8% (± 5°).
- Shock Warning System (ADS): Prevents measurement errors due to external disturbances.
- Versatile Applications: Ideal for outdoor leveling, building construction, civil engineering, and landscaping.
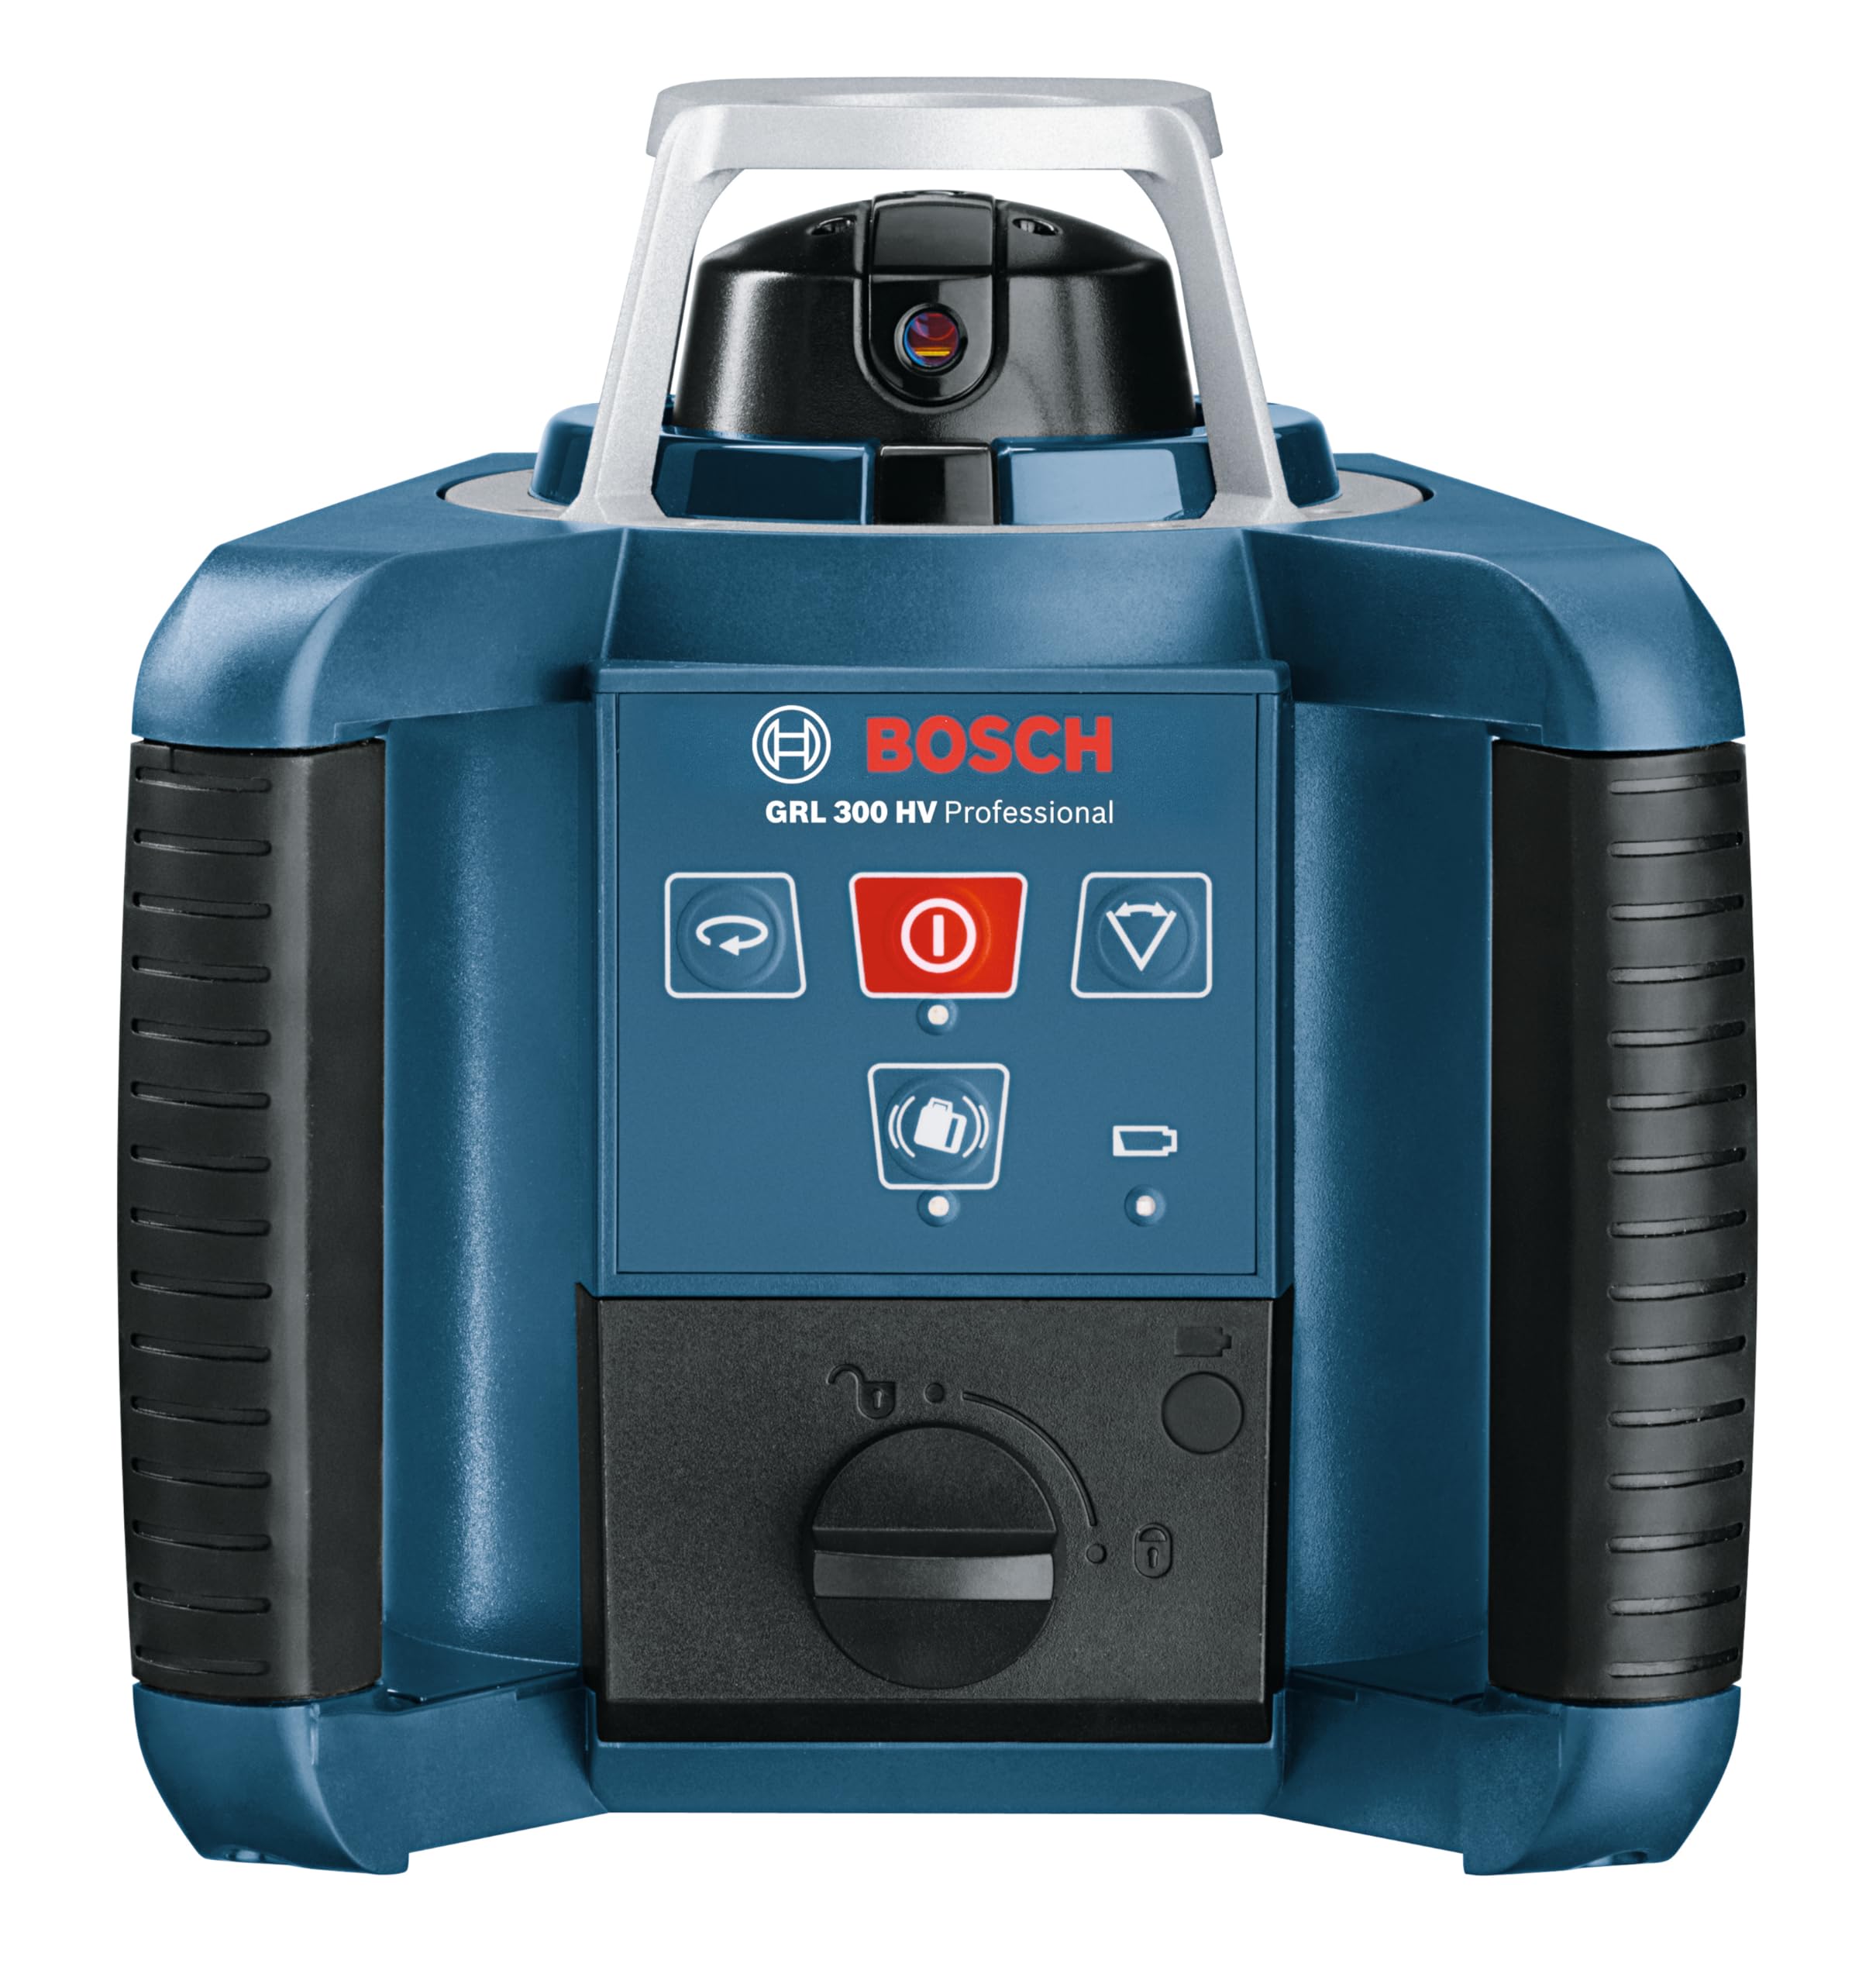
Image 1.1: The GRL 300 HV rotary laser level set up on a tripod, projecting a red laser line across a construction area for precise alignment.
2. Setup
Before operating your GRL 300 HV rotary laser level, ensure all components are present and correctly installed.
2.1 Unpacking and Component Check
Carefully unpack the device and all accessories. Verify that the following items are included:
- GRL 300 HV Rotary Laser Level
- LR 1 Professional Laser Receiver
- RC1 Professional Remote Control
- WM 4 Professional Universal Mount
- Red Laser Target Plate
- Red Laser Viewing Glasses
- NiMH Battery Pack
- Charger Set with Adapter
- 1 x 9V Block Battery (for LR 1 Receiver)
- 2 x 1.5V LR20 (D) Batteries (for GRL 300 HV)
- 1 x 1.5V LR6 (AA) Battery (for RC1 Remote Control)
- Carrying Case
2.2 Battery Installation
- GRL 300 HV: Open the battery compartment on the device. Insert the 2 x 1.5V LR20 (D) batteries or the NiMH battery pack, ensuring correct polarity. Close the compartment securely.
- LR 1 Receiver: Open the battery compartment on the LR 1. Insert the 9V block battery, observing polarity. Close the compartment.
- RC1 Remote Control: Open the battery compartment on the RC1. Insert the 1.5V LR6 (AA) battery, observing polarity. Close the compartment.
2.3 Mounting the Device
The GRL 300 HV can be mounted on a tripod or using the WM 4 Professional universal mount.
- Tripod Mounting: Screw the laser level onto a compatible tripod using the threaded mount at the base. Ensure it is stable and level.
- Universal Mount (WM 4): Attach the WM 4 mount to a wall or suitable surface. Secure the GRL 300 HV to the WM 4 mount. This allows for flexible positioning, especially for vertical applications.

Image 2.1: The GRL 300 HV laser level securely mounted on a tripod, ready for operation.

Image 2.2: The WM 4 Professional Universal Mount, used for attaching the laser level to various surfaces.
3. Operating Instructions
The GRL 300 HV offers both horizontal and vertical leveling modes with automatic self-leveling.
3.1 Powering On and Self-Leveling
- Place the GRL 300 HV on a stable surface or tripod.
- Press the power button (I) to turn on the device.
- The laser will automatically begin self-leveling. This process is indicated by a flashing laser beam. Once leveled, the beam will become steady.
- If the device is outside its self-leveling range (± 5°), the laser beam will continue to flash rapidly, and an audible warning may sound. Adjust the device's position until it can self-level.
3.2 Operating Modes
- Horizontal Mode: For horizontal leveling, ensure the device is upright. The laser will project a 360° horizontal plane.
- Vertical Mode: For vertical leveling, place the device on its side using the integrated feet or mount it with the WM 4. The laser will project a 360° vertical plane.
- Scan Mode: Use the scan button to create a visible laser line segment instead of a full 360° rotation. This is useful for specific work areas.
- Point Mode: The laser can also project a stationary point for precise alignment.
3.3 Using the LR 1 Laser Receiver
For outdoor use or when the laser beam is difficult to see, use the LR 1 Professional Laser Receiver.
- Turn on the LR 1 receiver.
- Hold the receiver in the path of the laser beam. The display and audible signals on the receiver will indicate when it detects the laser line.
- Adjust the receiver's position until the center indicator is lit, signifying precise alignment with the laser plane.
3.4 Using the RC1 Professional Remote Control
The RC1 remote control allows for convenient adjustment of the laser level from a distance.
- Use the directional arrows to adjust the laser line position in vertical mode or to control the scan line.
- The remote can also be used to switch between operating modes.
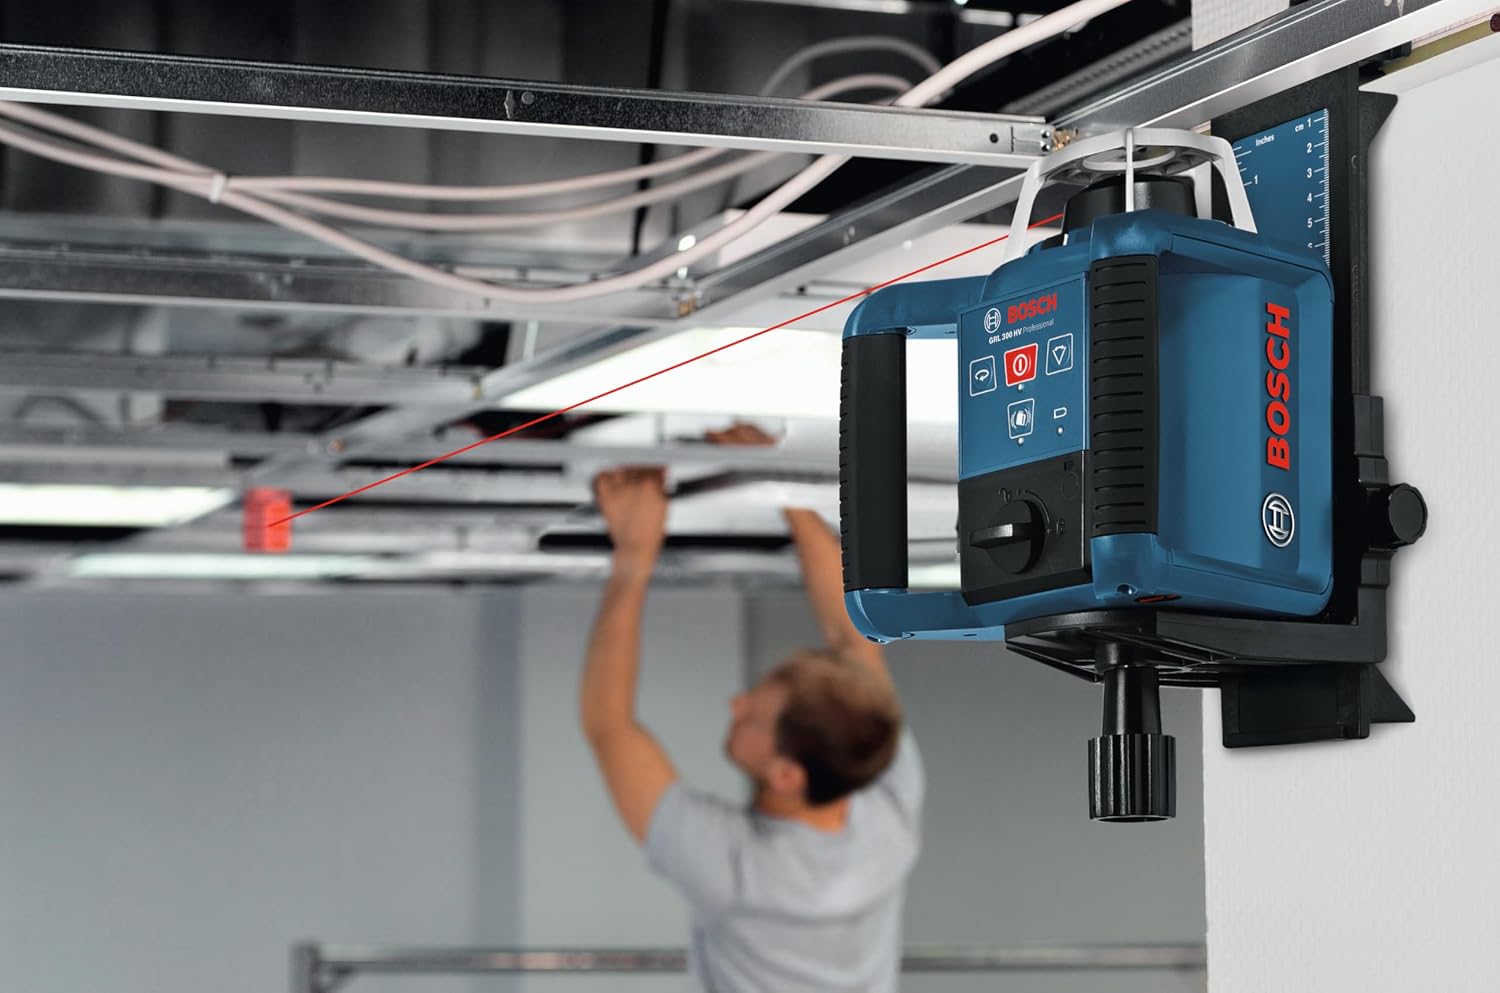
Image 3.1: The GRL 300 HV laser level mounted on a wall bracket, projecting a vertical laser line for interior construction work.

Image 3.2: The RC1 Professional Remote Control, used for adjusting the laser level remotely.
4. Maintenance
Proper maintenance ensures the longevity and accuracy of your GRL 300 HV rotary laser level.
4.1 Cleaning
- Keep the device clean, especially the laser exit opening.
- Use a soft, damp cloth to wipe down the exterior. Do not use harsh cleaning agents or solvents.
- Regularly clean the LR 1 receiver and RC1 remote control as well.
4.2 Storage
- When not in use, store the device and accessories in the provided carrying case.
- Remove batteries if the device will not be used for an extended period to prevent leakage.
- Store in a dry, dust-free environment, away from direct sunlight and extreme temperatures.
4.3 Calibration Check
While the GRL 300 HV is designed for high accuracy, it is recommended to periodically check its calibration, especially after significant impacts or long periods of use. Refer to the detailed calibration procedure in the full product manual or contact an authorized service center.
5. Troubleshooting
This section addresses common issues you might encounter with your GRL 300 HV.
| Problem | Possible Cause | Solution |
|---|---|---|
| Laser does not turn on. | Dead or incorrectly inserted batteries. | Check battery polarity and replace with fresh batteries if necessary. Ensure the battery compartment is closed. |
| Laser beam flashes rapidly. | Device is outside its self-leveling range. | Adjust the device's position to be within ± 5° of level. |
| Laser beam is not visible. | Too much ambient light; distance too great. | Use the LR 1 Laser Receiver. Wear the red laser viewing glasses. Reduce ambient light if possible. |
| Inaccurate measurements. | Device was bumped; out of calibration. | Check the ADS shock warning system. Perform a calibration check. If issues persist, contact service. |
| Remote control not working. | Dead or incorrectly inserted battery; out of range. | Replace AA battery in RC1. Ensure line of sight and operate within specified range. |
6. Specifications
Detailed technical specifications for the Bosch Professional GRL 300 HV Rotary Laser Level.
| Feature | Specification |
|---|---|
| Brand | Bosch Professional |
| Model Number | GRL 300 HV |
| Laser Diode | 635 nm, < 1 mW (Red Beam) |
| Laser Class | 2 |
| Working Range (Diameter) | Up to 300 m (with LR 1 receiver) |
| Leveling Accuracy | ± 3 mm at 30 m |
| Self-Leveling Range | ± 5° (8%) |
| Dust and Splash Protection | IP54 |
| Operating Mode | Automatic |
| Power Supply | 2 x 1.5V LR20 (D) batteries or NiMH battery pack |
| Product Dimensions (L x W) | 19 cm x 18 cm |
| Product Weight | 7070 Grams (7.07 kg) |
| Material | Aluminum, Metal |

Image 6.1: Dimensional diagram of the GRL 300 HV, indicating its height and width.
7. Warranty and Support
Bosch Professional products are manufactured to the highest quality standards. For warranty information, service, or technical support, please refer to the documentation included with your product or visit the official Bosch Professional website.
Online Resources: For additional information, FAQs, and detailed product manuals, please visit the Bosch Professional Store.


