Introduction
This manual provides important information regarding the installation, operation, and maintenance of your Kidde Carbon Monoxide Detector, model KN-COB-LP2. This battery-powered CO alarm utilizes electrochemical sensor technology to detect carbon monoxide gas, providing crucial protection for your home and family. Please read this manual thoroughly before installation and keep it in a safe place for future reference.
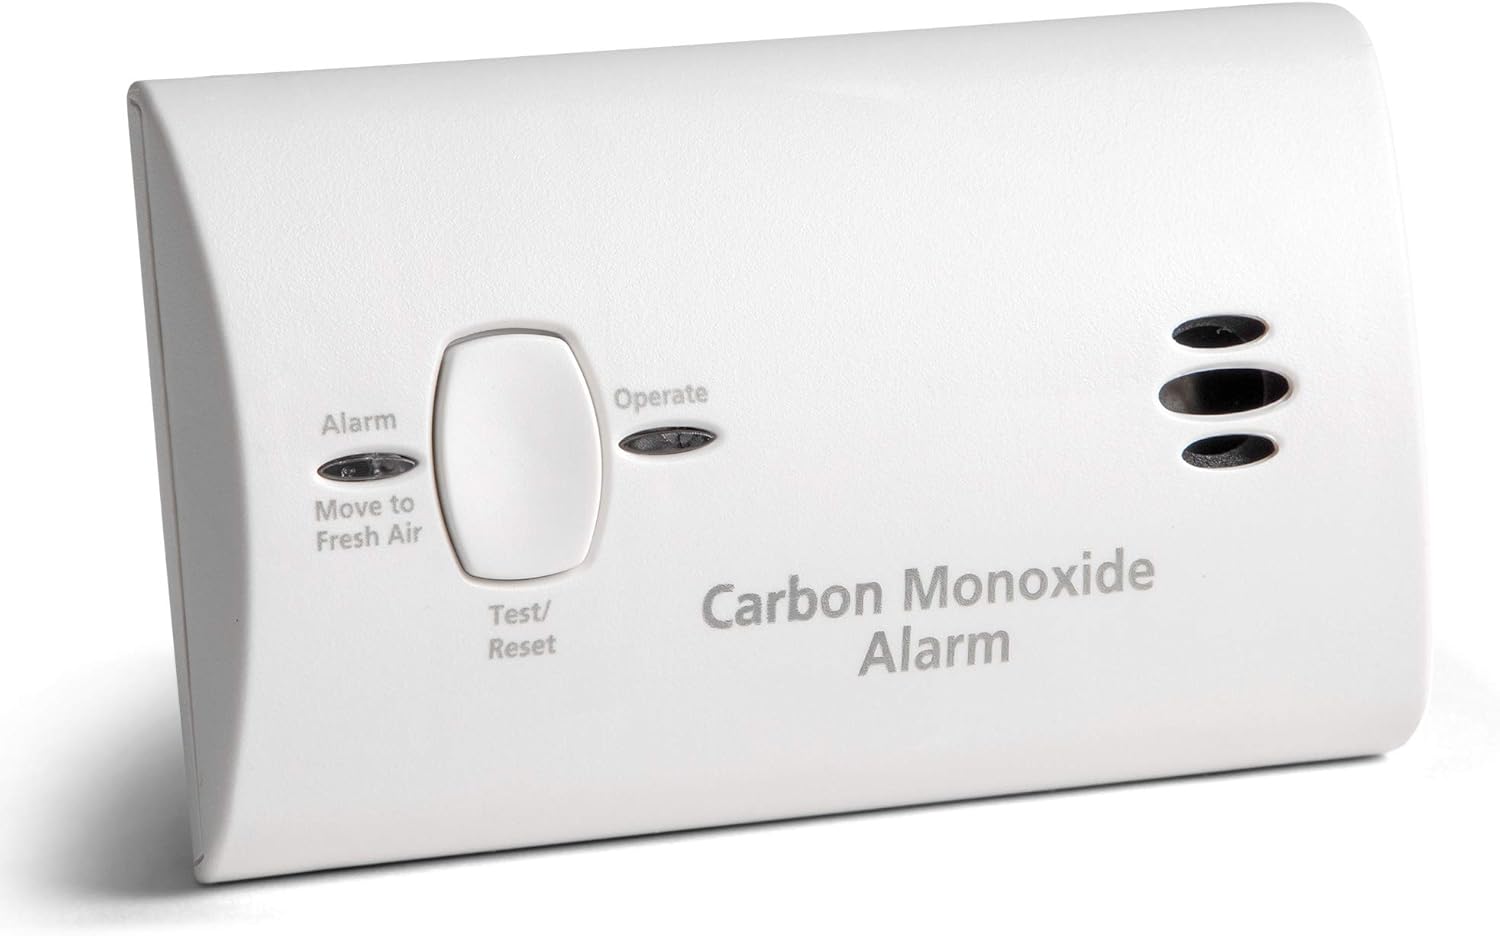
Figure 1: Front view of the Kidde Carbon Monoxide Detector.
Product Features
- Electrochemical Sensor Technology: Detects carbon monoxide (CO) gas efficiently.
- Battery Powered: Operates on 2-AA alkaline batteries (included), ensuring protection during power outages.
- Portable Design: Can be installed on a wall or placed on a tabletop.
- LED Indicators: Green LED for normal operation, Red LED for CO detection.
- 85-Decibel Alarm: Loud alarm to alert occupants of CO presence.
- Test/Reset Button: Allows for testing unit operation and silencing alarms.
- Low Battery Indicator: Chirp warning to indicate low battery.
- Event Memory: Records the last time carbon monoxide was detected or when the unit was last tested.
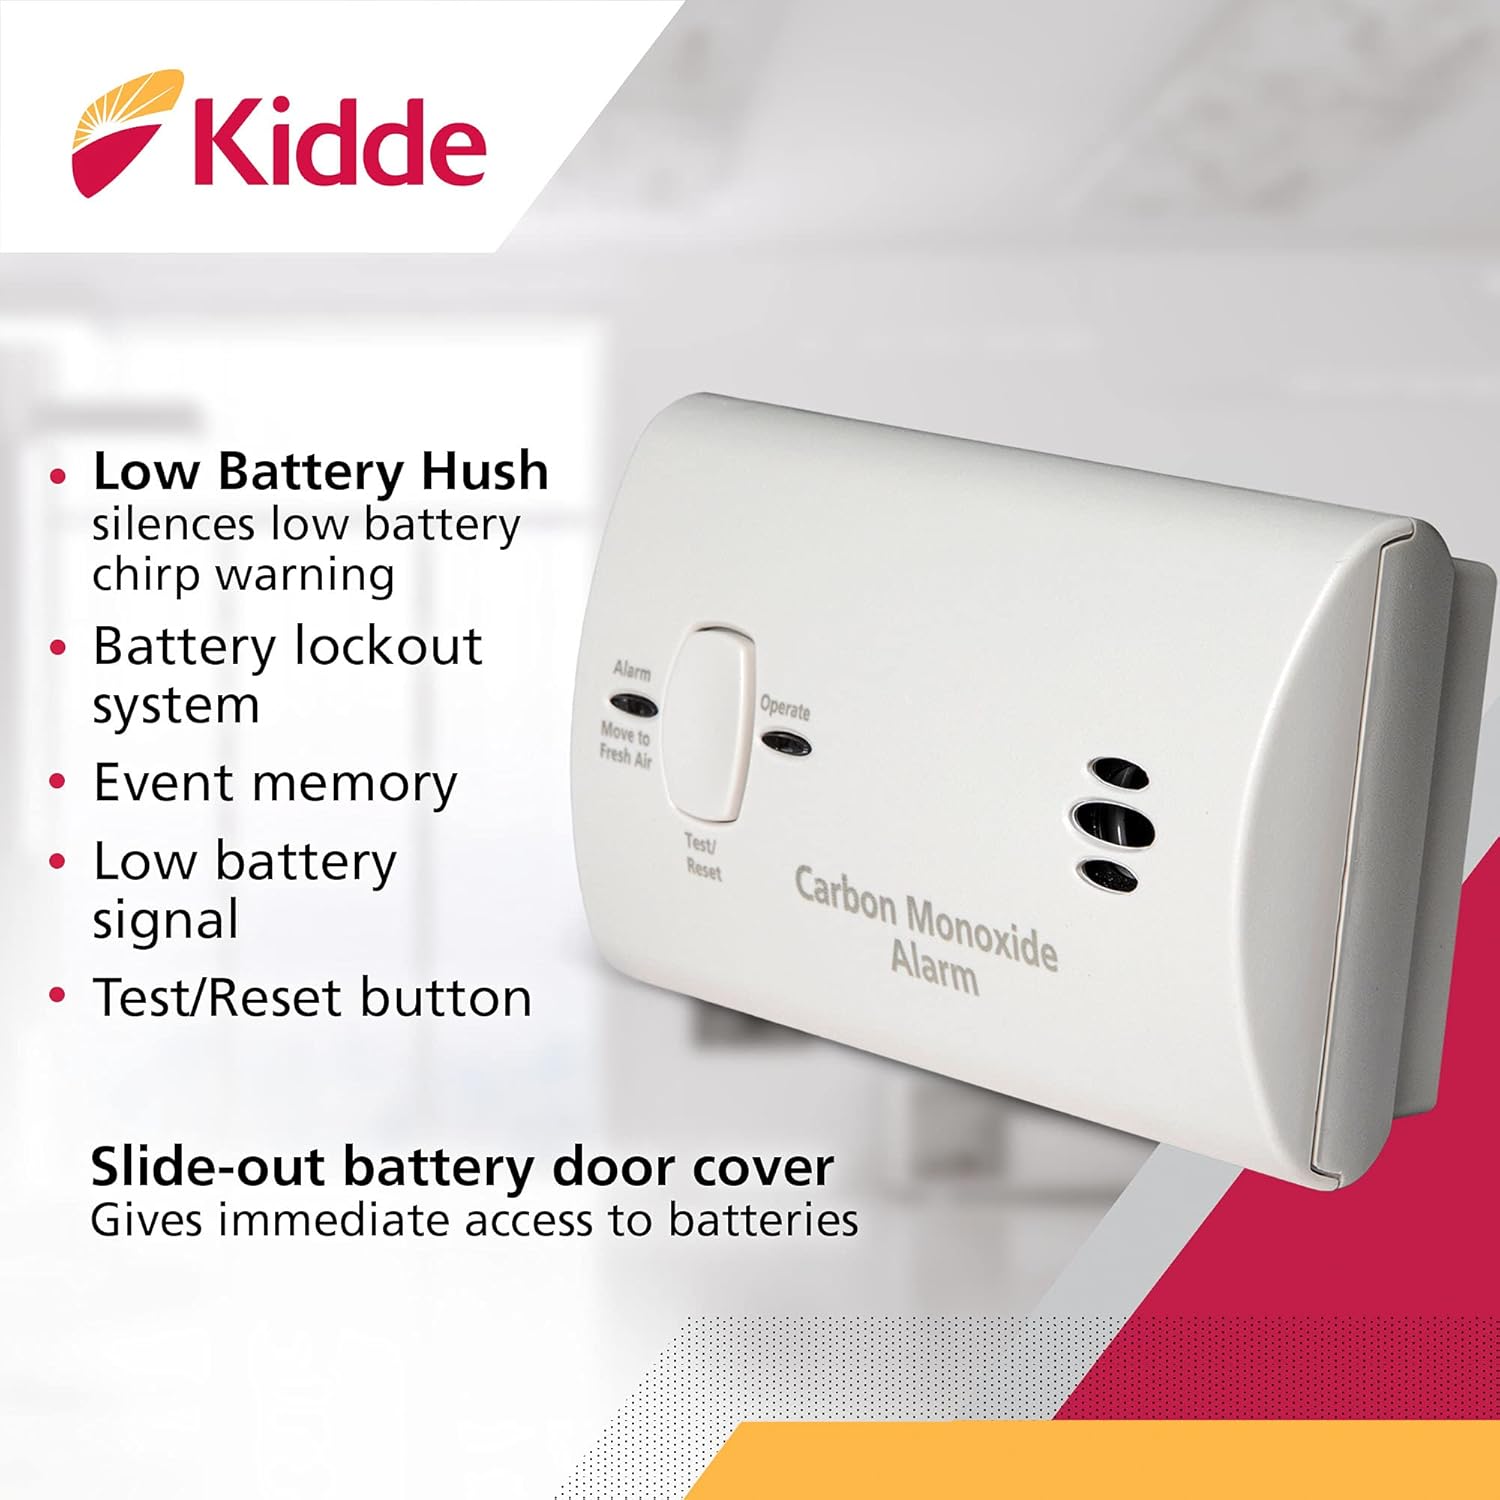
Figure 2: Key features of the carbon monoxide detector.
Setup and Installation
1. Battery Installation
Your Kidde Carbon Monoxide Detector requires two (2) AA alkaline batteries for operation. These batteries are typically included with the unit.
- Locate the battery compartment on the back of the unit.
- Slide open the battery door cover.
- Insert the two AA batteries, ensuring correct polarity (+ and -). The unit may chirp briefly upon battery insertion.
- Close the battery door cover securely. A safety feature mechanism makes it difficult to close without proper battery installation.
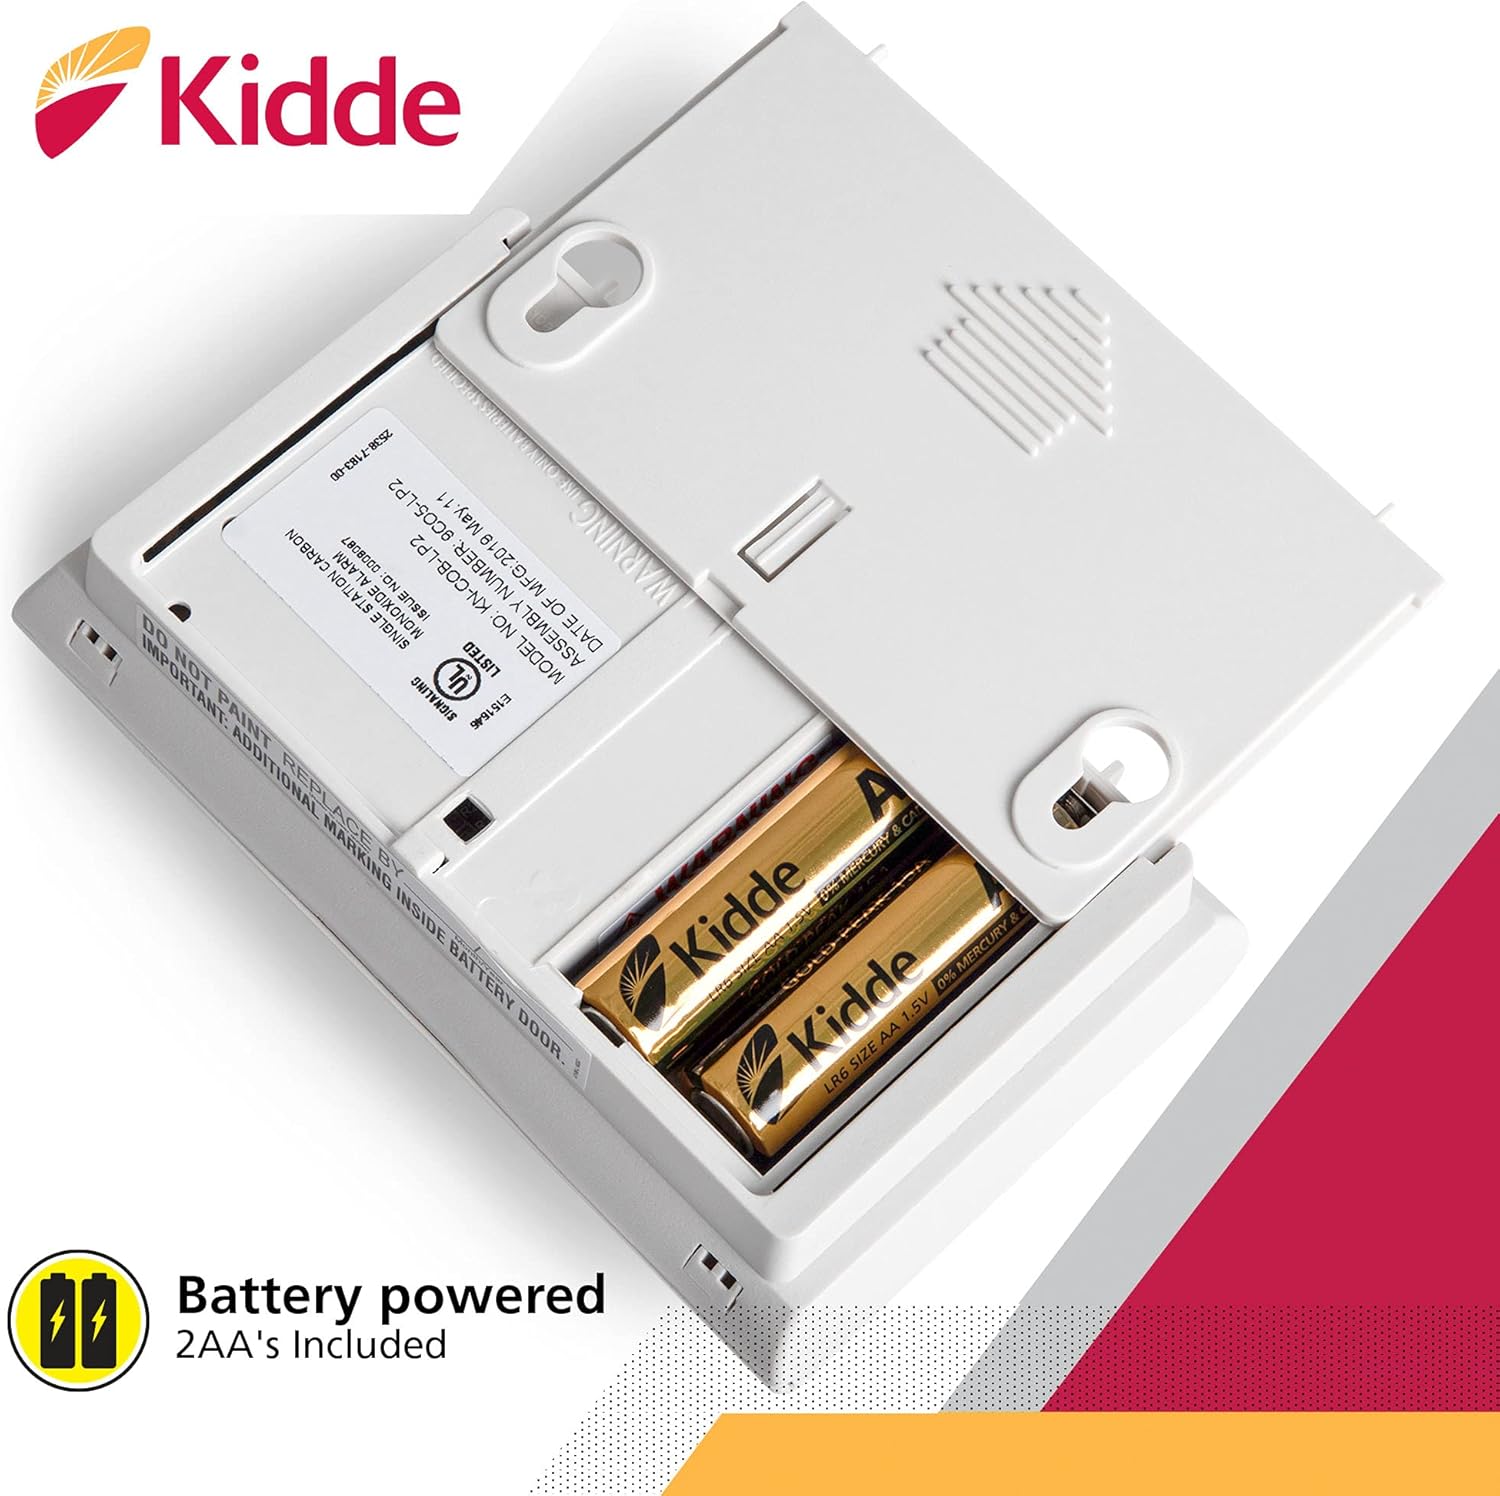
Figure 3: Battery compartment with two AA batteries installed.
2. Placement Recommendations
For optimal protection, install carbon monoxide detectors on every level of your home and near sleeping areas. Consider placing one in the living room, hallway, and basement. Avoid placing the detector:
- Within 6 feet of cooking appliances.
- In direct sunlight or near heat sources.
- In areas with high humidity (e.g., bathrooms).
- In garages or areas with high dust/dirt.

Figure 4: Home safety product placement guide for CO alarms.
3. Mounting Options
The Kidde CO detector offers versatile placement options:
- Wall Mount: Use the provided mounting hardware (screws, drywall anchors) with the keyhole slots on the back of the unit. Ensure the detector is securely fastened.
- Tabletop Placement: The portable design allows the unit to be placed on any flat surface, such as a nightstand or shelf.

Figure 5: Example of wall mounting the CO detector.
Operating Instructions
1. Normal Operation
Once batteries are installed, the green LED light will flash approximately every 30 seconds, indicating that the unit is operating correctly and receiving power.

Figure 6: Green LED indicating normal operation.
2. Alarm Conditions
- Carbon Monoxide Detected: If a dangerous level of carbon monoxide is detected, the red LED will pulse and a loud 85-decibel alarm pattern will sound. The alarm pattern is four short beeps, followed by five seconds of silence, then four more short beeps. This cycle will continue for four minutes and then change to one cycle every minute until the device is reset or the carbon monoxide is eliminated.
- Low Battery Warning: The unit will emit a chirp sound to alert you when the batteries need to be replaced.

Figure 7: Detector in a home environment.
3. Test/Reset Button
Press and hold the "Test/Reset" button to test the unit's proper operation. The alarm will sound briefly. This button also allows you to temporarily silence the low battery chirp warning or reset the carbon monoxide alarm after an event.
Maintenance
1. Battery Replacement
Replace batteries when the low battery chirp warning sounds. Use only 2-AA alkaline batteries. Refer to the "Battery Installation" section for detailed steps.
2. Cleaning Your Alarm
Clean your CO alarm regularly to prevent dust and debris from interfering with its operation. Use a soft, damp cloth to wipe the exterior. Do not use cleaning solvents or sprays directly on the unit.
3. Regular Testing
Test your carbon monoxide alarm weekly by pressing the "Test/Reset" button. This ensures the electronic circuitry, alarm, and batteries are working correctly.
Troubleshooting
| Problem | Possible Cause | Solution |
|---|---|---|
| Alarm sounds intermittently or chirps. | Low battery. | Replace batteries immediately. |
| Alarm sounds continuously. | High level of CO detected. | Evacuate premises immediately and call emergency services. |
| Green LED not flashing. | No power or unit malfunction. | Check battery installation. If problem persists, replace unit. |
| Unit does not respond to Test/Reset button. | Dead batteries or unit malfunction. | Replace batteries. If still unresponsive, replace unit. |
Note: Carbon monoxide is an odorless, colorless, and tasteless gas. If the alarm sounds, assume CO is present and follow emergency procedures.
Specifications
- Model: KN-COB-LP2
- Power Source: 2-AA Alkaline Batteries (included)
- Sensor Type: Electrochemical
- Alarm Loudness: 85 decibels at 10 feet
- Product Dimensions: 1.5"D x 4.5"W x 2.75"H
- Item Weight: 0.5 Pounds (approx. 8 ounces)
- Operating Temperature: 40°F (4.4°C) to 100°F (37.8°C)
- Operating Humidity: 10%-95% relative humidity non-condensing
- Certifications: UL Certified
- UPC: 047871088720

Figure 8: Dimensions of the carbon monoxide detector.
Warranty and Support
Warranty Information
This Kidde Carbon Monoxide Detector comes with a 10-year limited manufacturer's warranty. Please retain your proof of purchase for warranty claims. For full warranty details, refer to the official warranty document included with your product or visit the Kidde website.
Customer Support
For technical assistance, troubleshooting, or warranty inquiries, please contact Kidde Customer Service. You can find contact information on the Kidde official website or in the packaging materials.
Online Resources:


