
1. Introduction
Thank you for choosing the Pentair R201112 Lifegard Flexible Pool Vacuum. This manual provides essential information for the safe and efficient use of your pool vacuum. Please read these instructions thoroughly before installation and operation to ensure proper function and longevity of the product.
2. Safety Information
Always observe basic safety precautions when using electrical equipment and pool maintenance tools. Failure to follow these instructions could result in injury or property damage.
- Ensure all pool equipment is properly grounded.
- Do not operate the vacuum if any part is damaged.
- Keep children and pets away from the pool area during cleaning.
- Disconnect power to the pool pump before connecting or disconnecting the vacuum hose.
- Use only for its intended purpose: cleaning pool surfaces.
3. Package Contents
Verify that all components are present and undamaged upon opening the package:
- Pentair R201112 Lifegard Flexible Pool Vacuum Head (12-Inch)
- Snap-adapt handle (pre-attached or separate)
- Enclosed weights (integrated into the vacuum head)
- Adjustable solid molded wheels
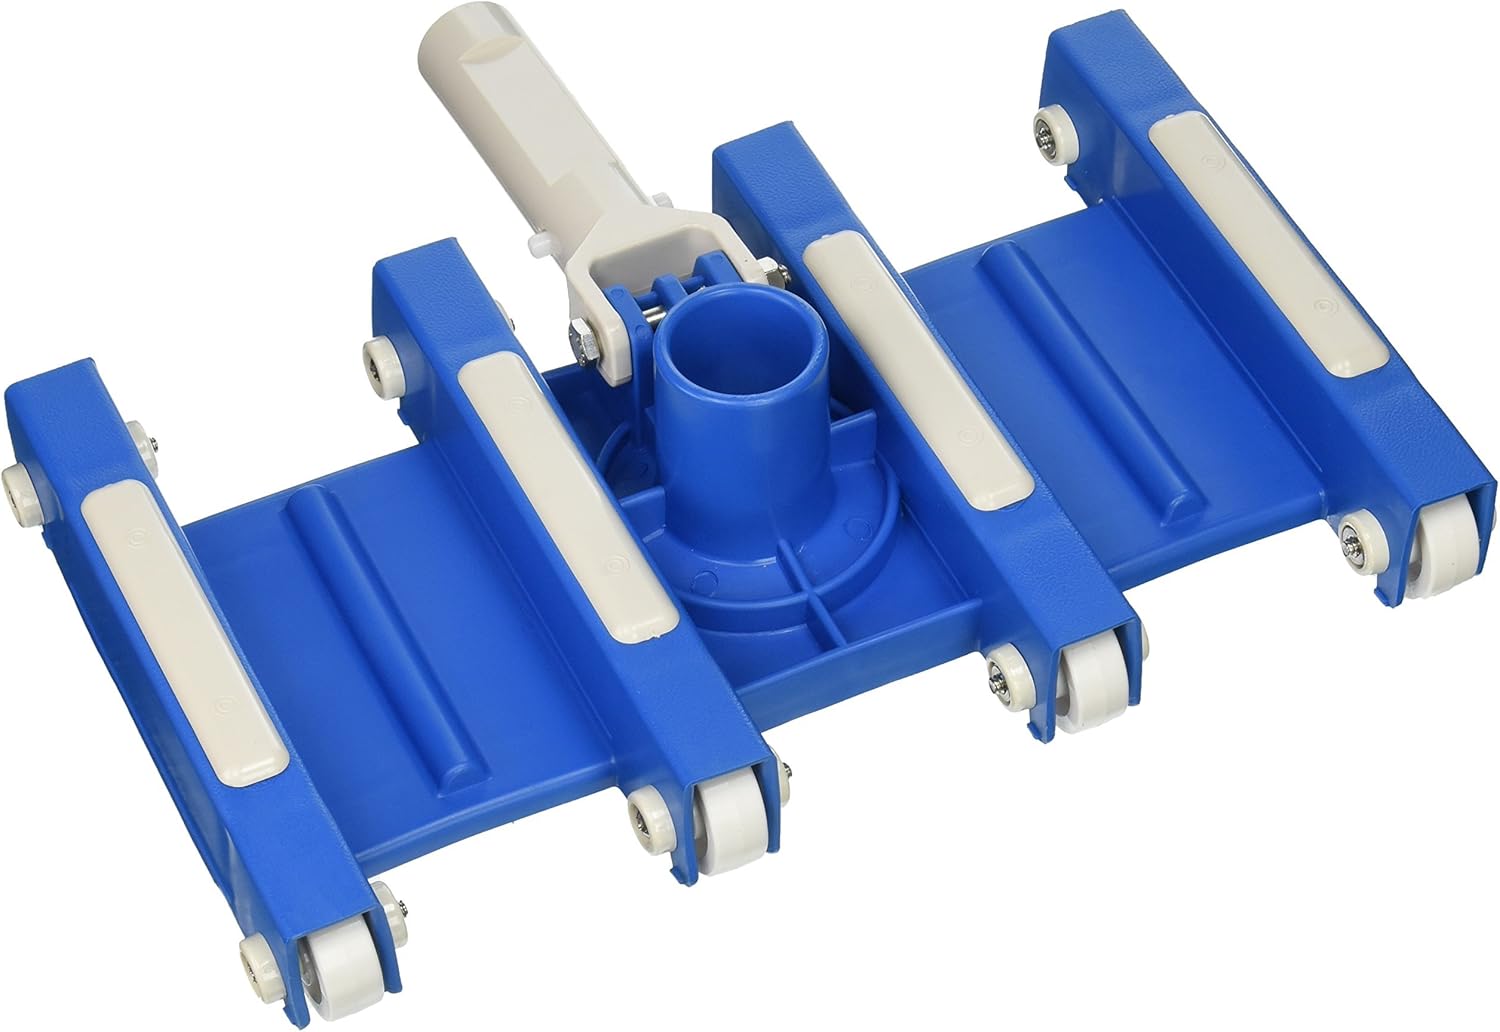
Image 1: Top view of the Pentair R201112 Lifegard Flexible Pool Vacuum Head, showing the snap-adapt handle connection point and the flexible body with wheels.

Image 2: Angled view of the Pentair R201112 Lifegard Flexible Pool Vacuum Head, highlighting the flexible polyethylene housing and the arrangement of the molded wheels.
4. Setup
The Pentair R201112 vacuum head is designed for easy attachment to standard pool poles and hoses.
- Attach Pool Pole: Align the snap-adapt handle of the vacuum head with the end of your standard telescopic pool pole. Depress the locking pins on the pole and slide the vacuum head onto the pole until the pins engage securely in the handle's holes.
- Connect Vacuum Hose: Insert the open end of your vacuum hose into the vacuum port located on the top center of the vacuum head. Ensure a snug fit to prevent air leaks.
- Prime the Hose: Before placing the vacuum head into the pool, submerge the vacuum head and hose into the pool water, allowing the hose to fill completely with water. This removes air from the system, which is crucial for proper suction. Once the hose is full, connect the other end of the hose to your skimmer or dedicated vacuum line.
5. Operating Instructions
Follow these steps for effective pool cleaning:
- Prepare the Pool: Ensure the pool pump is running and the filter system is operational. Remove any large debris from the pool surface with a skimmer net.
- Begin Vacuuming: Slowly lower the primed vacuum head to the bottom of the pool. Move the vacuum head across the pool floor in slow, overlapping strokes. Rapid movements can stir up debris, reducing cleaning efficiency.
- Clean Walls (Optional): The flexible design allows for some cleaning of pool walls, especially near the bottom.
- Monitor Filter: Periodically check your pool filter and pump basket. Clean them as needed to maintain optimal suction and prevent clogging.
- Finish Cleaning: Once the pool floor is clean, carefully lift the vacuum head out of the water. Disconnect the hose from the skimmer/vacuum line and then from the vacuum head.
6. Maintenance
Proper maintenance ensures the longevity and performance of your vacuum head.
- Rinse After Use: After each use, thoroughly rinse the vacuum head with fresh water to remove any pool chemicals, dirt, or debris.
- Inspect Wheels: Periodically check the adjustable solid molded wheels for wear or damage. Ensure they spin freely.
- Storage: Store the vacuum head in a cool, dry place away from direct sunlight and harsh chemicals.
- Check for Damage: Regularly inspect the polyethylene housing and snap-adapt handle for cracks or other damage. Replace if necessary.
7. Troubleshooting
If you encounter issues with your pool vacuum, consider the following common solutions:
| Problem | Possible Cause | Solution |
|---|---|---|
| Poor Suction |
|
|
| Vacuum Head Not Staying on Bottom |
|
|
| Debris Stirred Up |
|
|
8. Specifications
| Feature | Detail |
|---|---|
| Model Number | R201112 |
| Brand | Pentair |
| Product Dimensions | 16.5 x 16.5 x 12.5 inches |
| Item Weight | 5.2 pounds |
| Material | Polyethylene |
| Color | Blue |
| Power Source | Suction Powered |
| Special Feature | Portable, Flexible, Enclosed Weights |
| Assembly Required | No (for the head itself, but requires pole/hose assembly) |
| Control Method | Manual (Touch) |
9. Warranty and Support
Pentair products are manufactured to high-quality standards. For specific warranty details, please refer to the warranty card included with your purchase or visit the official Pentair website. For technical support, replacement parts, or further assistance, please contact Pentair customer service.
Pentair Customer Service:
- Refer to your product packaging or the Pentair website for the most current contact information.
- When contacting support, please have your model number (R201112) and purchase date available.