Introduction
The Freeman RPP123T Replacement Trigger Kit is designed to restore the functionality of your Freeman PP123 Micro Pinner. This kit includes the necessary internal components to repair or replace a faulty trigger mechanism, addressing common issues such as air leaks, sticking, or incorrect firing. Constructed from high-quality brass, rubber, and plastic, these components ensure durability and reliable performance. This manual provides guidance for the proper installation and maintenance of the replacement trigger kit.
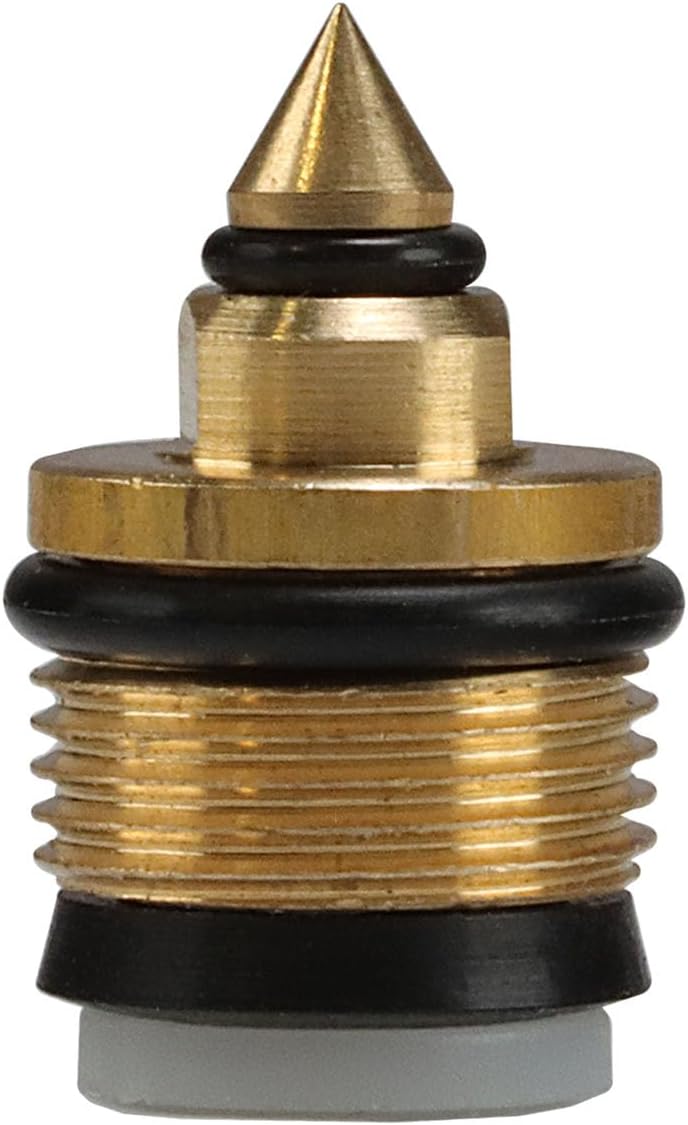
Image: The Freeman RPP123T Replacement Trigger Kit, showing the main components.
Setup and Installation
Proper installation of the RPP123T Replacement Trigger Kit is crucial for the safe and effective operation of your Freeman PP123 Micro Pinner. Always prioritize safety by disconnecting the air supply from the pinner before beginning any maintenance or repair work.
Required Tools:
- Appropriate wrenches or screwdrivers for disassembling the pinner.
- Clean cloth.
- Small amount of pneumatic tool oil (optional, for O-rings).
Installation Steps:
- Disconnect Air Supply: Ensure the air compressor is turned off and the air hose is completely disconnected from the Freeman PP123 Micro Pinner. Depress the trigger to release any residual air pressure.
- Disassemble Pinner: Carefully disassemble the pinner to access the trigger mechanism. Refer to the original Freeman PP123 Micro Pinner user manual or parts diagram for specific instructions on disassembling your tool. Pay close attention to the order and orientation of all removed parts.
- Remove Old Trigger Components: Once the trigger housing is accessible, remove the existing trigger components. These typically include the trigger itself, springs, washers, and internal valve components.
- Identify New Components: The RPP123T kit includes parts such as the trigger valve, various O-rings, and washers. The manufacturer specifies that this kit includes parts 21, 22, 23, 24, 25, and 26 from the PP123 parts diagram. Compare the new components with the old ones to ensure correct replacement.

Image: Exploded view of the Freeman RPP123T Replacement Trigger Kit, showing individual components including the valve, O-rings, and washers.
- Install New Components: Install the new RPP123T trigger components into the pinner's trigger housing. Ensure all O-rings are properly seated and not pinched. A small amount of pneumatic tool oil can be applied to O-rings to aid in seating and sealing.
- Reassemble Pinner: Carefully reassemble the pinner, ensuring all screws and fasteners are tightened securely but not over-tightened. Verify that all parts are correctly aligned and that the trigger moves freely without binding.
- Test Functionality: Connect the air supply to the pinner. With appropriate safety precautions (e.g., pointing away from yourself and others, wearing safety glasses), test the trigger for proper operation. Check for any air leaks and ensure the pinner fires correctly.
Operating
The RPP123T Replacement Trigger Kit is a repair component and does not alter the operational procedures of the Freeman PP123 Micro Pinner. Once installed, the pinner should function as intended, allowing for precise micro-pinning tasks. Always follow the safety and operational guidelines provided in the original Freeman PP123 Micro Pinner user manual.
Maintenance
To ensure the longevity and optimal performance of your Freeman PP123 Micro Pinner and its RPP123T Replacement Trigger Kit, regular maintenance is recommended:
- Cleanliness: Keep the pinner and its components clean and free from debris, dust, and moisture.
- O-Ring Inspection: Periodically inspect the rubber O-rings for signs of wear, cracking, or damage. Worn O-rings can lead to air leaks and reduced performance. Replace them as needed.
- Lubrication: Apply a few drops of pneumatic tool oil into the air inlet before each use, or as recommended by the pinner's manual, to lubricate internal components and O-rings.
- Storage: Store the pinner in a clean, dry environment when not in use.
Troubleshooting
If you encounter issues after installing the RPP123T Replacement Trigger Kit, consider the following troubleshooting steps:
- Air Leaks: If air is leaking from the trigger area, disconnect the air supply and re-inspect the O-rings and seals within the trigger mechanism. Ensure they are correctly seated, not pinched, and free from damage. Replace any damaged O-rings.
- Trigger is Stuck or Stiff: Disconnect the air supply. Check for any foreign objects obstructing the trigger's movement. Verify that all components of the trigger kit are installed correctly and are not binding. Ensure screws are not overtightened, which can cause binding.
- Pinner Not Firing Correctly: If the pinner is not firing or misfiring, ensure the air pressure is set correctly according to the pinner's specifications. Disconnect air and re-check the installation of the trigger kit components, ensuring the valve mechanism is assembled in the correct orientation and sequence.
- Refer to Pinner Manual: For issues beyond the trigger mechanism, consult the comprehensive troubleshooting section of your original Freeman PP123 Micro Pinner user manual.
Specifications
| Part Number | RPP123T |
| Compatibility | Freeman PP123 Micro Pinner (23-gauge 1-inch) |
| Materials | Brass, Rubber, Plastic |
| Product Dimensions | 1.27 x 1.27 x 1.27 cm (0.5 x 0.5 x 0.5 inches) |
| Item Weight | 9.06 g (0.32 ounces) |
Warranty and Support
For specific warranty information regarding the Freeman RPP123T Replacement Trigger Kit or the Freeman PP123 Micro Pinner, please refer to the documentation provided with your original product or visit the official Freeman Tools website. For technical assistance or to inquire about additional replacement parts, contact Freeman customer support directly.
Website: www.freemantools.com


