Introduction
The Intermatic DT620 is a versatile indoor digital plug-in timer designed to automate the operation of various electrical devices such as table lamps, holiday lights, and small appliances. It features advanced programming options, including 7-day scheduling, astronomic settings, and automatic Daylight Saving Time adjustment, providing convenience and energy efficiency. This manual provides detailed instructions for the proper setup, operation, and maintenance of your DT620 timer.
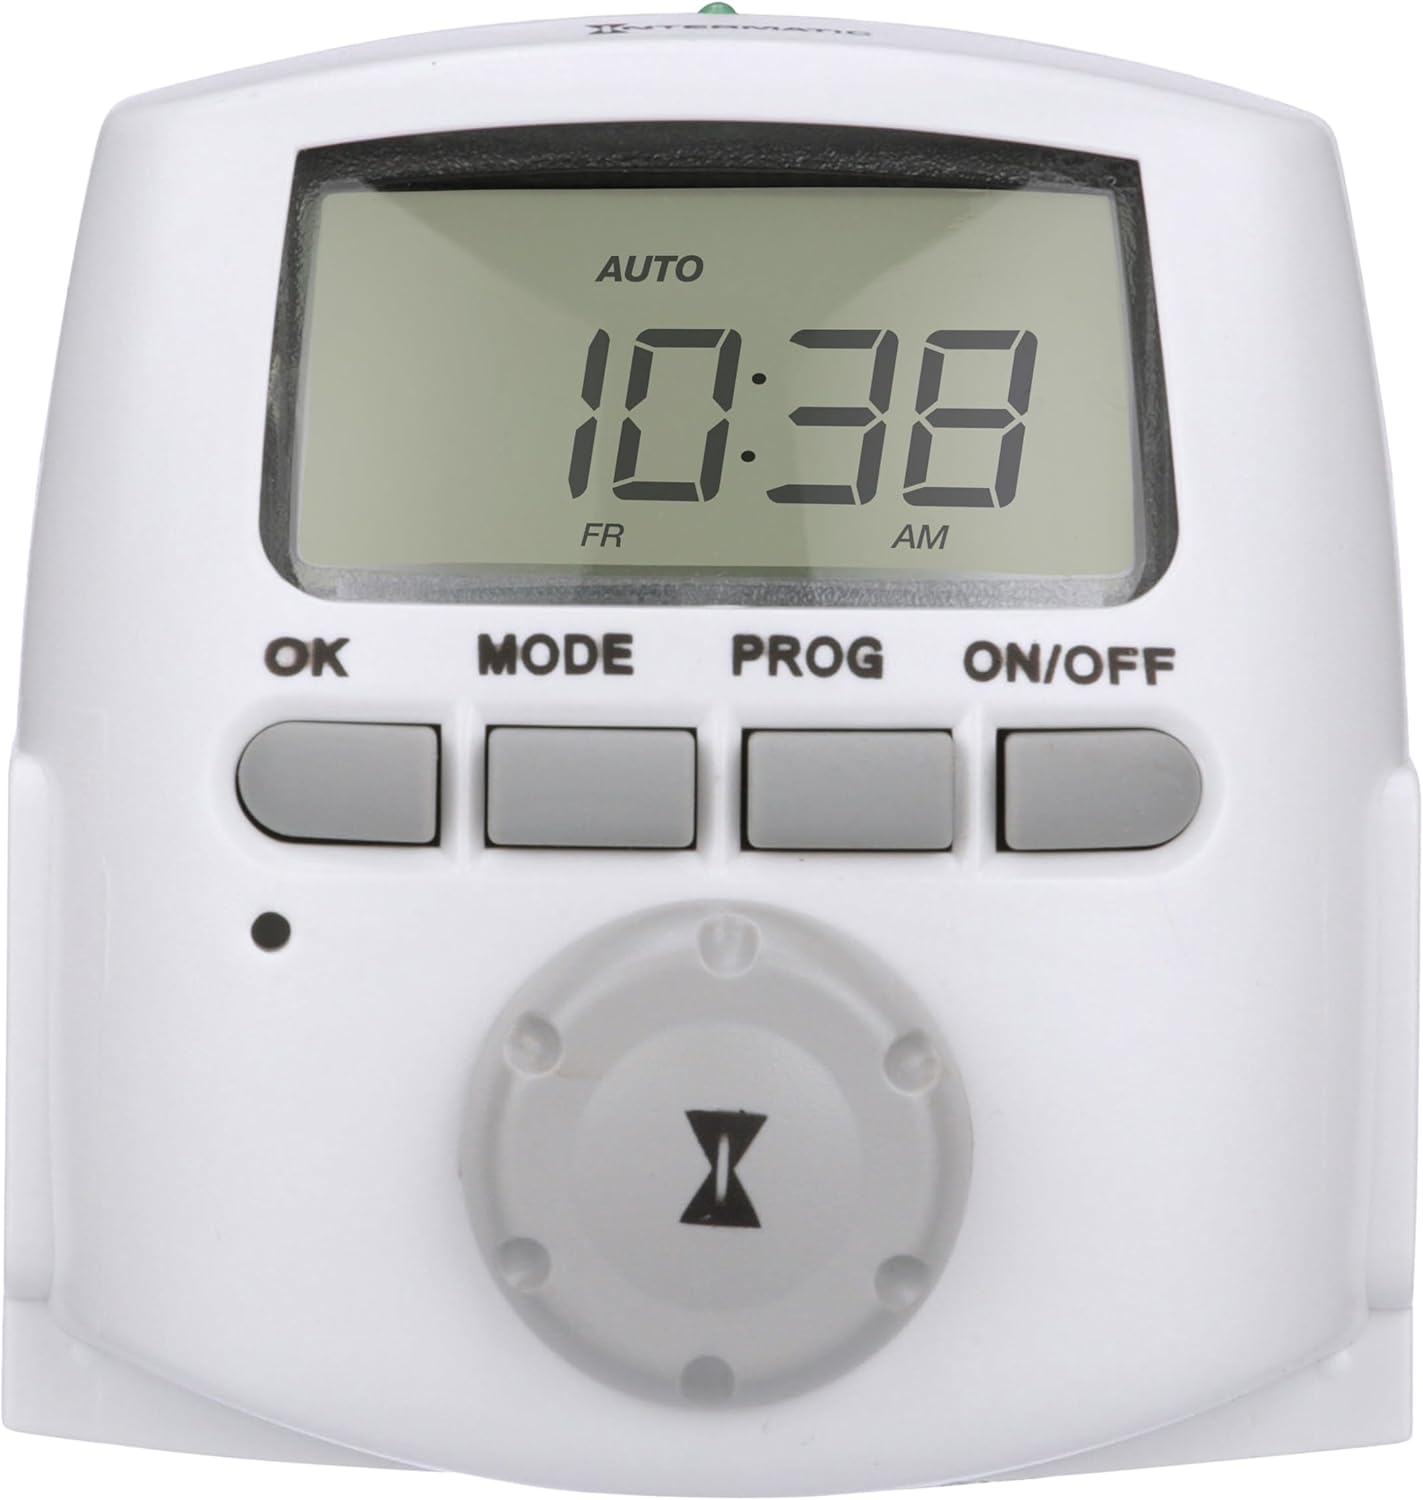
Figure 1: Front view of the Intermatic DT620 Digital Plug-in Timer, showing the digital display and control buttons.
Setup
1. Unpacking and Initial Inspection
Carefully remove the DT620 timer from its packaging. Inspect the unit for any signs of damage. Ensure all components are present. The timer is supplied with two pre-installed LR44 batteries for backup power, which retain settings during power outages.
2. Plugging In the Timer
Plug the DT620 timer directly into a standard 120 VAC, 60 Hz grounded wall outlet. The timer features two grounded receptacles, allowing control of two separate devices simultaneously.

Figure 2: The DT620 timer plugged into a wall outlet, demonstrating its compact design and dual outlets.
3. Initial Time and Date Setting
Upon first use or after a prolonged power outage (beyond battery backup duration), you will need to set the current time and date. Use the selector knob and the [OK] button to navigate and confirm these settings. Ensure the correct AM/PM time is selected.
4. Setting Astronomic Features
The DT620 includes astronomic settings that automatically adjust for local dawn and dusk times. During initial setup, configure your country/state and Daylight Saving Time preferences. This allows the timer to automatically adjust for changing sunrise and sunset times throughout the year.
Operating Instructions
1. Programming Events
The DT620 supports up to 28 ON/OFF settings (events) per week. Each event can be set to a specific time or an astronomic time (dawn/dusk). You can apply settings to all days, weekdays only, weekends only, or a specific day of the week.
- Press the [PROG] button to enter programming mode.
- Use the selector knob to adjust the day, hour, and minute for each ON or OFF event.
- Press [PROG] to confirm and save each event setting.
- To review programmed events, press [PROG] repeatedly. Press [OK] to exit review mode and return to normal operation.
Note: A single timer event either turns a device ON or OFF. A maximum of 28 events means you can program up to 14 ON-OFF pairs per week. Carefully plan complex schedules to avoid conflicts.

Figure 3: Key features of the DT620, including 7-day programming, battery backup, and dual grounded receptacles.
2. Operating Modes
The DT620 offers three operating modes:
- AUTO Mode: The timer operates according to your programmed ON/OFF settings. This is the standard mode for automated control.
- RANDom Mode: This mode varies your programmed ON/OFF times by +/- 30 minutes, creating a more random pattern. This can be useful for security purposes to give a "lived-in" appearance when you are away.
- MANual Mode: In this mode, the timer functions as a simple ON/OFF switch, bypassing all programmed settings. Use the ON/OFF button to manually control the connected devices.
To switch between modes, press the [MODE] button.
Video 1: An overview of Intermatic timers, demonstrating their use in holiday lighting setups. While this video features various models, it illustrates the general application of such timers for automated lighting control.
Maintenance
1. Cleaning
To clean the timer, wipe it with a soft, dry cloth. Do not use abrasive cleaners or immerse the unit in water.
2. Battery Replacement
The DT620 uses two LR44 button cell batteries for memory backup. These batteries retain your programmed settings for up to three months if the timer is unplugged. If the display becomes dim or settings are lost frequently during power interruptions, the batteries may need replacement. Refer to the full instruction manual for detailed battery replacement steps.
Troubleshooting
- Settings are lost after power outage: Ensure the LR44 backup batteries are properly installed and have sufficient charge. Replace if necessary.
- Timer not turning ON/OFF as expected:
- Verify the current time and date are set correctly, including AM/PM.
- Check that the timer is in AUTO mode.
- Review your programmed events for any conflicts or incorrect settings.
- Ensure the connected device is functioning properly and is within the timer's electrical ratings.
- Display is difficult to read in low light: The DT620 timer does not feature a backlight for its display. Use in adequately lit areas.
- Safety Note: This timer is for indoor use only. Do not use with devices that could have dangerous consequences due to inaccurate timer settings, such as sun lamps, saunas, heaters, or crock pots.
Specifications
| Model Number | DT620 |
| Brand | Intermatic |
| Color | White |
| Material | Plastic |
| Product Dimensions (D x W x H) | 4" x 4" x 3" |
| Item Weight | 16 ounces (1 pound) |
| Number of Settings | 28 (ON/OFF events per week) |
| Voltage | 120 Volts |
| Mounting Type | Plug-In Mount |
| Switch Style | SPST |
| Certification | CSA, UL |
| Battery Type (for backup) | LR44 Alkaline (2 required) |
Warranty & Support
Warranty Information
The Intermatic DT620 timer comes with a 1-year limited warranty. In case of product malfunction or defect within the warranty period, the product may be replaced. Please retain your proof of purchase.
Additional Resources
For further assistance or detailed instructions, please refer to the official documentation:


