
Introduction
This manual provides comprehensive instructions for the installation, operation, maintenance, and troubleshooting of your BOSS Audio Systems R1100M Monoblock Car Amplifier. Please read this manual thoroughly before attempting installation or operation to ensure proper functionality and safety. Keep this manual for future reference.
Important Safety Information
WARNING: This product contains chemicals known to the State of California to cause cancer and birth defects or other reproductive harm.
To prevent injury or damage to the amplifier, always observe the following precautions:
- Disconnect the vehicle's negative battery terminal before beginning any installation.
- Ensure all wiring is properly routed and secured to prevent pinching or damage.
- Use appropriate gauge wiring for power and ground connections as specified in the installation section.
- Avoid installing the amplifier in areas exposed to direct sunlight, excessive heat, moisture, or dust.
- Always replace fuses with the same type and rating.
- Professional installation is strongly encouraged to ensure proper and safe functionality.
What's in the Box
Upon unpacking your R1100M amplifier, please verify that all items listed below are present and in good condition:
- BOSS Audio R1100M Riot 1100-Watt Monoblock Amplifier
- Remote Subwoofer Level Control
- High Input Cable With Connector
- Instruction Manual (this document)
- Mounting Screws

Image: The amplifier, remote subwoofer control, high input cable, fuse, and mounting screws are included in the package.
Product Overview and Features
The BOSS Audio Systems R1100M is a Class A/B monoblock amplifier designed to deliver powerful audio performance for your car's subwoofer system. Its compact design allows for flexible installation in various vehicle types.
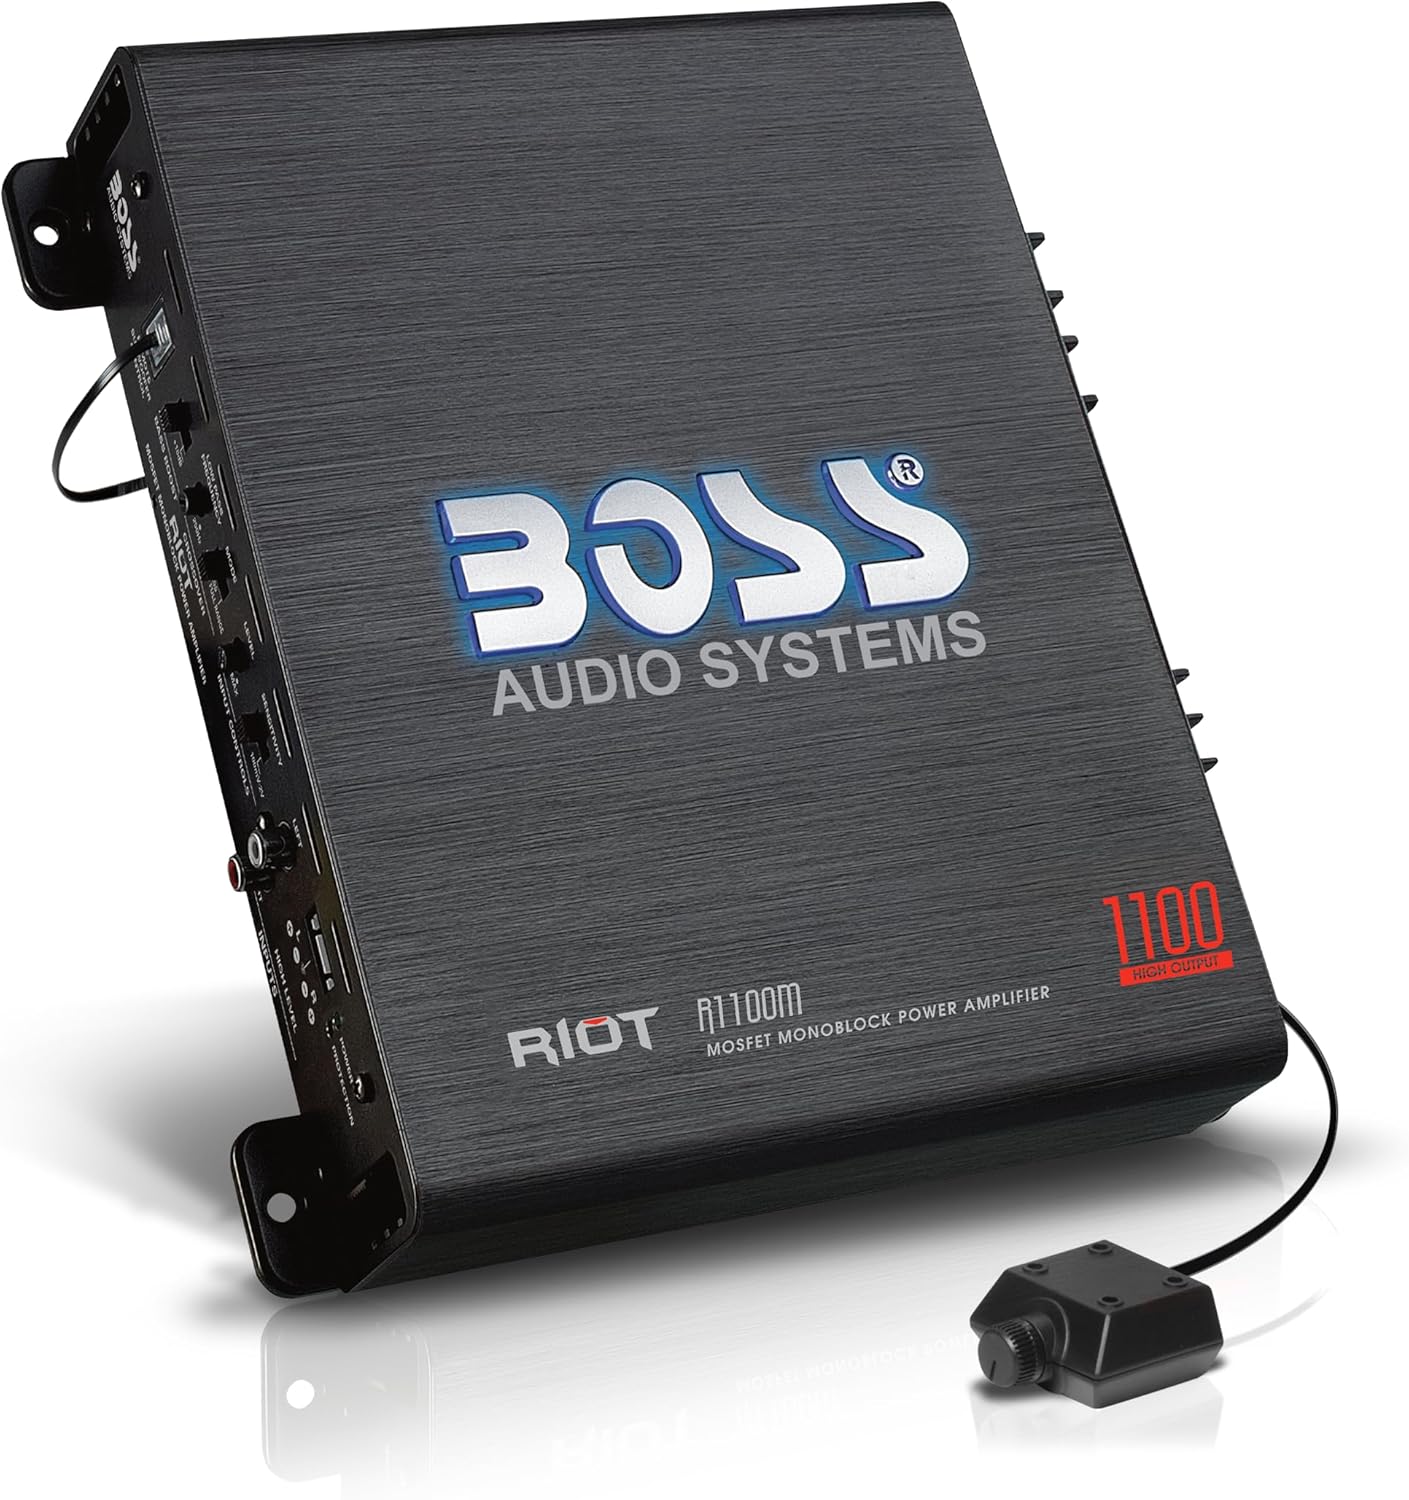
Image: The BOSS Audio Systems R1100M amplifier with its sleek black finish and illuminated logo.
Key Features:
- Monoblock, Class A/B Design: Optimized for driving subwoofers with efficient power delivery.
- 2 Ohm Stable: Capable of handling lower impedance loads for increased power output.
- MOSFET Power Supply: Ensures stable and reliable power delivery.
- Low Pass Filter: Allows you to control the frequency range sent to your subwoofer.
- Bass Boost: Provides adjustable bass enhancement.
- Input Sensitivity Control: Matches the amplifier's input to the output of your head unit.
- Illuminated Logo: Adds a stylish visual element.
- Thermal, Short, and Overload Protection Circuits: Safeguards the amplifier from damage.
- Remote Subwoofer Control: Allows convenient bass level adjustment from the driver's seat.

Image: Detailed dimensions of the amplifier, showing its low-profile design for easy integration.

Image: An example of the R1100M amplifier installed in a vehicle's trunk, demonstrating its compact size.
Setup and Installation
Proper installation is crucial for optimal performance and longevity of your amplifier. It is highly recommended to have this product professionally installed.
Wiring Connections:
Refer to the diagram below for proper connection points. Ensure all connections are secure and insulated.

Image: A detailed view of the amplifier's control panel, showing speaker output, power input, fuse, subwoofer control port, filter and input controls, RCA inputs, and speaker level inputs.
- Power Connection (BATT+): Connect a direct wire from the positive terminal of your vehicle's battery to the BATT+ terminal on the amplifier. Use an appropriate gauge wire (e.g., 8-gauge or thicker) and install an in-line fuse holder within 18 inches of the battery.
- Ground Connection (GND): Connect a short wire (same gauge as power) from the GND terminal on the amplifier to a clean, unpainted metal surface on the vehicle's chassis. Ensure a good electrical connection.
- Remote Turn-On (REM): Connect a wire from the remote output of your head unit to the REM terminal on the amplifier. This wire turns the amplifier on and off with your head unit.
- RCA Inputs: For optimal audio quality, connect RCA cables from your head unit's subwoofer or full-range pre-outs to the RCA INPUTS on the amplifier.
- Speaker Level Inputs: If your head unit does not have RCA outputs, use the included high input cable to connect directly to your head unit's speaker outputs.
- Speaker Output: Connect your subwoofer(s) to the SPEAKER OUTPUT terminals. Ensure correct polarity (+ to + and - to -).
- Remote Subwoofer Control: Plug the wired remote control into the SUBWOOFER CONTROL PORT for convenient bass level adjustment.
Operating Instructions
Once properly installed, your R1100M amplifier is ready for operation. Adjustments should be made carefully to achieve desired sound quality and prevent damage to your speakers or amplifier.
Controls and Adjustments:
- LOW PASS FREQUENCY (LPF): This control sets the upper frequency limit for the amplifier's output. For subwoofers, typically set between 50Hz and 150Hz. Adjust to blend smoothly with your main speakers.
- BASS BOOST: Adjust this control to increase the bass output at a specific frequency (usually around 45Hz). Use sparingly to avoid distortion.
- LEVEL (Input Sensitivity): This control matches the amplifier's input level to the output voltage of your head unit. Start with the level at minimum, then slowly increase your head unit's volume until distortion is heard, then back off slightly. Finally, increase the amplifier's LEVEL control until desired volume is reached without distortion.
- REMOTE SUBWOOFER CONTROL: Use the wired remote to conveniently adjust the subwoofer output level from your listening position.
Maintenance
The R1100M amplifier requires minimal maintenance. Regular checks can help ensure its continued performance.
- Cleaning: Use a soft, dry cloth to wipe down the amplifier's exterior. Avoid using harsh chemicals or abrasive cleaners.
- Connection Checks: Periodically inspect all wiring connections (power, ground, remote, RCA, speaker) to ensure they remain tight and free from corrosion. Loose connections can lead to poor performance or damage.
- Ventilation: Ensure the amplifier's cooling fins are free from obstructions to allow for proper heat dissipation.
Troubleshooting
If you experience issues with your R1100M amplifier, refer to the following common problems and solutions:
| Problem | Possible Cause | Solution |
|---|---|---|
| No Power / Amplifier does not turn on | Blown fuse; Loose power/ground/remote wire; No remote signal from head unit. | Check and replace fuse (same rating); Verify all power, ground, and remote connections are secure; Test remote wire for 12V when head unit is on. |
| Protection Light On | Short circuit in speaker wiring; Overheating; Low voltage; Improper ground connection. | Check speaker wires for shorts; Ensure proper ventilation; Verify stable 12V power supply; Crucially, check the ground wire connection for looseness or poor contact. |
| No Sound Output | Loose RCA/speaker input cables; Incorrect input sensitivity setting; Muted head unit. | Check all audio input connections; Adjust input sensitivity; Ensure head unit is not muted and volume is up. |
| Distorted Sound | Input sensitivity too high; Speaker impedance mismatch; Damaged speaker. | Lower input sensitivity; Verify speaker impedance matches amplifier's capabilities; Test speaker with another amplifier if possible. |
Specifications
Detailed technical specifications for the BOSS Audio Systems R1100M Monoblock Car Amplifier:
| Feature | Specification |
|---|---|
| Model Number | R1100M |
| Amplifier Class | Class A/B Monoblock |
| Output Power (Max) | 1100 Watts x 1 @ 2 Ohms |
| Output Power (RMS) | 550 Watts x 1 @ 4 Ohms |
| Stable Impedance | 2 Ohm Stable |
| Power Supply | MOSFET |
| Voltage | 12 Volts (DC) |
| Dimensions (L x W x H) | 10.43" x 9.21" x 2.25" (265mm x 234mm x 57mm) |
| Item Weight | 4.37 pounds (1.98 kg) |
| Inputs | RCA & Speaker Level Inputs |
| Special Features | Low Pass Filter, Bass Boost, Remote Subwoofer Control, Illuminated Logo, Thermal/Short/Overload Protection |
Warranty and Support
BOSS Audio Systems stands behind the quality of its products.
Warranty Information:
BOSS Audio Systems provides a powerful 6-year platinum online dealer warranty so long as the purchase is made through Amazon.com. We strongly encourage professional installation of this product to ensure proper and safe functionality.

Image: Graphic detailing the 6-year platinum online dealer warranty provided by BOSS Audio Systems.
Additional Support:
For further assistance, you may refer to the official User Manual PDF available online:
For technical support or service inquiries, please visit the official BOSS Audio Systems website or contact their customer service department.


