1. Introduction
The AKG CK33 is a high-performance hypercardioid condenser microphone capsule designed for professional audio applications. It is particularly effective in environments where ambient noise from the sides needs to be minimized, or when sound sources are at a greater distance from the microphone. The capsule features a robust metal housing and is compatible with any mounting module from the AKG DAM Series. Its gold-plated contacts are large-area and self-cleaning, equipped with deep threads to ensure secure connection, prevent misalignment, and provide extended operational life.
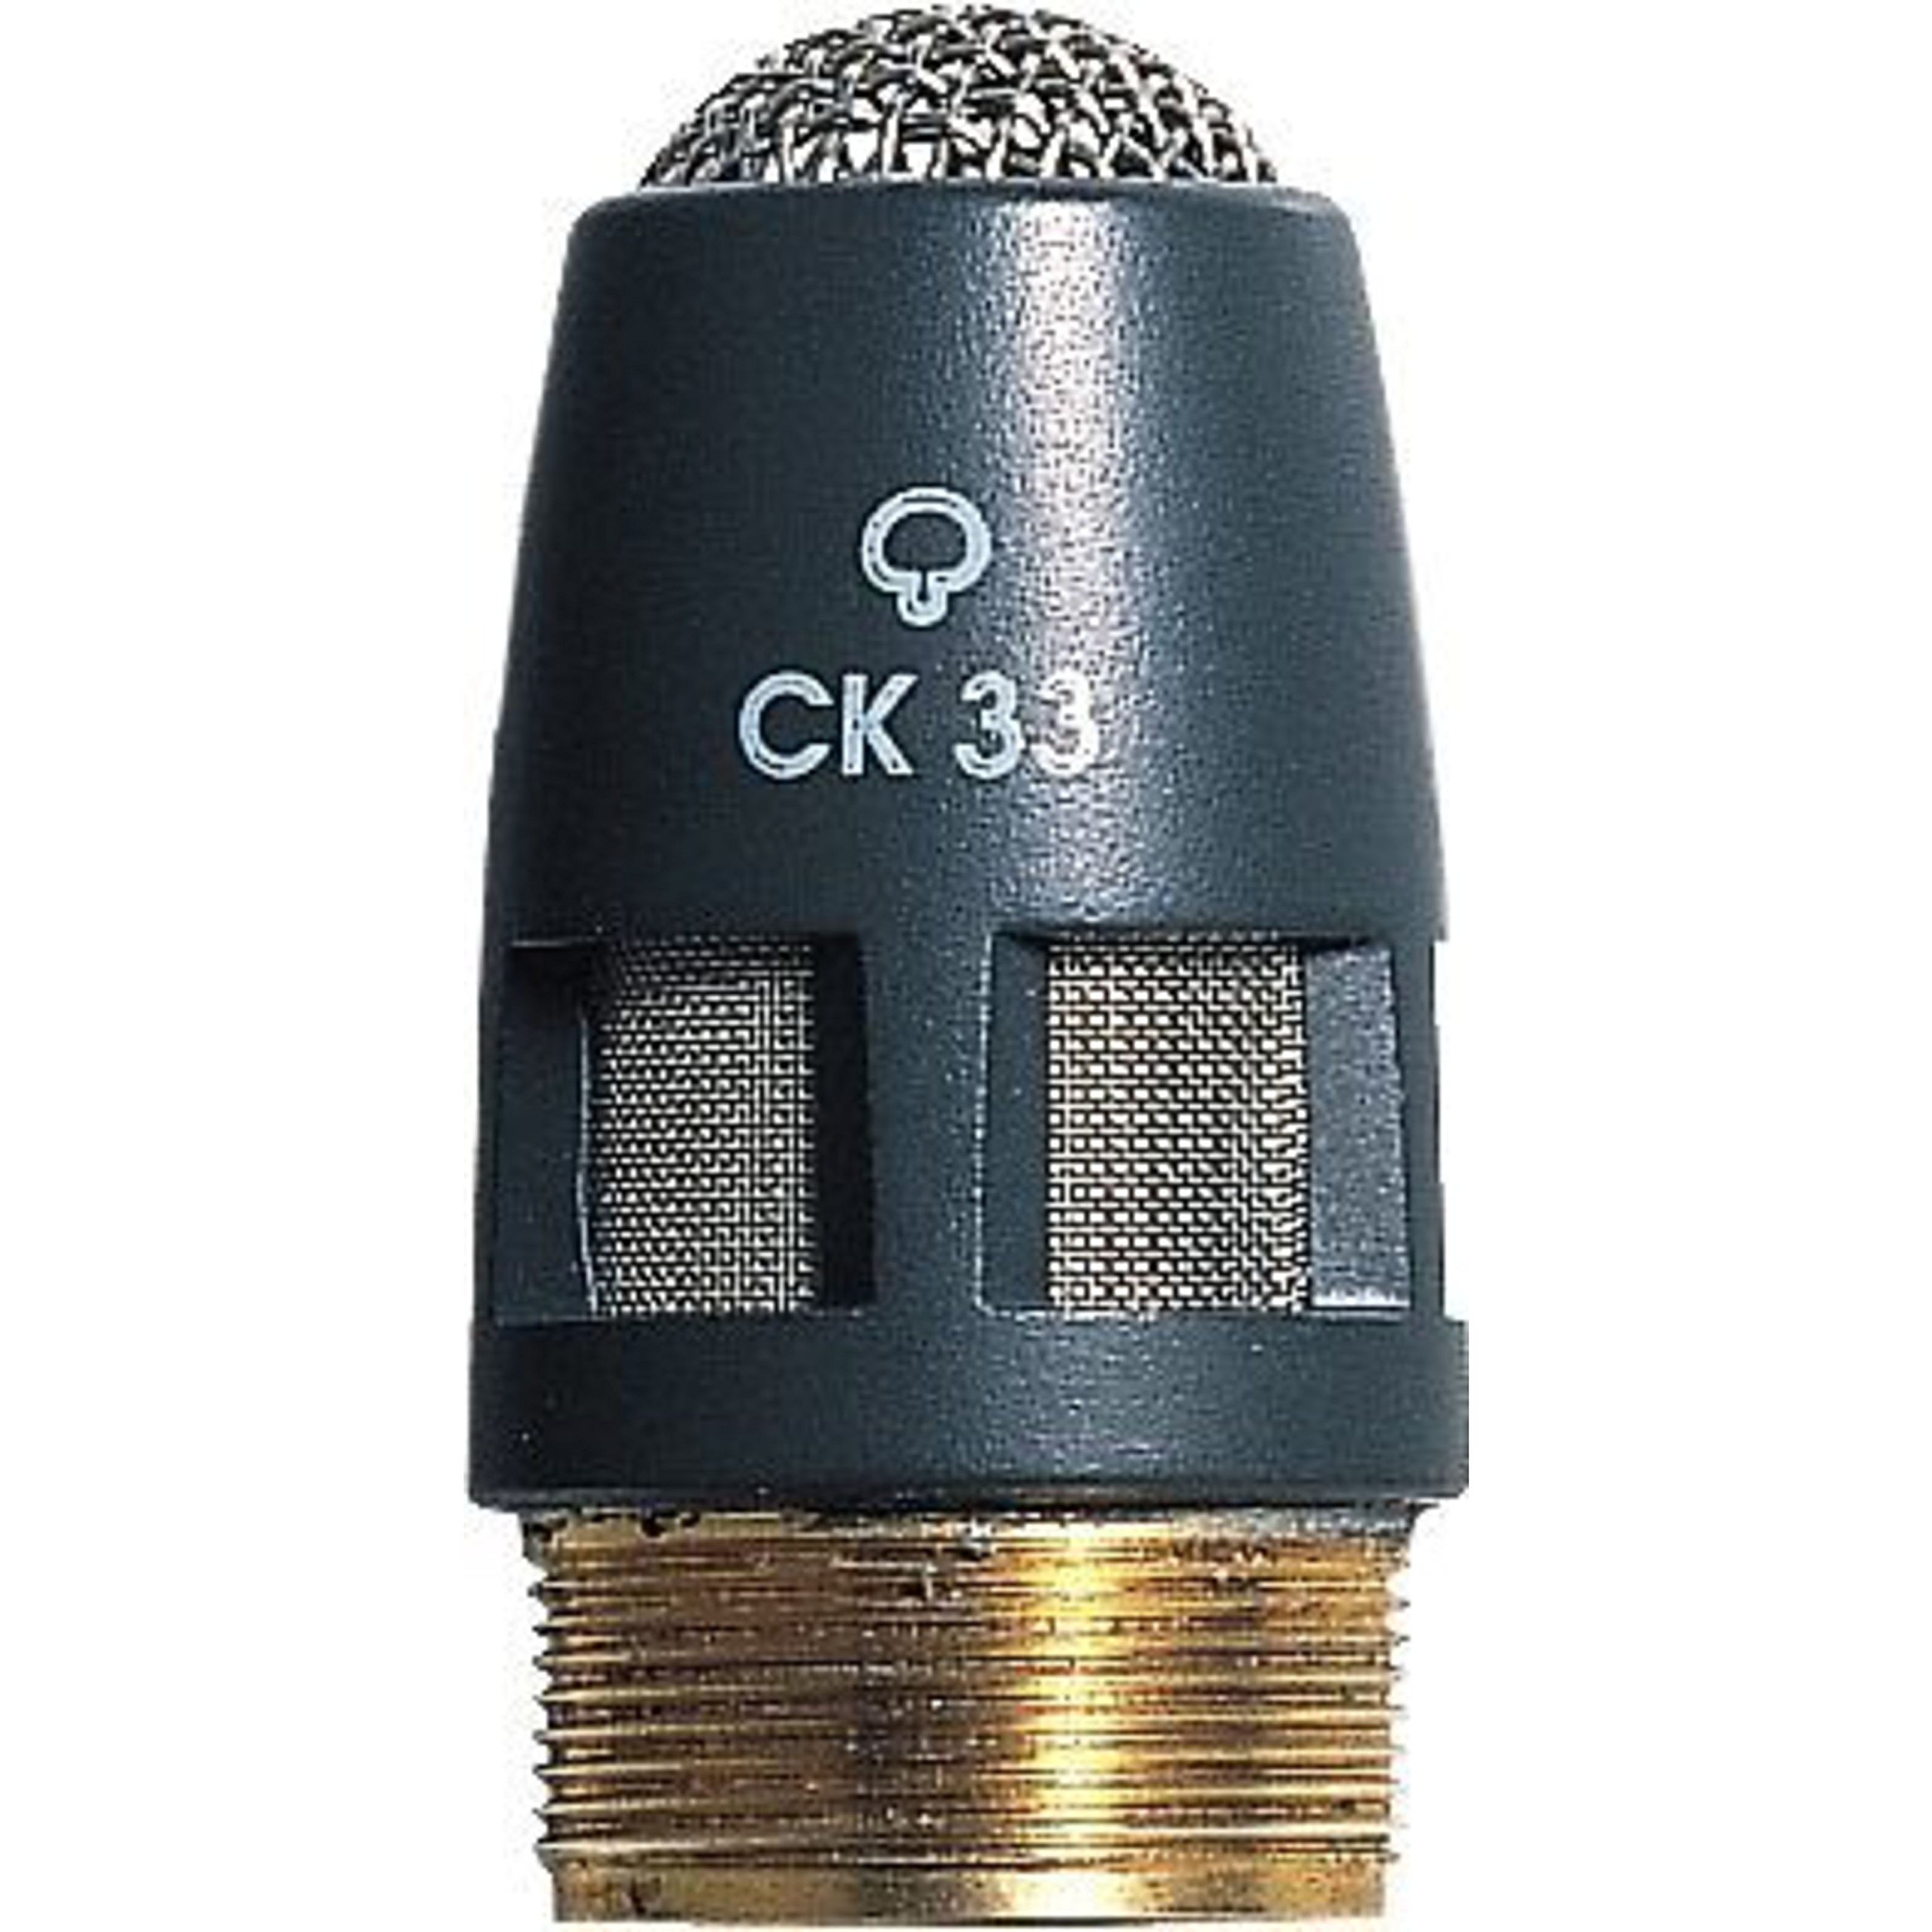
Image: The AKG CK33 Hypercardioid Condenser Microphone Capsule, shown with its included windscreen.
Key Features:
- Hypercardioid Polar Pattern: Effectively eliminates noise originating from the sides, focusing on the desired sound source.
- 95-Degree Pickup Angle: Optimized for capturing sound from greater distances, making it suitable for various setups.
- Wide Frequency Range: Provides speech-optimized audio performance, ensuring clarity and intelligibility.
- Efficient 2-in-1 Windscreen: Reduces wind noise and plosive sounds for cleaner recordings.
- Reliable Capsule Contacts: Features large-area, self-cleaning, gold-plated contacts with deep threads to prevent connection issues and ensure durability.
2. Package Contents
Verify that all items are present in the package:
- AKG CK33 High-Performance Hypercardioid Condenser Microphone Capsule
- W30 Windscreen
3. Setup
- Unpack Components: Carefully remove the CK33 microphone capsule and the W30 windscreen from their packaging.
- Attach to Mounting Module: The CK33 capsule is designed to integrate with AKG DAM Series mounting modules. Align the deep threads of the capsule with the corresponding threads on your DAM Series module. Gently twist the capsule clockwise until it is securely fastened. Avoid overtightening.
- Install Windscreen: Place the two-part W30 windscreen over the microphone capsule. Ensure it fits snugly to provide optimal protection against wind and pop noises.
- Connect to Audio System: Once assembled, connect your DAM Series module (with the CK33 capsule attached) to your audio mixer or interface using an appropriate XLR cable. Ensure phantom power (+48V) is supplied by your mixer or interface, as this is a condenser microphone.
4. Operating Instructions
- Microphone Placement: Position the microphone with the CK33 capsule facing the sound source. Due to its hypercardioid polar pattern, the microphone is most sensitive directly in front and least sensitive at 120 degrees off-axis. This characteristic helps in rejecting sounds from the sides.
- Distance: The 95-degree pickup angle allows for effective sound capture even when the source is at a greater distance. Experiment with distance to achieve the desired balance between direct sound and room ambiance.
- Windscreen Use: Always use the W30 windscreen to minimize plosive sounds (e.g., 'p' and 'b' sounds) and reduce unwanted wind noise, especially in live or outdoor settings.
- Gain Staging: Adjust the gain on your mixer or interface to achieve a strong signal without clipping. Monitor audio levels carefully.
- Phantom Power: Ensure phantom power is consistently supplied to the microphone for proper operation.
5. Maintenance
- Cleaning: Use a soft, dry cloth to clean the exterior of the microphone capsule. Do not use liquid cleaners or solvents, as these can damage the sensitive components.
- Contact Care: The gold-plated contacts are self-cleaning. Avoid touching them directly with your fingers to prevent oil and dirt transfer.
- Storage: When not in use, store the microphone capsule in a protective case or its original packaging to shield it from dust, moisture, and physical damage.
- Handling: Handle the capsule with care. Avoid dropping or subjecting it to strong impacts, which can affect its performance.
6. Troubleshooting
- No Sound Output:
- Verify that phantom power (+48V) is enabled on your mixer or audio interface.
- Check all cable connections (microphone to module, module to mixer).
- Ensure the capsule is securely screwed onto the mounting module.
- Confirm input gain levels on your mixer are appropriately set.
- Distorted Sound:
- Reduce the input gain on your mixer or interface.
- Ensure the sound source is not too close to the microphone, causing overload.
- Excessive Background Noise:
- Confirm the microphone's hypercardioid pattern is correctly oriented towards the desired sound source.
- Minimize ambient noise in the recording environment.
- Ensure the W30 windscreen is properly installed to reduce wind and pop noises.
- Intermittent Connection:
- Check the tightness of the capsule on the mounting module.
- Inspect XLR cables for damage or loose connections.
7. Specifications
| Specification | Value |
|---|---|
| Microphone Form Factor | Gooseneck (when mounted on compatible module) |
| Item Dimensions (L x W x H) | 6.5 x 4.95 x 2.55 inches |
| Power Source | Corded Electric (via phantom power) |
| Material | Stainless Steel |
| Signal-to-Noise Ratio | 78 dB |
| Number of Channels | 1 |
| UPC | 885038003045 |
| Item Weight | 0.32 ounces (0.02 Pounds) |
| Model Name | 2765X00220 |
| Connectivity Technology | Wired |
| Connector Type | XLR (via mounting module) |
| Color | Grey |
| Polar Pattern | Hypercardioid (Unidirectional) |
| Audio Sensitivity | 33 Decibels |
8. Warranty Information
This AKG product is covered by a manufacturer's warranty. For specific details regarding warranty duration, terms, and conditions, please refer to the warranty card included with your product or visit the official AKG website. Keep your proof of purchase for warranty claims.
9. Support
For further assistance, technical support, or to access additional resources such as FAQs and software updates, please visit the official AKG website:
You may also contact AKG customer service directly through the contact information provided on their website.