
Introduction
This instruction manual provides detailed guidance for the installation and maintenance of your Whirlpool 8171339 Genuine OEM Microwave Side Panel Kit. This kit is designed to fill extra space around your over-the-range microwave, ensuring a seamless and integrated appearance in your kitchen. Please read all instructions carefully before beginning installation.
What's Included
The Whirlpool 8171339 Microwave Side Panel Kit includes the following components:
- Two (2) Stainless Steel Filler Panels
- Mounting Hardware
- Installation Instructions (this document)
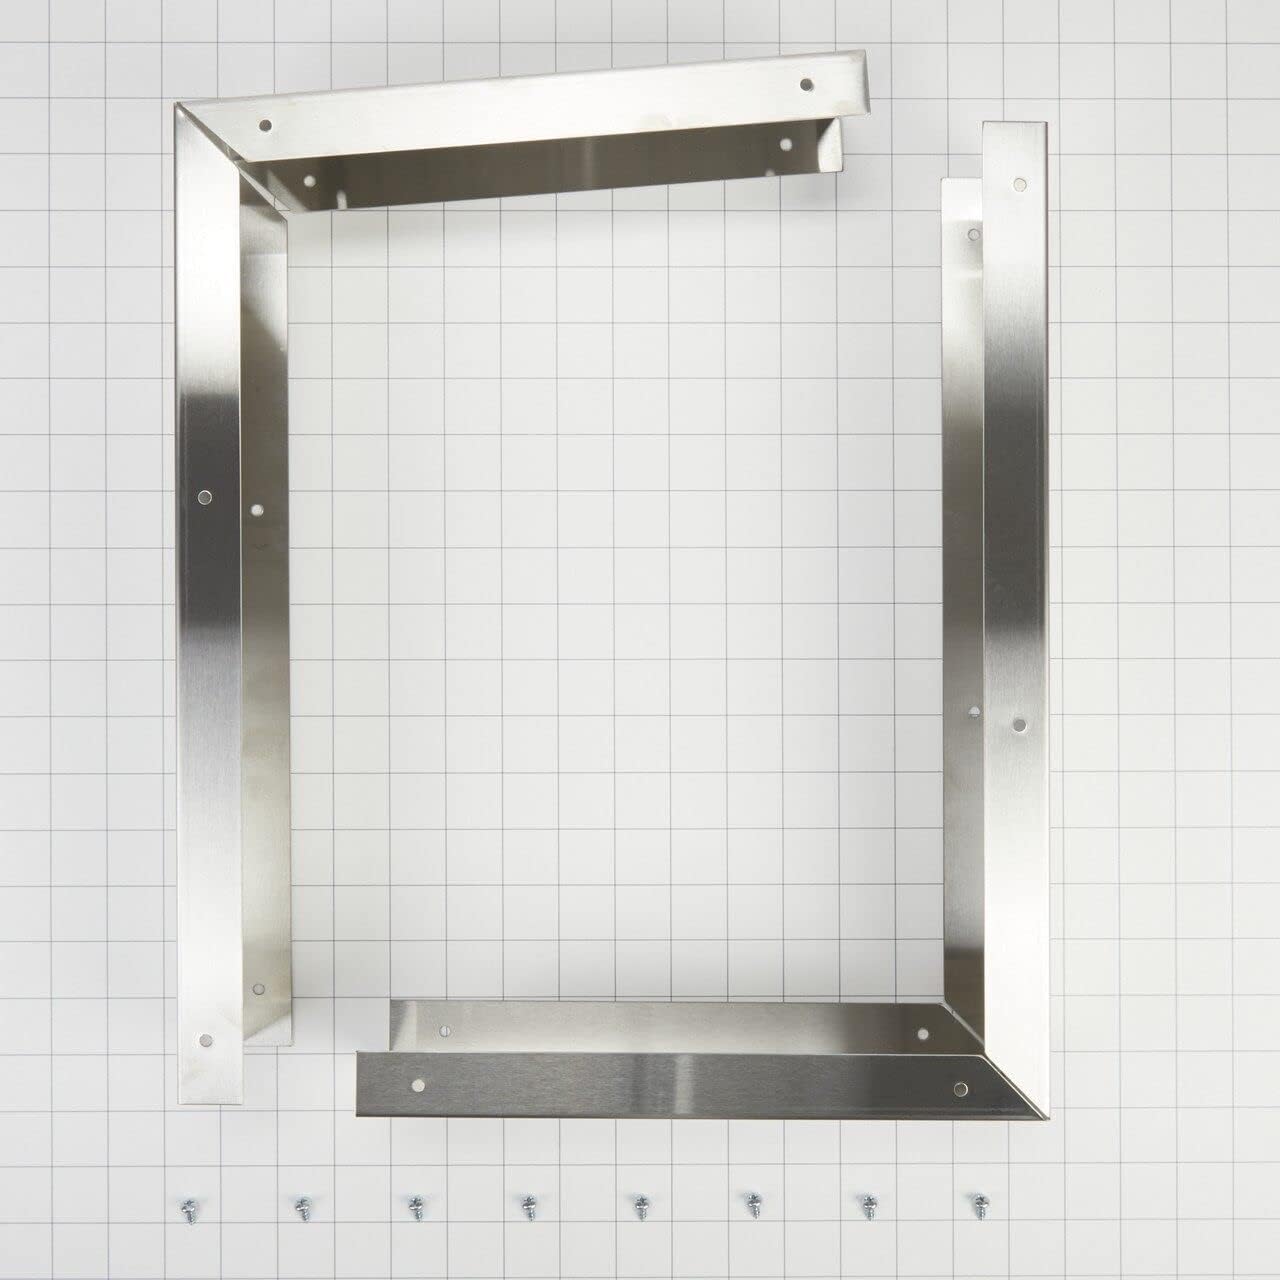
Image: The complete Whirlpool 8171339 Side Panel Kit, showing the two L-shaped stainless steel filler panels and associated mounting screws.
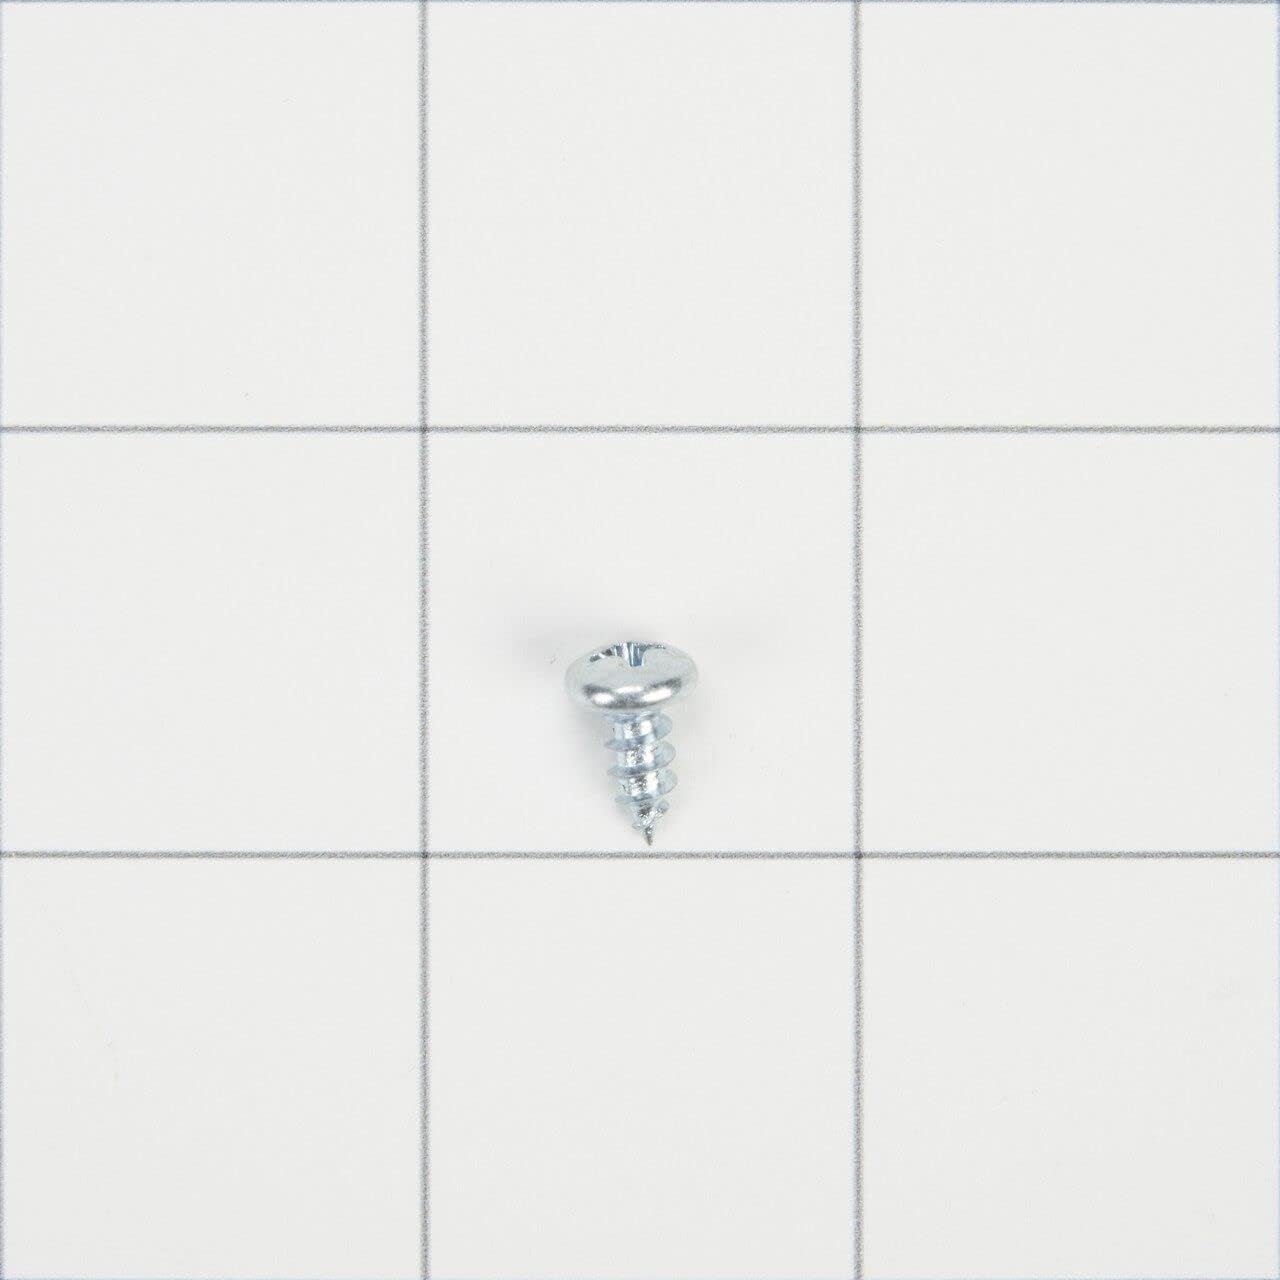
Image: Close-up of a mounting screw, part of the hardware included in the kit.
Compatibility
This accessory is designed for use in 36-inch wide openings under 12-inch cabinets. It is compatible with several major over-the-range microwave brands. This kit replaces part numbers 779208, PS390584, and W10834042. Please verify your microwave model number for compatibility before installation.
Safety Information
WARNING: To avoid electric shock or personal injury, you must unplug the appliance or shut off the house circuit breaker before installing this part. Always wear appropriate personal protective equipment, such as gloves and safety glasses, during installation.
Tools Required
Installation of this accessory requires basic hand tools and novice repair experience. You may need:
- Screwdriver (Phillips head recommended)
- Drill (optional, for pilot holes)
- Measuring Tape
- Pencil
Installation Instructions
Follow these steps to properly install your microwave side panel kit:
- Disconnect Power: Before starting, ensure the microwave oven is unplugged or the household circuit breaker supplying power to the microwave is turned off.
- Prepare the Opening: Ensure your cabinet opening is 36 inches wide and the space under the cabinets is suitable for your over-the-range microwave.
- Assemble Filler Panels (if necessary): The filler panels may require minor assembly to form the L-shape. Align the pre-drilled holes and secure them with the provided screws.
- Position Filler Panels: Carefully slide the assembled filler panels into the gaps on either side of the microwave opening. Ensure they are flush with the cabinet fronts and the microwave's intended position.
- Secure Filler Panels: Using the provided mounting hardware, secure the filler panels to the surrounding cabinetry. Ensure they are firmly attached and stable.
- Install Microwave Oven: Once the filler panels are securely in place, proceed with the installation of your over-the-range microwave oven according to its specific installation instructions. Helpful Tip: The filler panels must be in place before you install your microwave oven.
- Reconnect Power: After the microwave and filler panels are fully installed and secured, reconnect power to the appliance.
Video: This video demonstrates the assembly and installation process for a similar stainless steel microwave trim kit, providing a visual guide for securing the filler panels.
Specifications
- Brand Name: Whirlpool
- Model Info: 8171339
- Item Weight: 3.09 pounds
- Product Dimensions: 16 x 12 x 4.5 inches
- Color: Stainless steel
- Compatible Device: Microwave
- Included Components: Microwave Hood Filler Kit (2 filler panels, mounting hardware)
Maintenance
To maintain the appearance and longevity of your stainless steel filler panels, wipe them regularly with a soft cloth and a mild, non-abrasive cleaner. Avoid using harsh chemicals or abrasive pads that could scratch the finish.
Troubleshooting
If you encounter any issues during installation or with the fit of the panels, please review the installation steps carefully. Ensure all mounting hardware is securely fastened and that the panels are correctly aligned with your cabinet opening. For further assistance, refer to your microwave oven's specific manual or contact Whirlpool customer support.
Warranty and Support
As a Genuine OEM part, this kit is designed to meet Whirlpool's engineering standards and ensure the quality of your appliance. For specific warranty details or technical support, please refer to the documentation provided with your original microwave oven or visit the official Whirlpool website.