1. Introduction
This manual provides instructions for the installation, maintenance, and troubleshooting of the Acer Aspire 7741z-4643 replacement laptop LCD screen. This product is a 17.3-inch WXGA++ LED DIODE display designed as a substitute replacement for compatible Acer Aspire 7741z-4643 laptop models. Please read all instructions carefully before proceeding with installation.

Figure 1: Front view of the replacement LCD screen, showing the display area and slim bezels.
2. Safety Information
- Always disconnect the laptop from its power source and remove the battery before beginning any installation or repair work.
- Handle the LCD screen with care. Avoid applying pressure to the screen surface.
- Wear anti-static gloves or use an anti-static wrist strap to prevent electrostatic discharge (ESD) damage to electronic components.
- Keep small parts, such as screws, away from children.
- If you are unsure about any step, seek professional assistance.
3. Package Contents
Please verify that all items are present and undamaged upon opening the package.
- 1x Acer Aspire 7741z-4643 Replacement Laptop LCD Screen (Model: LED-1600-900-G-40-17.3-13)
Note: Mounting brackets, screws, and tools are typically not included and must be reused from the original laptop or purchased separately.
4. Setup and Installation
Replacing a laptop LCD screen requires careful handling and attention to detail. It is recommended to consult specific disassembly guides or videos for your exact laptop model (Acer Aspire 7741z-4643) before proceeding. The following steps provide a general overview.
- Prepare the Laptop: Power off your laptop completely and disconnect the AC adapter. Remove the laptop battery.
- Remove Screen Bezel: Carefully pry off the plastic bezel surrounding the LCD screen. This may involve removing rubber screw covers and screws first. Use a plastic prying tool to avoid scratching the laptop casing.
- Access the Screen: Once the bezel is removed, you will see the LCD panel secured by screws to the metal mounting brackets. Remove these screws.
- Disconnect Old Screen: Gently lay the old screen face down on the keyboard. Carefully peel back any tape securing the video cable (LVDS/eDP connector) to the back of the screen. Disconnect the cable by pulling it straight out from the connector.
- Connect New Screen: Connect the video cable to the new replacement screen. Ensure the connection is firm and properly aligned. Secure it with tape if necessary.
- Mount New Screen: Position the new screen within the laptop lid and secure it with the screws previously removed from the mounting brackets.
- Test Display: Before reattaching the bezel, temporarily connect the AC adapter and battery (if applicable) and power on the laptop to test the new screen. Verify that the display functions correctly, with no lines, dead pixels, or flickering. Power off and disconnect again after testing.
- Reassemble: Reattach the screen bezel, ensuring all clips snap into place and any screws are reinserted. Reinstall the laptop battery and connect the AC adapter.

Figure 2: Back view of the replacement LCD screen, highlighting the video cable connector for installation.
5. Operating
Once properly installed, the replacement LCD screen will function as the primary display for your Acer Aspire 7741z-4643 laptop. No additional software or drivers are typically required for basic display functionality, as the laptop's existing graphics drivers will manage the screen output.
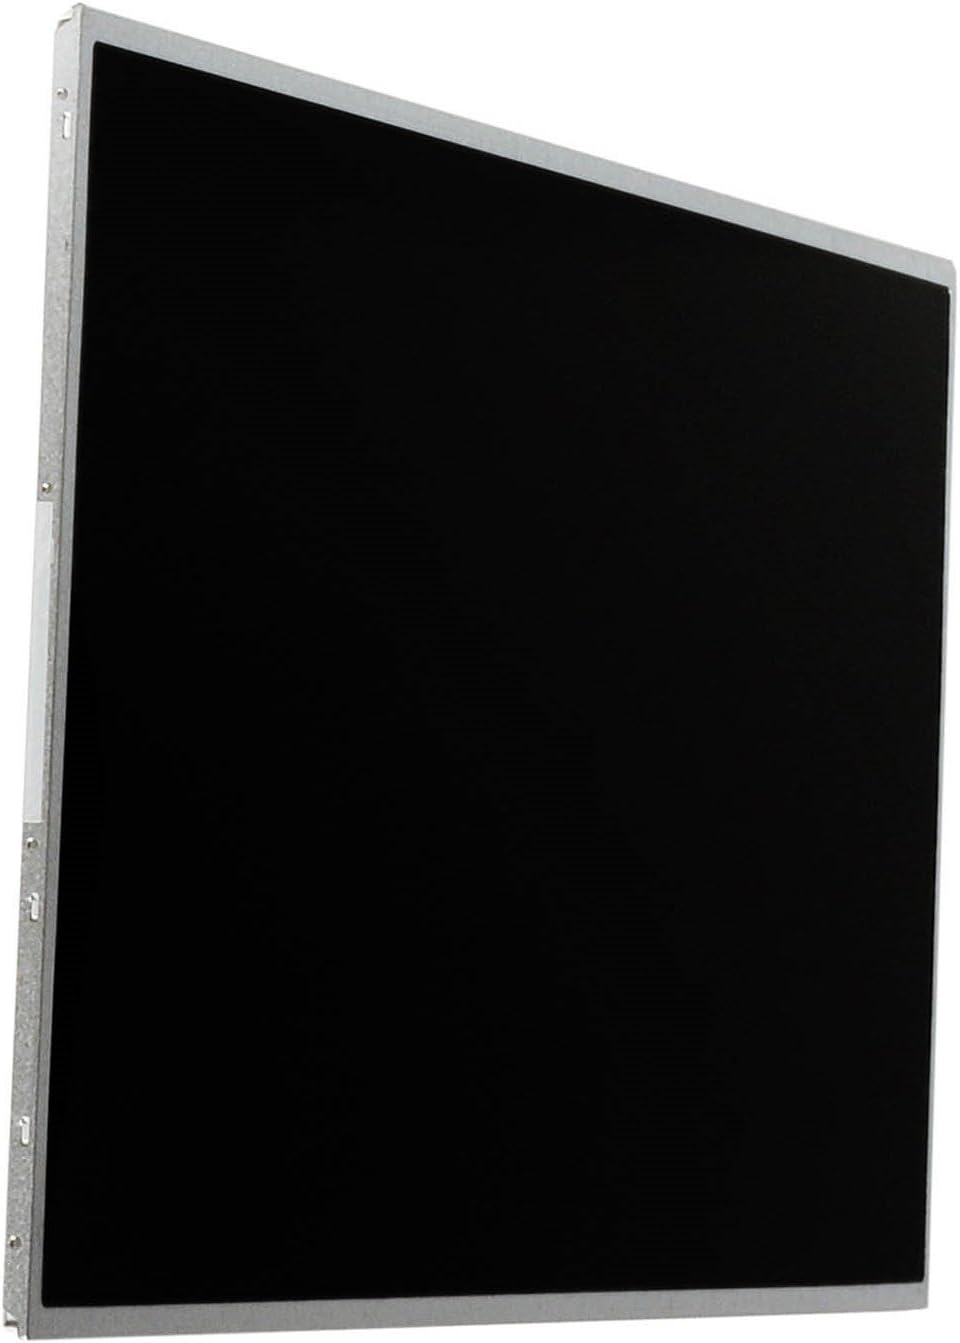
Figure 3: Side profile of the replacement LCD screen, illustrating its slim design.
6. Maintenance
- Cleaning the Screen: Use a soft, lint-free microfiber cloth specifically designed for electronics. Lightly dampen the cloth with water or a screen-cleaning solution (avoid ammonia-based cleaners). Gently wipe the screen in one direction to remove dust and smudges.
- Avoid Pressure: Do not press firmly on the screen surface, as this can damage the LCD panel.
- Protect from Impact: Close the laptop lid gently and avoid placing heavy objects on top of the closed laptop to prevent screen damage.
7. Troubleshooting
| Problem | Possible Cause | Solution |
|---|---|---|
| No display after installation | Video cable not properly connected; screen not fully seated; laptop not powered on correctly. | Ensure the video cable is securely connected to both the screen and the motherboard. Recheck all connections. Verify laptop power. |
| Flickering or distorted image | Loose video cable connection; damaged video cable; incompatible screen. | Check video cable connections. If possible, test with a known good video cable. Confirm screen compatibility with your laptop model. |
| Dead pixels or lines on screen | Manufacturing defect; physical damage during installation. | If dead pixels or lines are present upon initial testing, contact the seller for potential replacement. |
| Screen is dim | Backlight cable not connected; brightness settings too low. | Ensure all cables are connected. Adjust brightness settings using keyboard function keys or operating system display settings. |
8. Specifications
- Model Number: LED-1600-900-G-40-17.3-13
- Screen Size: 17.3 Inches
- Resolution: WXGA++ (typically 1600x900 for 17.3-inch screens)
- Display Technology: LED DIODE
- Product Dimensions (LxWxH): 17.5 x 10.5 x 1.5 inches
- Item Weight: 8 ounces
- Compatibility: Acer Aspire 7741z-4643 (and other compatible models)
9. Warranty and Support
For warranty information or technical support, please refer to the documentation provided by your specific seller or contact the seller directly. Keep your purchase receipt as proof of purchase.


