Introduction
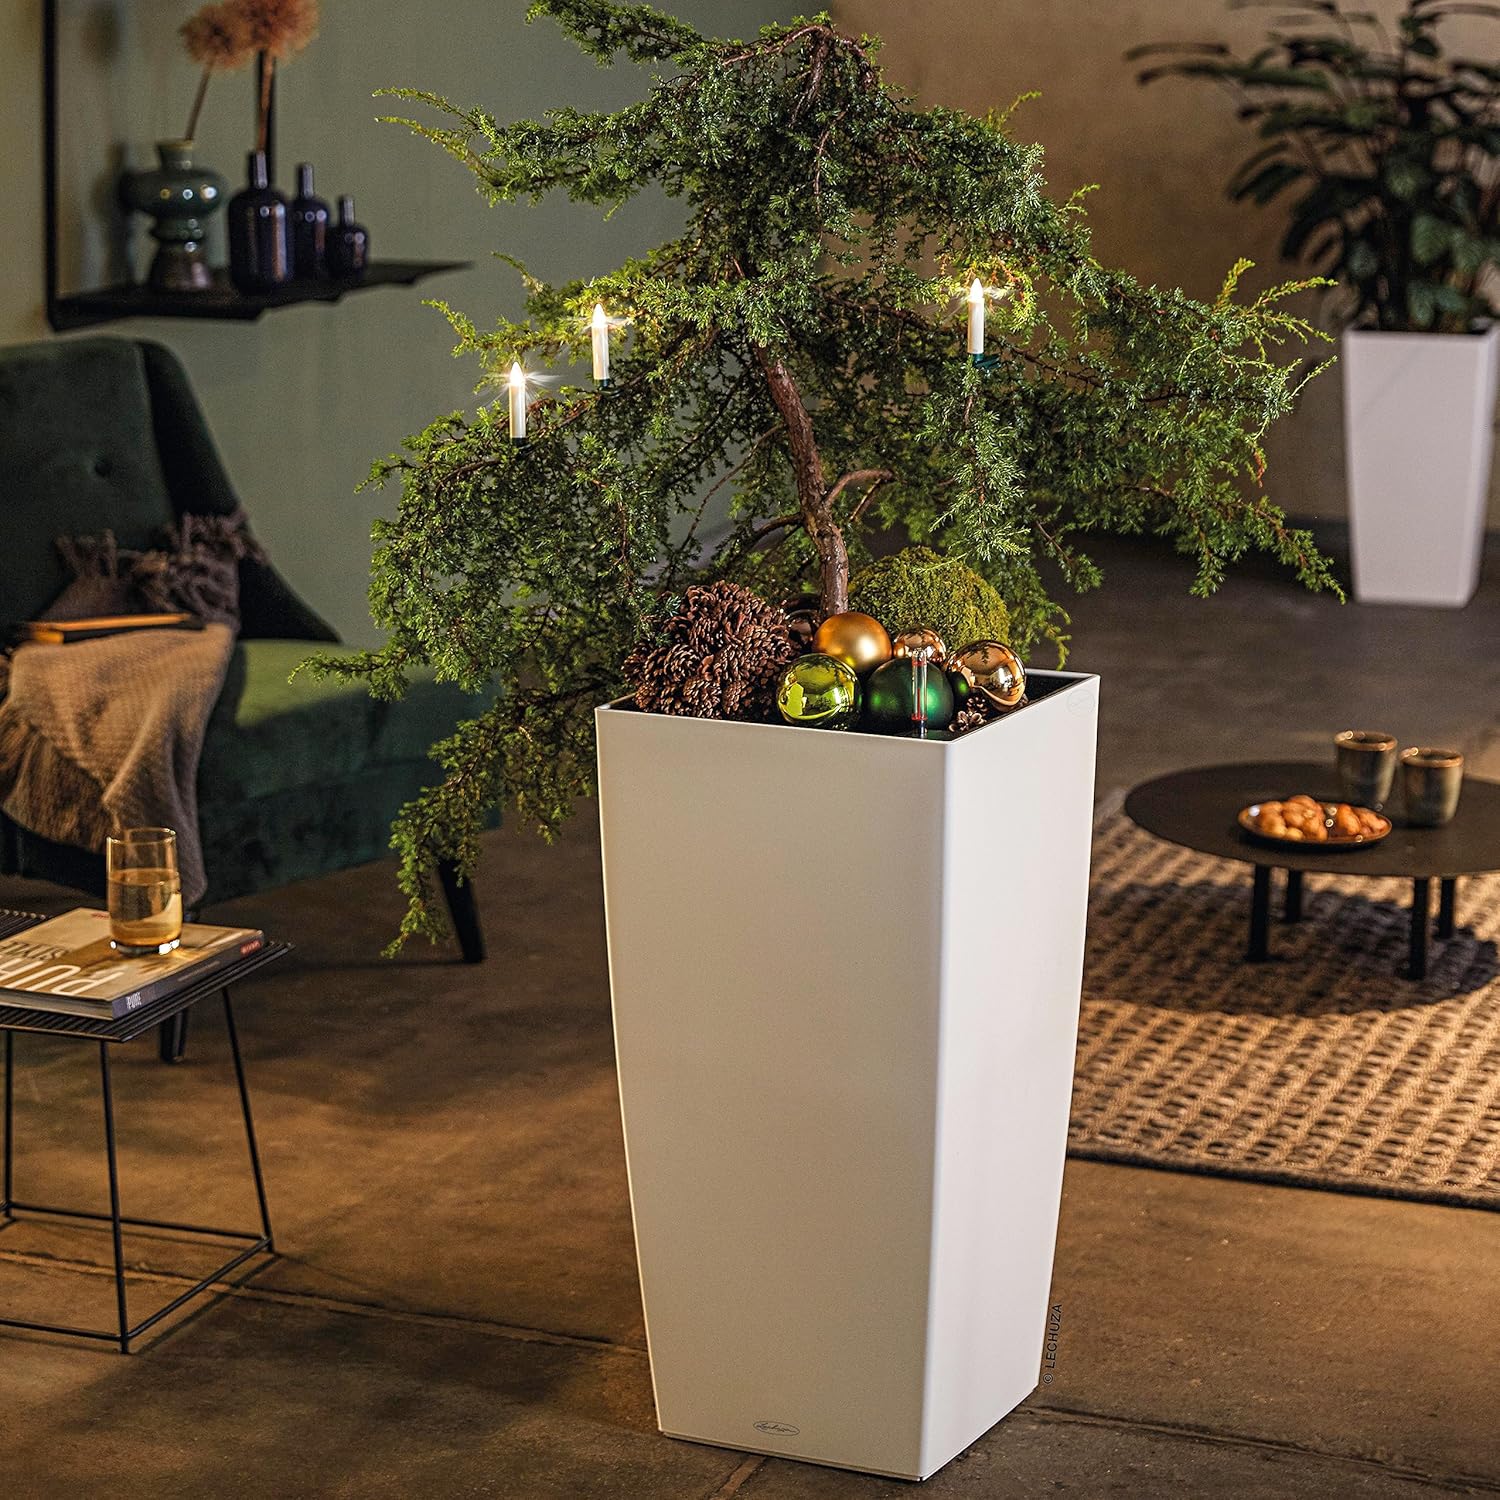
The Lechuza Cubico Color 40 is a self-watering planter designed for both indoor and outdoor use. Its classic cubic shape integrates seamlessly into various decor styles. This planter features an integrated self-watering system that simplifies plant care by providing plants with water as needed, reducing the frequency of manual watering.

Image: Lechuza Cubico Color 40 Self-Watering Planter, showcasing its sleek design.
Setup Instructions
Follow these steps to assemble your Lechuza Cubico Color 40 planter and prepare it for planting:
- Unpack Components: Carefully remove all parts from the packaging. You should have the outer planter, the planter liner, the self-watering sub-irrigation set (including the water level indicator and filler shaft), and a bag of LECHUZA-PON granulate.
- Assemble Water Level Indicator: Insert the water level indicator into the designated opening in the planter liner. Ensure the buoy moves freely up and down within the shaft.
- Install Filler Shaft: Attach the filler shaft to the planter liner. This is where you will add water to the reservoir.
- Place LECHUZA-PON: Spread a layer of LECHUZA-PON granulate at the bottom of the planter liner. This layer separates the potting soil from the water reservoir and helps regulate moisture.
- Add Potting Soil: Fill the planter liner with your preferred potting soil, leaving enough space for your plant.
- Plant Your Plant: Carefully place your plant into the soil. Ensure the roots are well-distributed. Add more soil around the plant, gently firming it down.
- Insert Liner into Planter: Lower the assembled planter liner into the outer Cubico Color 40 planter.

Image: All components of the Lechuza Cubico Color 40 planter laid out.
Operating Instructions
The self-watering system provides optimal hydration for your plants. Here’s how to use it:
- Initial Watering: For the first 12 weeks after planting, water your plant from above as you normally would. This allows the plant’s roots to grow into the water reservoir.
- Using the Water Reservoir: After the initial 12 weeks, begin watering through the filler shaft. Fill the reservoir until the red indicator on the water level indicator reaches the “max” mark.
- Monitoring Water Levels: The water level indicator will show you when the reservoir needs refilling. When the red indicator drops to the “min” mark, it’s time to add more water.
- Outdoor Use and Drainage: For outdoor use, ensure the drainage plug at the bottom of the planter is removed. This allows excess rainwater to drain, preventing waterlogging.

Image: Detailed diagram of the Lechuza self-watering system components.
Video: Introduction to Lechuza self-watering planters, demonstrating the system's benefits and ease of use.
Maintenance
- Cleaning: The planter and liner can be cleaned with a damp cloth. Avoid abrasive cleaners that may damage the finish.
- Drainage Plug: Regularly check the drainage plug for outdoor planters to ensure it is clear of debris and functioning correctly.
- LECHUZA-PON Replacement: Over time, the LECHUZA-PON may need to be replenished or replaced, especially if you notice reduced wicking performance.
Troubleshooting
- Water Level Indicator Not Moving: Ensure the buoy is not obstructed by soil or roots. Check that the indicator is correctly assembled and inserted.
- Plant Wilting/Overwatering: Verify that the drainage plug is open for outdoor use. For indoor plants, ensure you are not overfilling the reservoir beyond the 'max' mark. Allow the reservoir to dry out completely between refills if plants show signs of overwatering.
- Slow Water Absorption: This may indicate that the plant's roots have not fully grown into the reservoir or that the LECHUZA-PON layer is compacted. Ensure proper initial watering for 12 weeks.
Specifications
| Feature | Detail |
|---|---|
| Model Number | 13150 |
| Dimensions (D x W x H) | 15.55" x 15.55" x 29.72" |
| Material | Durable, frost and UV resistant PP plastic |
| Color | White Matte |
| Capacity | 31 Liters |
| Special Features | Self-watering system, water-level indicator, drainage plug (for outdoor use) |
| Indoor/Outdoor Usage | Yes |
| Included Components | Planter, Liner, LECHUZA-PON |
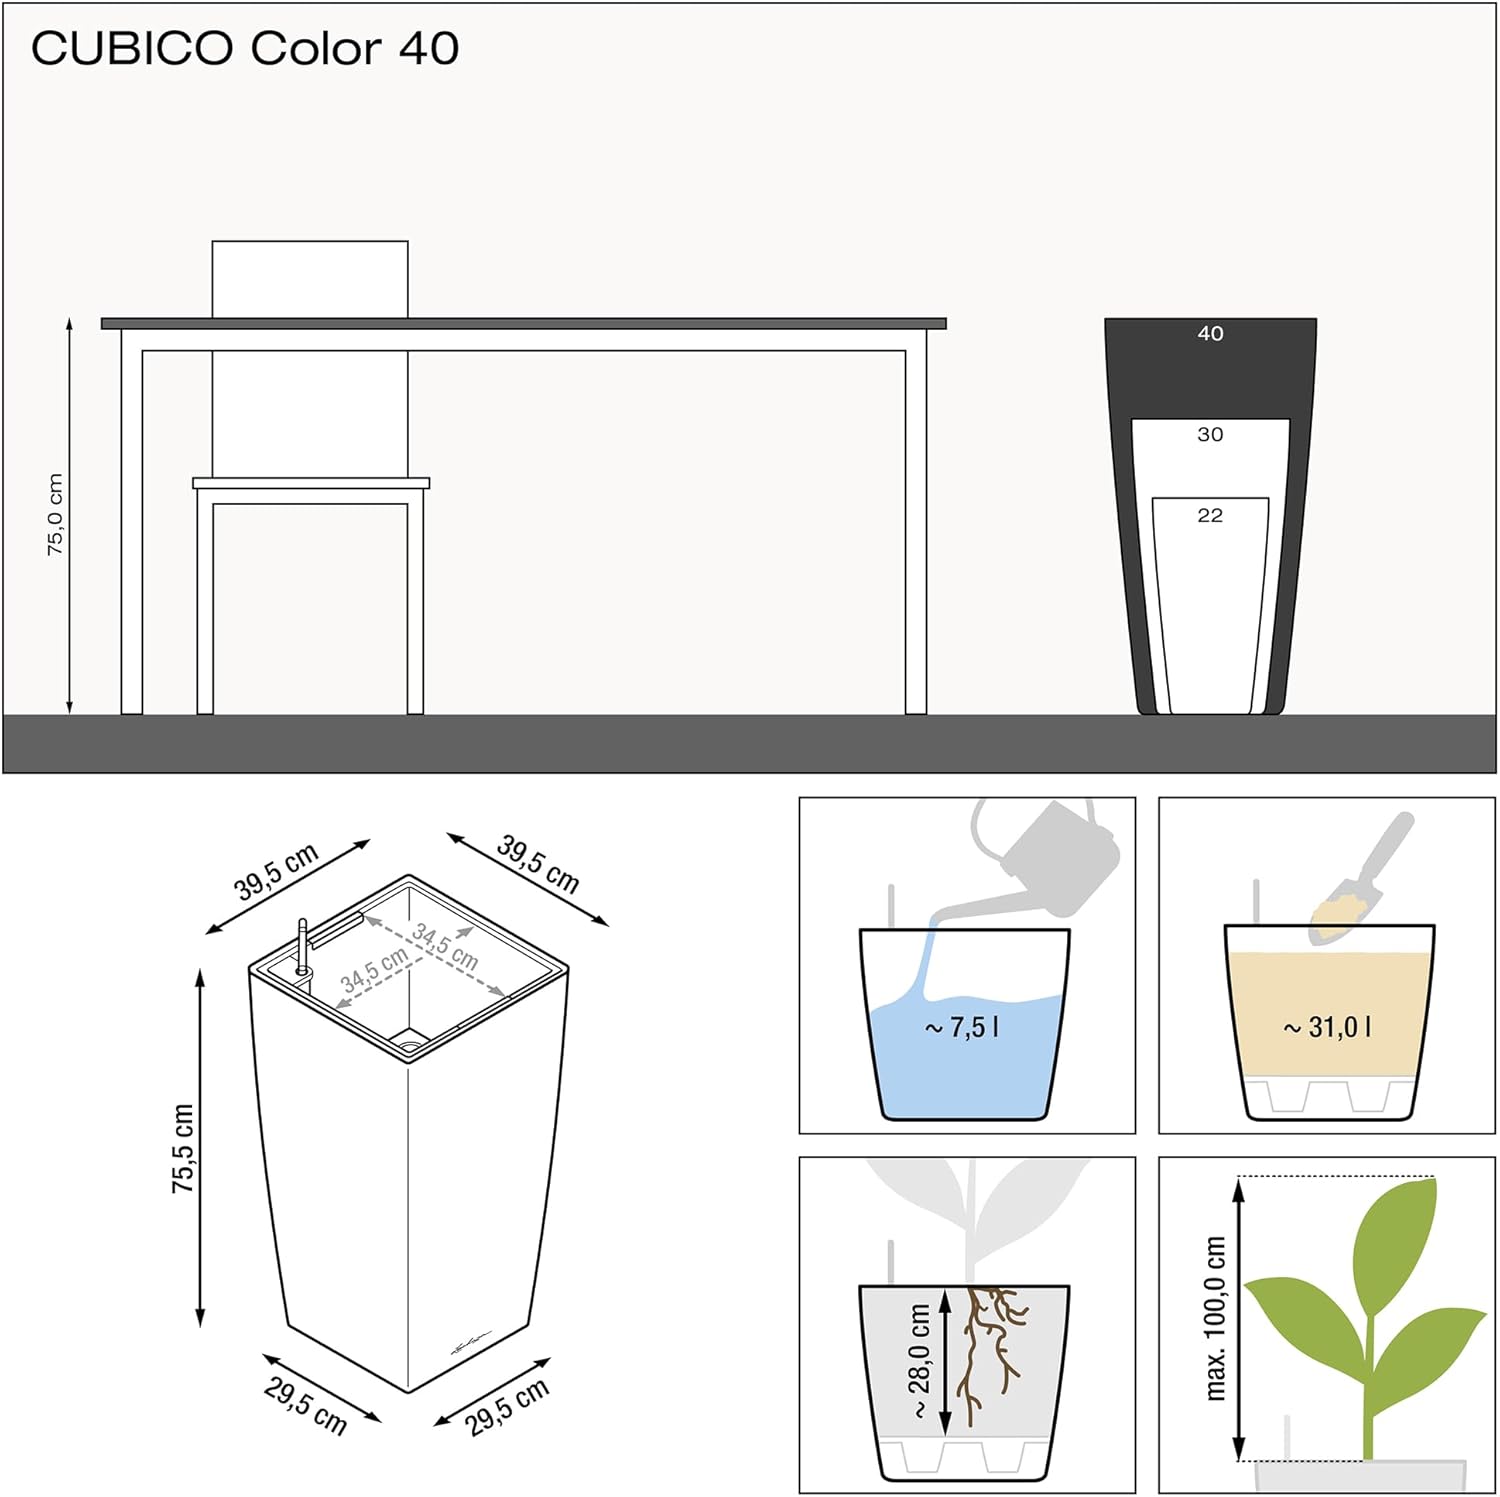
Image: Technical diagram showing dimensions and watering details for Cubico Color 40.
Warranty and Support
For warranty information, product support, or to purchase replacement parts, please visit the official Lechuza website or contact their customer service department. Keep your purchase receipt as proof of purchase.
For additional information and products, visit the Lechuza Store on Amazon.
Usage Examples