
Sea Gull Lighting 9804115
Sea Gull Lighting 9804115 Undercabinet Light Instruction Manual
Model: 9804115
Introduction
Thank you for choosing the Sea Gull Lighting 9804115 Undercabinet Light. This manual provides important information regarding the installation, operation, and maintenance of your new undercabinet light fixture. Please read these instructions thoroughly before installation and keep them for future reference.
This fixture is a 2-light self-contained 120-volt Xenon task lighting unit, designed for undercabinet applications.
Important Safety Information
WARNING: Risk of electric shock. Disconnect power at the fuse box or circuit breaker before installation or servicing.
- Read all instructions carefully before beginning installation.
- All wiring connections must be in accordance with local and National Electrical Code (NEC) standards.
- Consult a qualified electrician if you are unsure about the installation process.
- Do not install near combustible materials.
- Ensure the fixture is securely mounted.
Package Contents
Verify that all components are present before beginning installation.
- Undercabinet Light Fixture (Model: 9804115)
- G-9 35-watt 120-volt Xenon Lamp (2 included)
- Conduit Adapter
- Mounting Hardware
- Romex Cable Adapter with Strain Relief
- Note: Connector cords and power cord are sold separately.
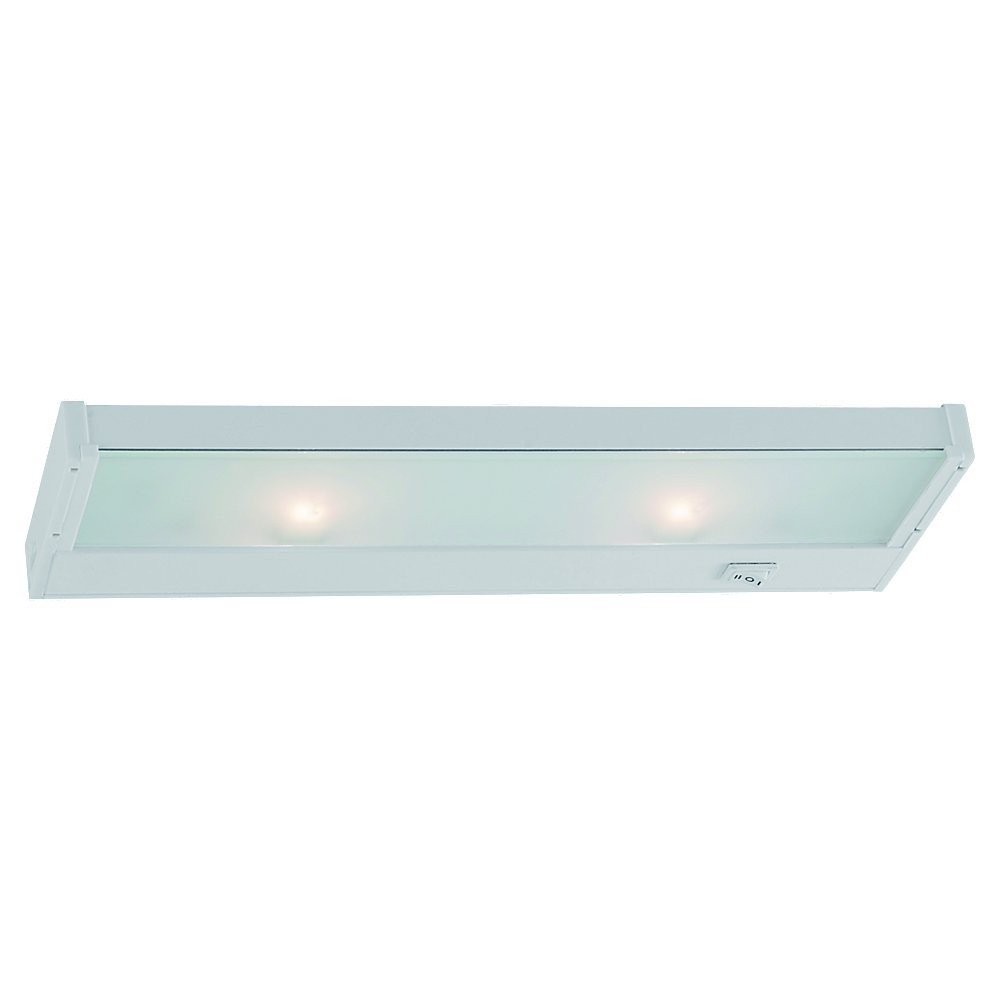
Image: The Sea Gull Lighting 9804115 undercabinet light fixture, showing its white finish and compact design, ready for installation.
Specifications
| Feature | Detail |
|---|---|
| Model Number | 9804115 |
| Brand | Sea Gull Lighting |
| Finish | White |
| Light Source | Xenon |
| Lamp Type | G-9 35-watt 120-volt |
| Number of Lights | 2 |
| Voltage | 120 Volts |
| Power Source | Corded Electric |
| Mounting Type | Wall Mount (Undercabinet) |
| Product Dimensions | 14 x 5 x 2 inches |
| Item Weight | 1.7 pounds |
| Certification | ETL |
Setup and Installation
Tools Required (Not Included):
- Screwdriver
- Wire Strippers
- Pliers
- Drill (if mounting to a new surface)
Installation Steps:
- Turn Off Power: Before starting, ensure the power supply to the installation area is turned off at the circuit breaker or fuse box.
- Prepare Mounting Location: Identify the desired location under the cabinet. Ensure there is sufficient space and a stable surface for mounting.
- Mount the Fixture:
- Use the provided mounting hardware to secure the fixture to the underside of the cabinet.
- The fixture is designed for wall mount (undercabinet) applications.
- Wiring Connections:
- This fixture features a convertible hardwiring method, including a Romex cable adapter with strain relief for quick installation.
- Connect the fixture's wires to the household electrical supply wires according to local electrical codes. Typically, this involves connecting black to black (live), white to white (neutral), and green/bare copper to green/bare copper (ground).
- Note: Connector cords and power cord are sold separately if you are not hardwiring directly.
- Install Xenon Lamps: Carefully insert the two G-9 35-watt 120-volt xenon lamps into their respective sockets within the fixture. Avoid touching the glass of the lamps directly with bare hands; use a clean cloth or gloves.
- Secure Fixture Cover: Once wiring and lamps are installed, secure any covers or diffusers that came with the fixture.
- Restore Power: Turn the power back on at the circuit breaker or fuse box and test the light fixture.
Operating Instructions
The Sea Gull Lighting 9804115 undercabinet light fixture operates on a standard 120-volt electrical supply. Once properly installed and powered, the fixture will illuminate when the connected wall switch or power source is activated.
- Power On/Off: Use the wall switch connected to the fixture to turn the lights on or off.
- Lamp Type: This fixture uses G-9 35-watt 120-volt xenon lamps. Ensure replacement lamps match these specifications.
Maintenance
Cleaning:
- Always disconnect power before cleaning.
- Wipe the fixture with a soft, dry cloth.
- Do not use abrasive cleaners, solvents, or polishes as they may damage the finish.
Lamp Replacement:
- Turn Off Power: Ensure the power to the fixture is completely off at the circuit breaker.
- Allow to Cool: Allow the lamps to cool completely before attempting to replace them.
- Remove Old Lamp: Gently pull the old G-9 xenon lamp straight out from its socket.
- Install New Lamp: Insert a new G-9 35-watt 120-volt xenon lamp. Avoid touching the glass with bare hands; use a clean cloth or gloves to prevent oil residue from shortening lamp life.
- Restore Power: Turn the power back on and test the new lamp.
Troubleshooting
| Problem | Possible Cause | Solution |
|---|---|---|
| Light does not turn on. |
|
|
| Light flickers. |
|
|
| Lamps burn out quickly. |
|
|
Warranty and Support
For warranty information or technical support, please contact Sea Gull Lighting customer service. Keep your purchase receipt as proof of purchase.
Manufacturer: Walters Wholesale Electric - HI
Brand: Sea Gull Lighting
For further assistance, please visit the Sea Gull Lighting Store on Amazon or refer to the contact information provided with your product packaging.
Related documents9804115

Ask a question about this manual
Ask about setup, troubleshooting, compatibility, parts, safety, or missing instructions. Manuals+ will review the question and use this page’s manual context to help answer it.