1. Introduction
Thank you for choosing the SunSun HJ-1842 ECO Aquarium Water Pump. This pump is designed for efficient water circulation, filtration, and oxygenation in your aquarium. Its energy-saving design ensures optimal performance with reduced power consumption. Please read this manual carefully before installation and operation to ensure proper use and longevity of the product.
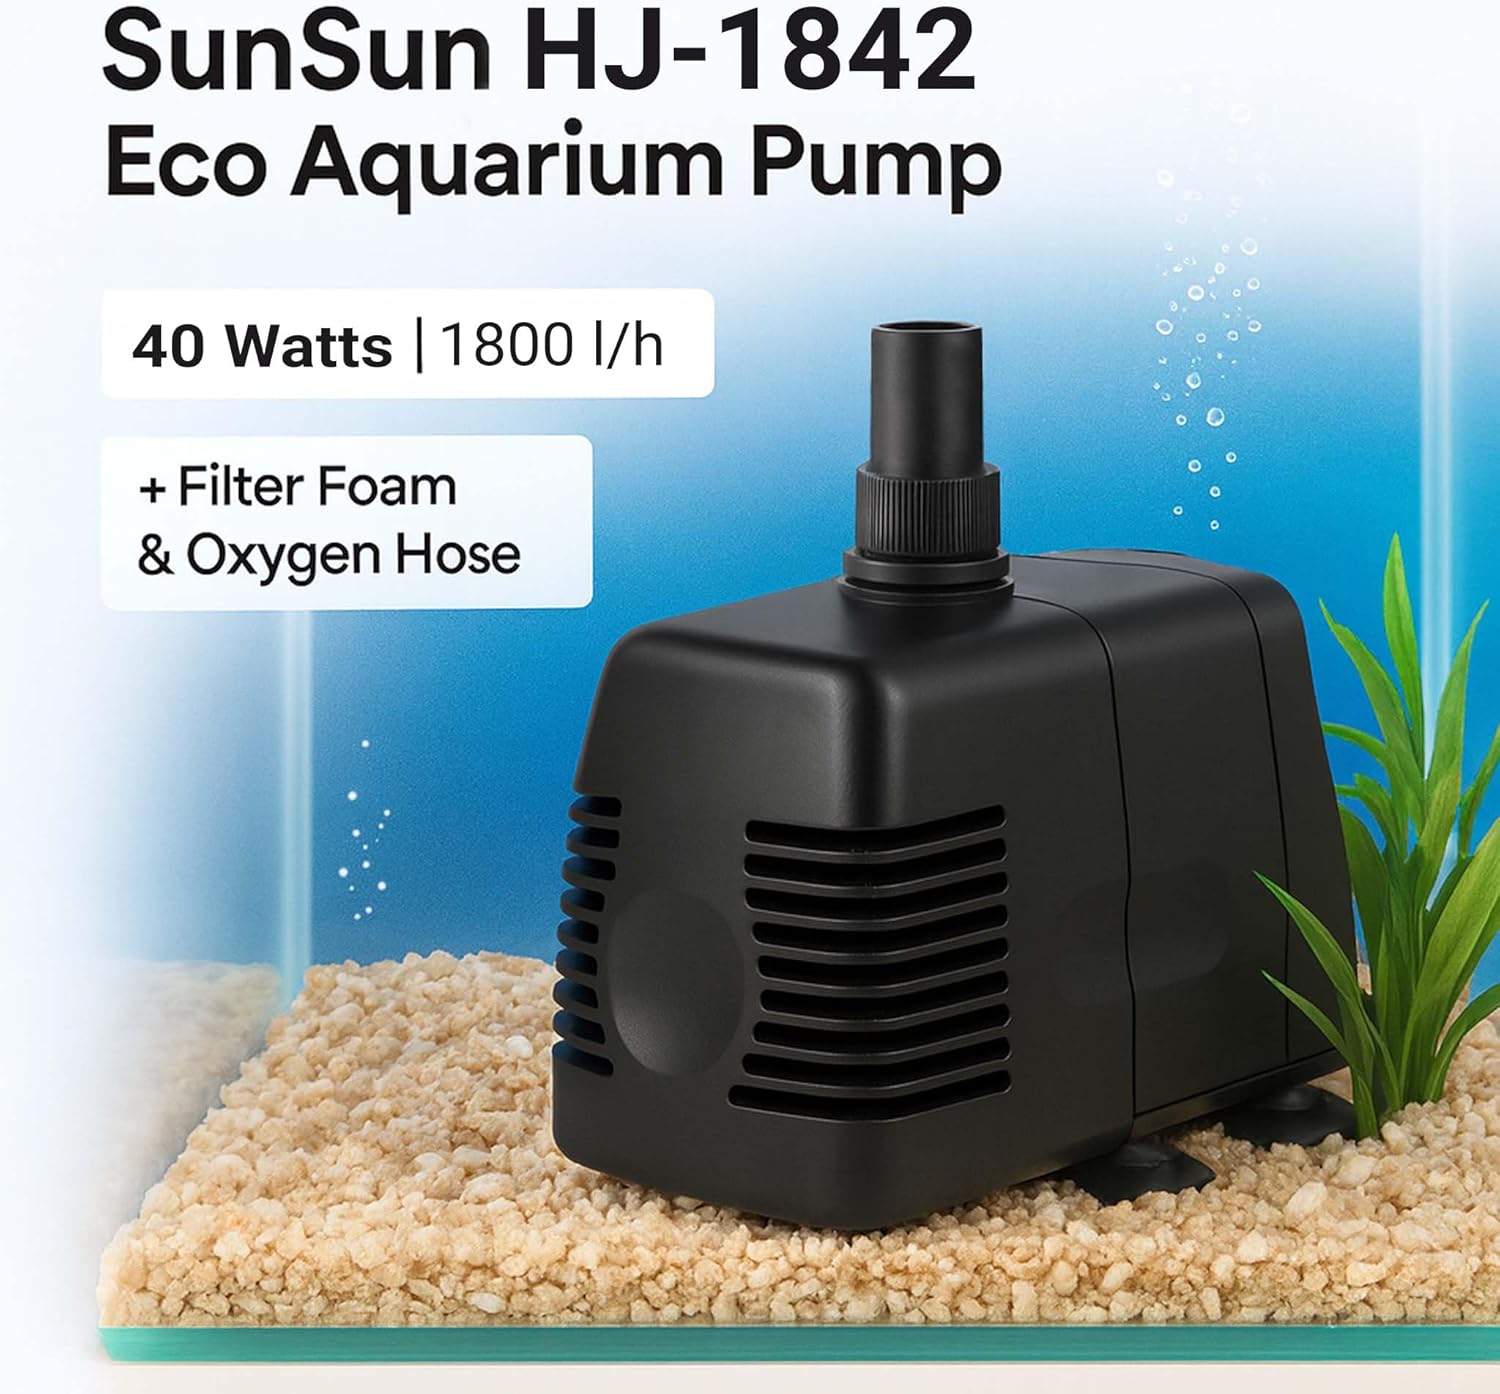
Figure 1: The SunSun HJ-1842 ECO Aquarium Pump submerged in an aquarium, illustrating its intended use for water circulation and oxygenation.
2. Safety Instructions
- Always disconnect the power supply before performing any maintenance or cleaning on the pump or aquarium.
- Ensure the pump is fully submerged in water during operation to prevent overheating and damage.
- Do not operate the pump if the power cord or plug is damaged.
- This pump is designed for indoor aquarium use only. Do not use it for other purposes.
- Keep out of reach of children.
- Ensure the electrical outlet has a ground fault circuit interrupter (GFCI) for safety.
- Never pull the pump by its power cord.
3. Package Contents
Please check the package for the following items:
- SunSun HJ-1842 ECO Aquarium Water Pump
- Air hose and air intake connector
- Various outlet adapters/connectors (e.g., 19mm hose connector)
- Suction cups for mounting

Figure 2: The SunSun HJ-1842 ECO pump along with its power cord, air hose, and various connectors included in the package.

Figure 3: Detailed view of the included outlet adapters, showing a 16mm diameter connection point for hoses.
4. Setup
- Prepare the Pump: Before placing the pump in the aquarium, ensure all connections are secure.
- Attach Outlet Adapter: Select the appropriate outlet adapter for your hose size (e.g., 19mm) and securely attach it to the pump's water outlet.
- Connect Air Hose (Optional): If you wish to utilize the oxygenation feature, connect the provided air hose to the designated air intake nozzle on the pump. The other end of the air hose should extend above the water surface to draw in air.
- Placement: Position the pump at the bottom of your aquarium, ensuring it is fully submerged. The suction cups on the base of the pump can be used to secure it firmly to the aquarium glass.

Figure 4: The pump with the air hose correctly attached to the air intake, ready for oxygenation.

Figure 5: An underside view of the pump, highlighting the suction cups used for stable placement within the aquarium.
5. Operating Instructions
- Ensure Submersion: Verify that the pump is completely submerged in water before connecting it to power. Operating the pump dry will cause damage.
- Connect to Power: Plug the pump's power cord into a suitable electrical outlet. The pump will start operating immediately.
- Check Water Flow and Air Bubbles: Observe the water flow from the pump's outlet and, if the air hose is connected, check for air bubbles indicating oxygenation.
- Disconnection: To turn off the pump, simply unplug it from the electrical outlet.

Figure 6: The pump in operation, demonstrating the generation of air bubbles for aquarium oxygenation.
6. Maintenance
Regular maintenance is crucial for the optimal performance and lifespan of your pump.
- Cleaning Frequency: Clean the pump every 2-4 weeks, or more frequently if water flow decreases significantly.
- Disassembly: Disconnect the pump from power. Carefully remove it from the aquarium. Disassemble the pump cover and impeller housing.
- Cleaning Components: Rinse all parts under clean running water. Use a soft brush to remove any algae, debris, or mineral deposits from the impeller, impeller shaft, and pump housing. Ensure the air intake nozzle is clear.
- Reassembly: Reassemble all parts in reverse order, ensuring they are securely fitted.
- Impeller Check: Periodically check the impeller for wear or damage. A worn impeller can reduce pump efficiency and increase noise.
7. Troubleshooting
| Problem | Possible Cause | Solution |
|---|---|---|
| Pump does not start | No power; Impeller jammed; Damaged motor | Check power connection; Clean impeller; Contact support if motor is damaged. |
| Reduced water flow | Clogged intake/impeller; Kinked hose; Low water level | Clean pump and impeller; Straighten hose; Ensure pump is fully submerged. |
| No air bubbles (with air hose connected) | Clogged air intake; Air hose blocked | Clean air intake nozzle; Clear air hose. |
| Pump is noisy | Impeller worn or dirty; Air trapped in pump; Not properly secured | Clean/replace impeller; Gently shake pump to release air; Re-secure pump with suction cups. |
8. Specifications
| Feature | Specification |
|---|---|
| Model | HJ-1842 |
| Brand | SunSun |
| Maximum Flow Rate | 1800 Liters per hour |
| Power Consumption | 40 Watts |
| Dimensions (L x W x H) | 18 x 13 x 11.5 cm |
| Weight | 1.04 Kilograms |
| Material | Acrylonitrile Butadiene Styrene (ABS) |
| Hose Connection Diameter | 19 mm (approx.) |

Figure 7: Dimensional drawing of the pump, showing its length (180mm), width (130mm), and height (115mm).
9. Warranty and Support
For warranty information or technical support, please refer to the documentation provided with your purchase or contact SunSun customer service directly. Keep your proof of purchase for warranty claims.
For further assistance, you may visit the official SunSun website or contact your local distributor.


