1. Introduction
This manual provides detailed instructions for the installation, function, maintenance, and troubleshooting of the Watts 0887709 Float & Vent Kit. This kit is specifically designed to repair the float and vent assembly in Watts 800M4-1/2 and 800M4-3/4 series vacuum breakers, restoring their proper operation and preventing backflow in plumbing systems.
2. Safety Information
- Always turn off the main water supply to the vacuum breaker before beginning any repair or maintenance.
- Wear appropriate personal protective equipment, such as gloves and eye protection, during installation.
- Ensure all connections are properly tightened to prevent leaks.
- If you are unsure about any step, consult a qualified plumber.
3. Components Included
The Watts 0887709 Float & Vent Kit includes the following essential components for repairing your vacuum breaker:
- Vent Disc Holder Assembly
- Vent Spring
- Bonnet O-ring
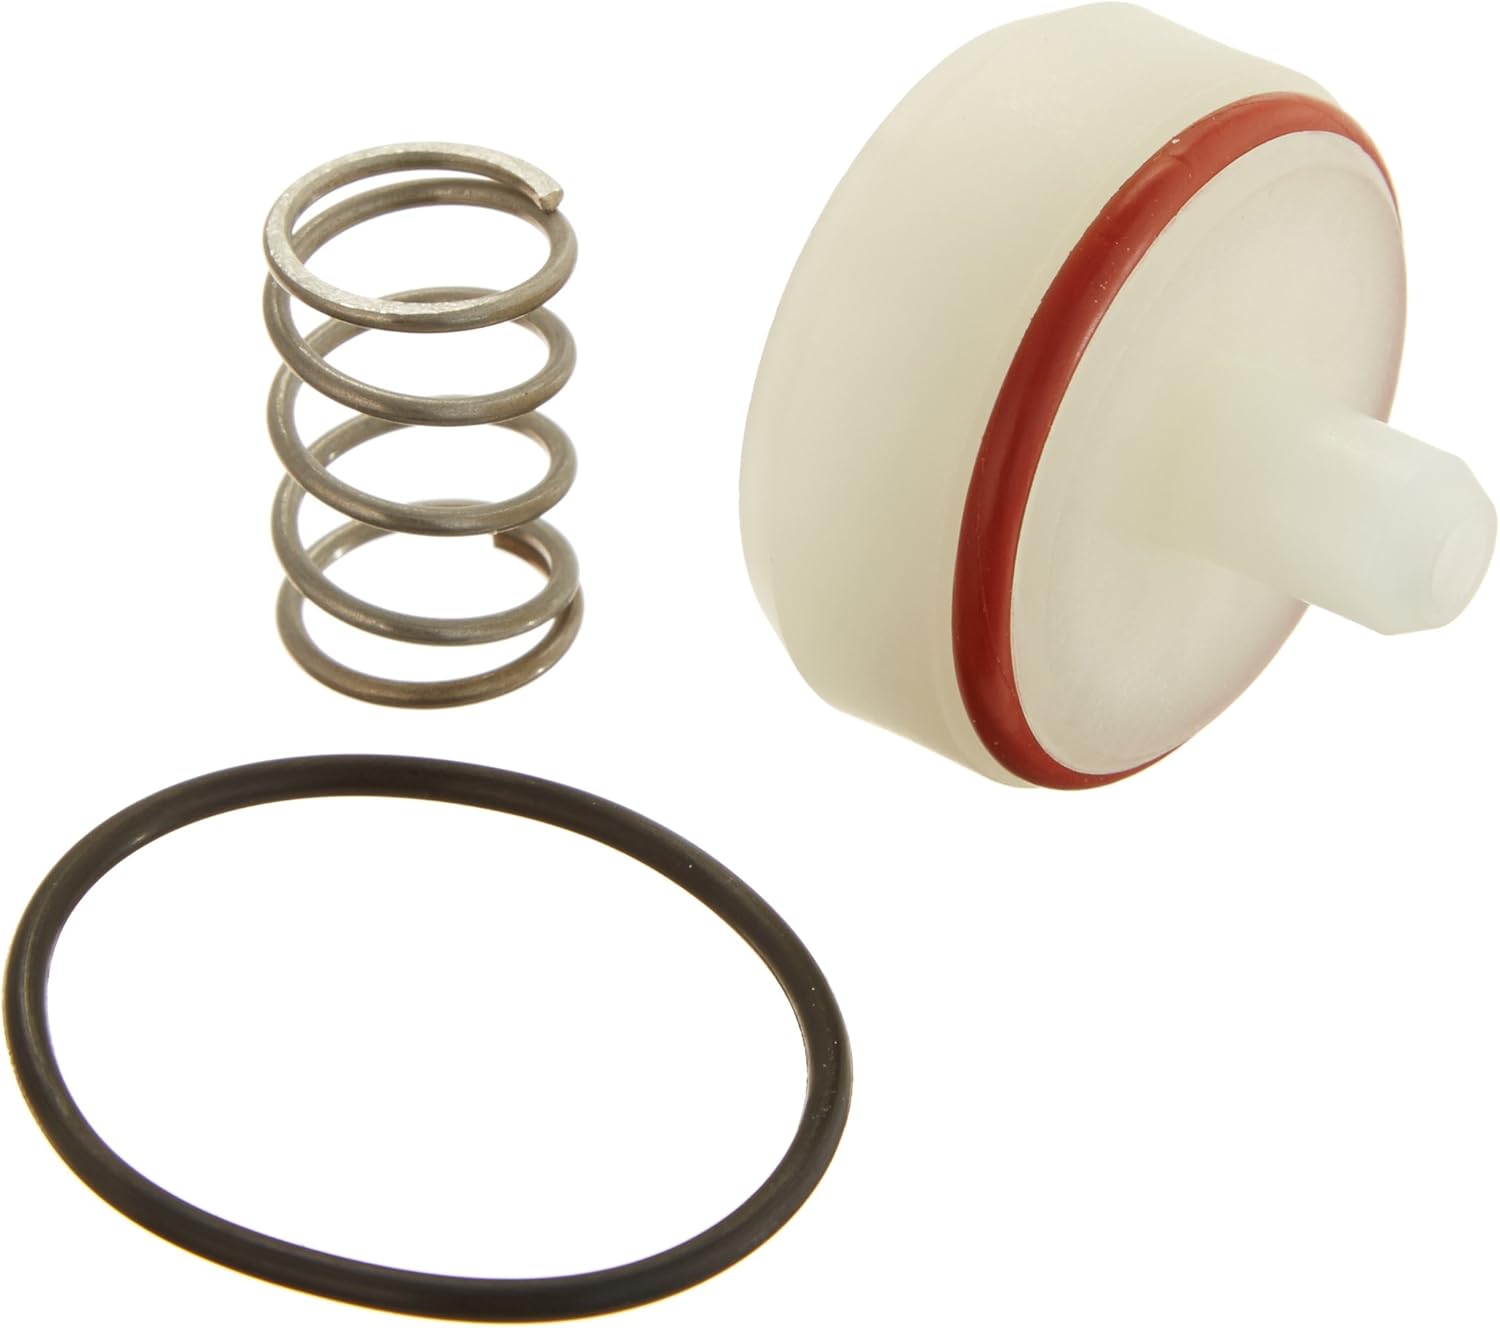
Image 1: The Watts 0887709 Float & Vent Kit, showing the vent disc holder assembly (white plastic with red O-ring), a coiled metal spring, and a black rubber O-ring.
4. Installation (Setup)
Follow these steps to replace the float and vent components in your Watts 800M4 vacuum breaker:
- Turn Off Water Supply: Locate the main water shut-off valve for the irrigation system or the specific line connected to the vacuum breaker and turn it off completely.
- Relieve Pressure: Open any downstream valves or faucets to relieve pressure in the system.
- Disassemble the Bonnet: Carefully unscrew the bonnet of the Watts 800M4 vacuum breaker. This may require a wrench.
- Remove Old Components: Once the bonnet is removed, extract the old vent disc holder assembly, vent spring, and bonnet O-ring. Note their orientation for correct reassembly.
- Clean the Housing: Clean any debris or mineral deposits from the interior of the vacuum breaker housing and the bonnet.
- Install New Components:
- Place the new bonnet O-ring into its groove within the bonnet.
- Insert the new vent spring into its designated position.
- Carefully place the new vent disc holder assembly into the vacuum breaker body, ensuring it seats correctly.
- Reassemble the Bonnet: Screw the bonnet back onto the vacuum breaker body. Hand-tighten first, then use a wrench to snug it securely, but do not overtighten.
- Restore Water Supply: Slowly turn the main water supply back on.
- Check for Leaks: Inspect the vacuum breaker for any signs of leaks. If leaks are present, turn off the water, re-check component seating, and tighten connections as necessary.
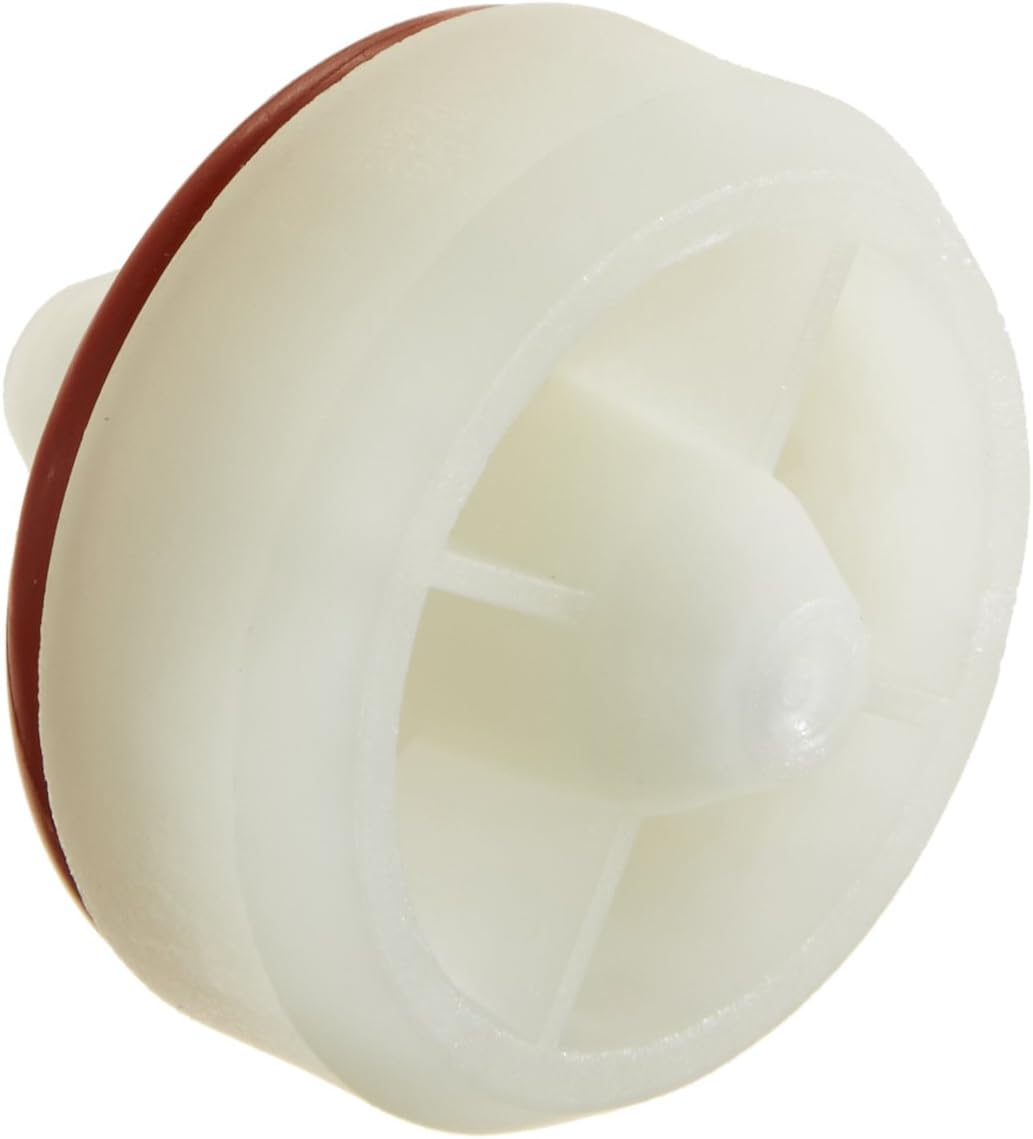
Image 2: A close-up view of the vent disc holder assembly, a key component of the repair kit, showing its white plastic body and red sealing O-ring.
5. Function (Operating Principle)
The float and vent assembly within the Watts 800M4 vacuum breaker plays a critical role in preventing backflow. When the water supply pressure drops or a vacuum condition occurs, the float drops, opening the vent. This allows air to enter the system, breaking the vacuum and preventing contaminated water from being siphoned back into the potable water supply. When pressure is restored, the float rises, sealing the vent and allowing normal water flow.
6. Maintenance
Regular inspection and maintenance can extend the life of your vacuum breaker and ensure its continued effectiveness:
- Annual Inspection: Visually inspect the vacuum breaker annually for any signs of wear, cracks, or leaks.
- Component Check: Periodically check the vent disc holder assembly and O-rings for signs of deterioration, such as hardening, cracking, or deformation. Replace components from this kit if wear is observed.
- Cleaning: If mineral deposits or debris accumulate, disassemble the unit (following installation steps 1-4) and clean the components with a soft brush and water. Avoid harsh chemicals.
- Winterization (if applicable): In freezing climates, ensure the vacuum breaker is properly drained or protected from freezing temperatures to prevent damage.
7. Troubleshooting
Here are common issues and their potential solutions:
| Problem | Possible Cause | Solution |
|---|---|---|
| Constant Leakage | Worn or improperly seated O-ring; damaged vent disc holder assembly. | Turn off water, disassemble, inspect and replace O-rings and vent disc holder assembly. Ensure proper seating. |
| High-Pitched Whining Noise | Worn or deformed O-ring, causing vibration. | Turn off water, disassemble, inspect and replace the bonnet O-ring and other seals. |
| Failure to Prevent Backflow | Damaged or stuck float/vent assembly. | Turn off water, disassemble, inspect the vent disc holder assembly and spring for damage or obstruction. Replace if necessary. |
| Reduced Water Flow | Debris obstructing the vent or internal components. | Turn off water, disassemble, and clean all internal components. |
8. Specifications
- Model Number: 0887709
- Part Number: RK800M4V1/2-3/4
- Compatibility: Watts 800M4-1/2 and 800M4-3/4 Vacuum Breakers
- Material: Rubber, Silicone (for seals), Plastic (for disc holder assembly), Metal (for spring)
- Item Weight: Approximately 0.8 ounces
- Included Components: Vent Disc Holder Assembly, Vent Spring, Bonnet O-ring
9. Warranty Information
For specific warranty details regarding the Watts 0887709 Float & Vent Kit, please refer to the official Watts manufacturer's warranty policy. Warranty terms typically cover defects in materials and workmanship under normal use and service. Proof of purchase may be required for warranty claims.
10. Customer Support
If you require further assistance, have questions about installation, or need to report a product issue, please contact Watts customer support directly. You can typically find contact information, including phone numbers and online support portals, on the official Watts website (www.watts.com).


