Introduction
This manual provides detailed instructions for the installation, operation, and maintenance of your Pyramid PB3818 2-Channel Car Stereo Amplifier. Please read this manual thoroughly before attempting installation or operation to ensure proper use and optimal performance.
Safety Information
WARNING: This product contains chemicals known to the State of California to cause cancer and birth defects or other reproductive harm.
Always disconnect the vehicle's battery before making any electrical connections. Ensure all wiring is properly insulated and secured to prevent short circuits and damage. Improper installation can lead to electric shock, fire, or damage to the amplifier and vehicle's electrical system. Consult a professional if you are unsure about any installation steps.
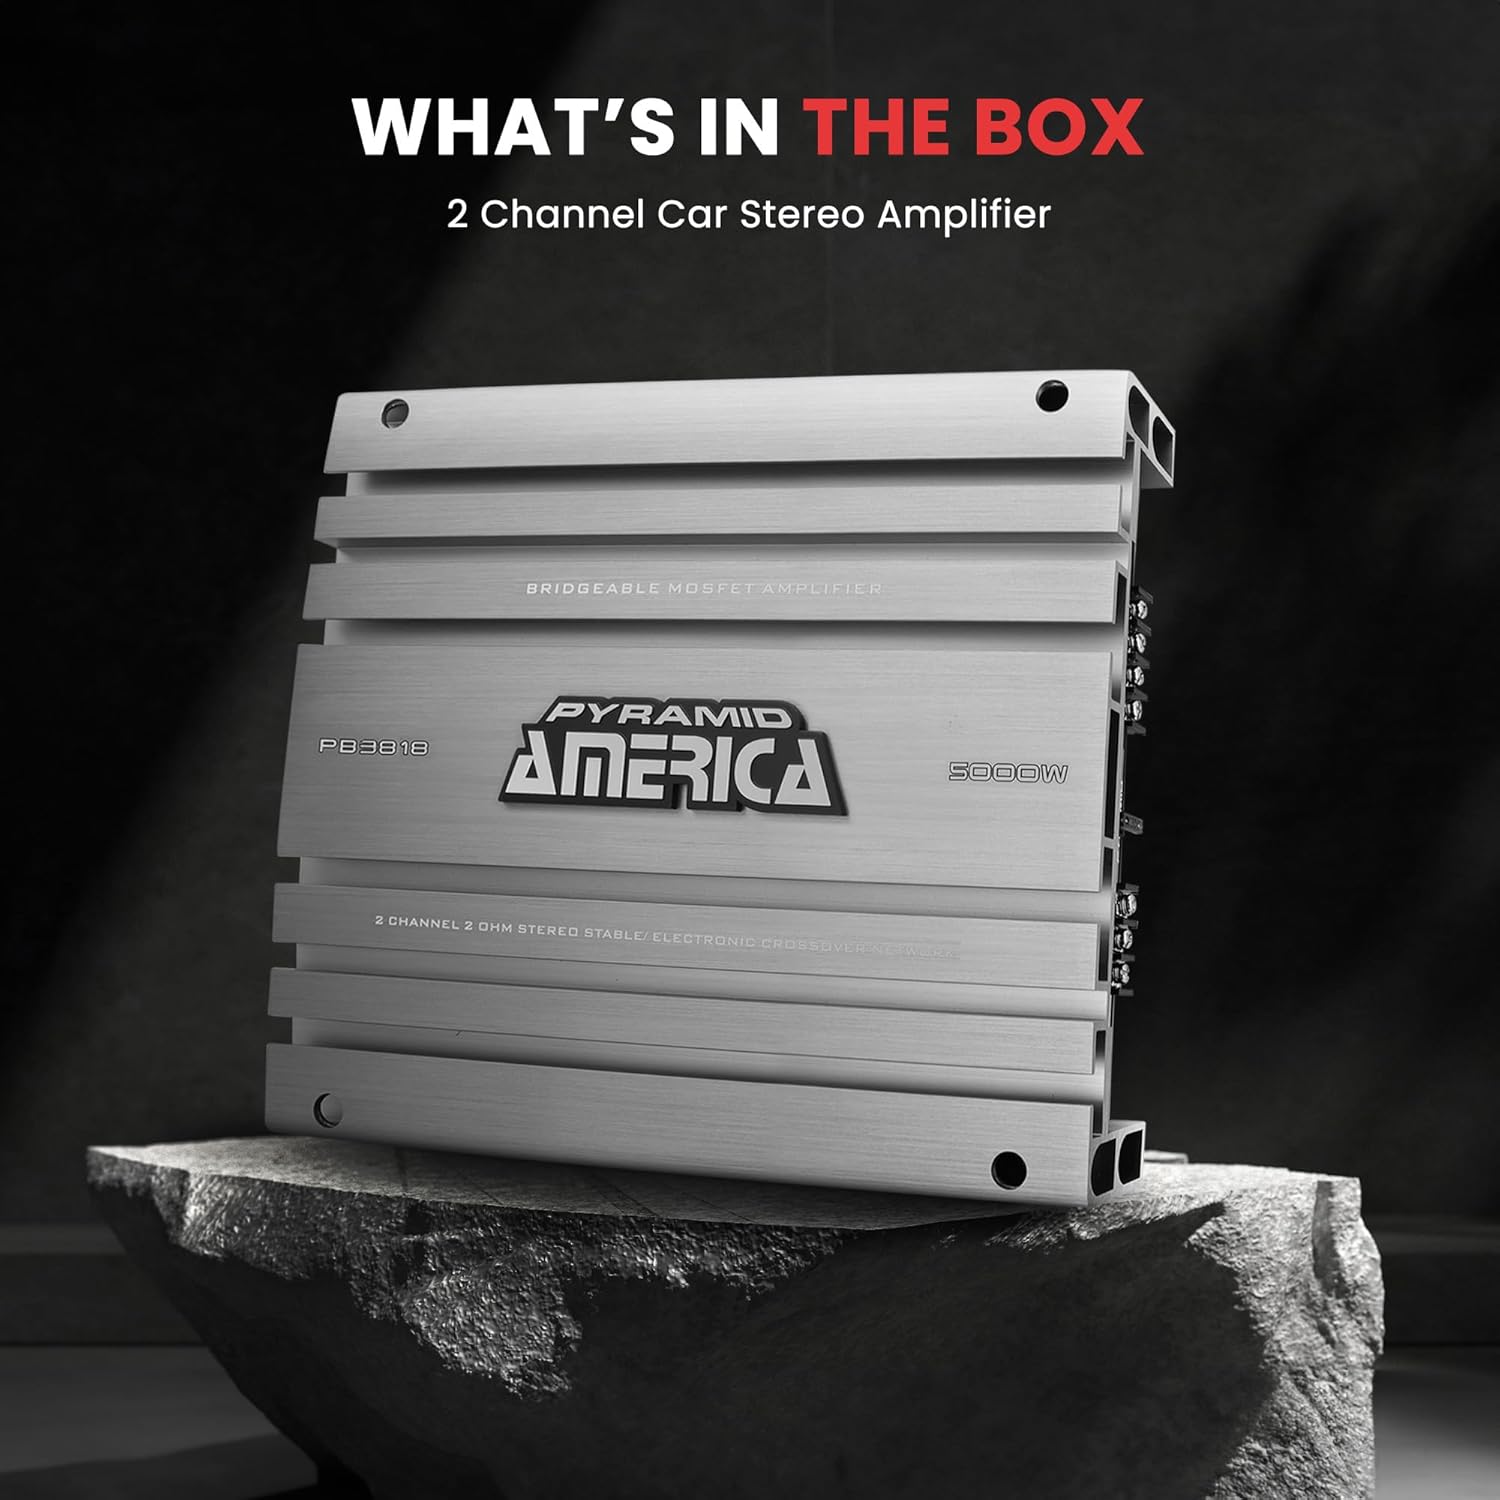
What's in the Box
Verify that all components are present before beginning installation.

This image displays the Pyramid PB3818 2-Channel Car Stereo Amplifier, highlighting its inclusion in the product package.
- Pyramid PB3818 2-Channel Car Stereo Amplifier
- Instruction Manual (this document)
- Mounting Hardware (screws, etc.)
Key Features
- 5000 Watt Power Output: Provides up to 5000W bridgeable output for car audio systems.
- Adjustable Crossovers: Features fully adjustable electronic crossovers for multi-speaker setups.
- Variable Bass Boost: Allows for customization of bass levels.
- Variable Gain Control: Enables precise matching of amplifier output to head unit signal.
- Silver-Plated RCA Ports: Designed to minimize signal loss for high-quality audio.
- MOSFET Pulse Width Modulation Power Supply: Ensures a clean, distortion-free signal.
- Fully Protected Circuitry: Includes overload and short circuit protection for safety and durability.
- Slim Size Design: Compact form factor for easier installation in various vehicle spaces.
- Heavy-Duty Aluminum Alloy Heat Sink: Efficiently dissipates heat to prevent overheating.
- LED Indicators: Power and protection LEDs provide operational status at a glance.
Controls and Connections
Front Panel Controls
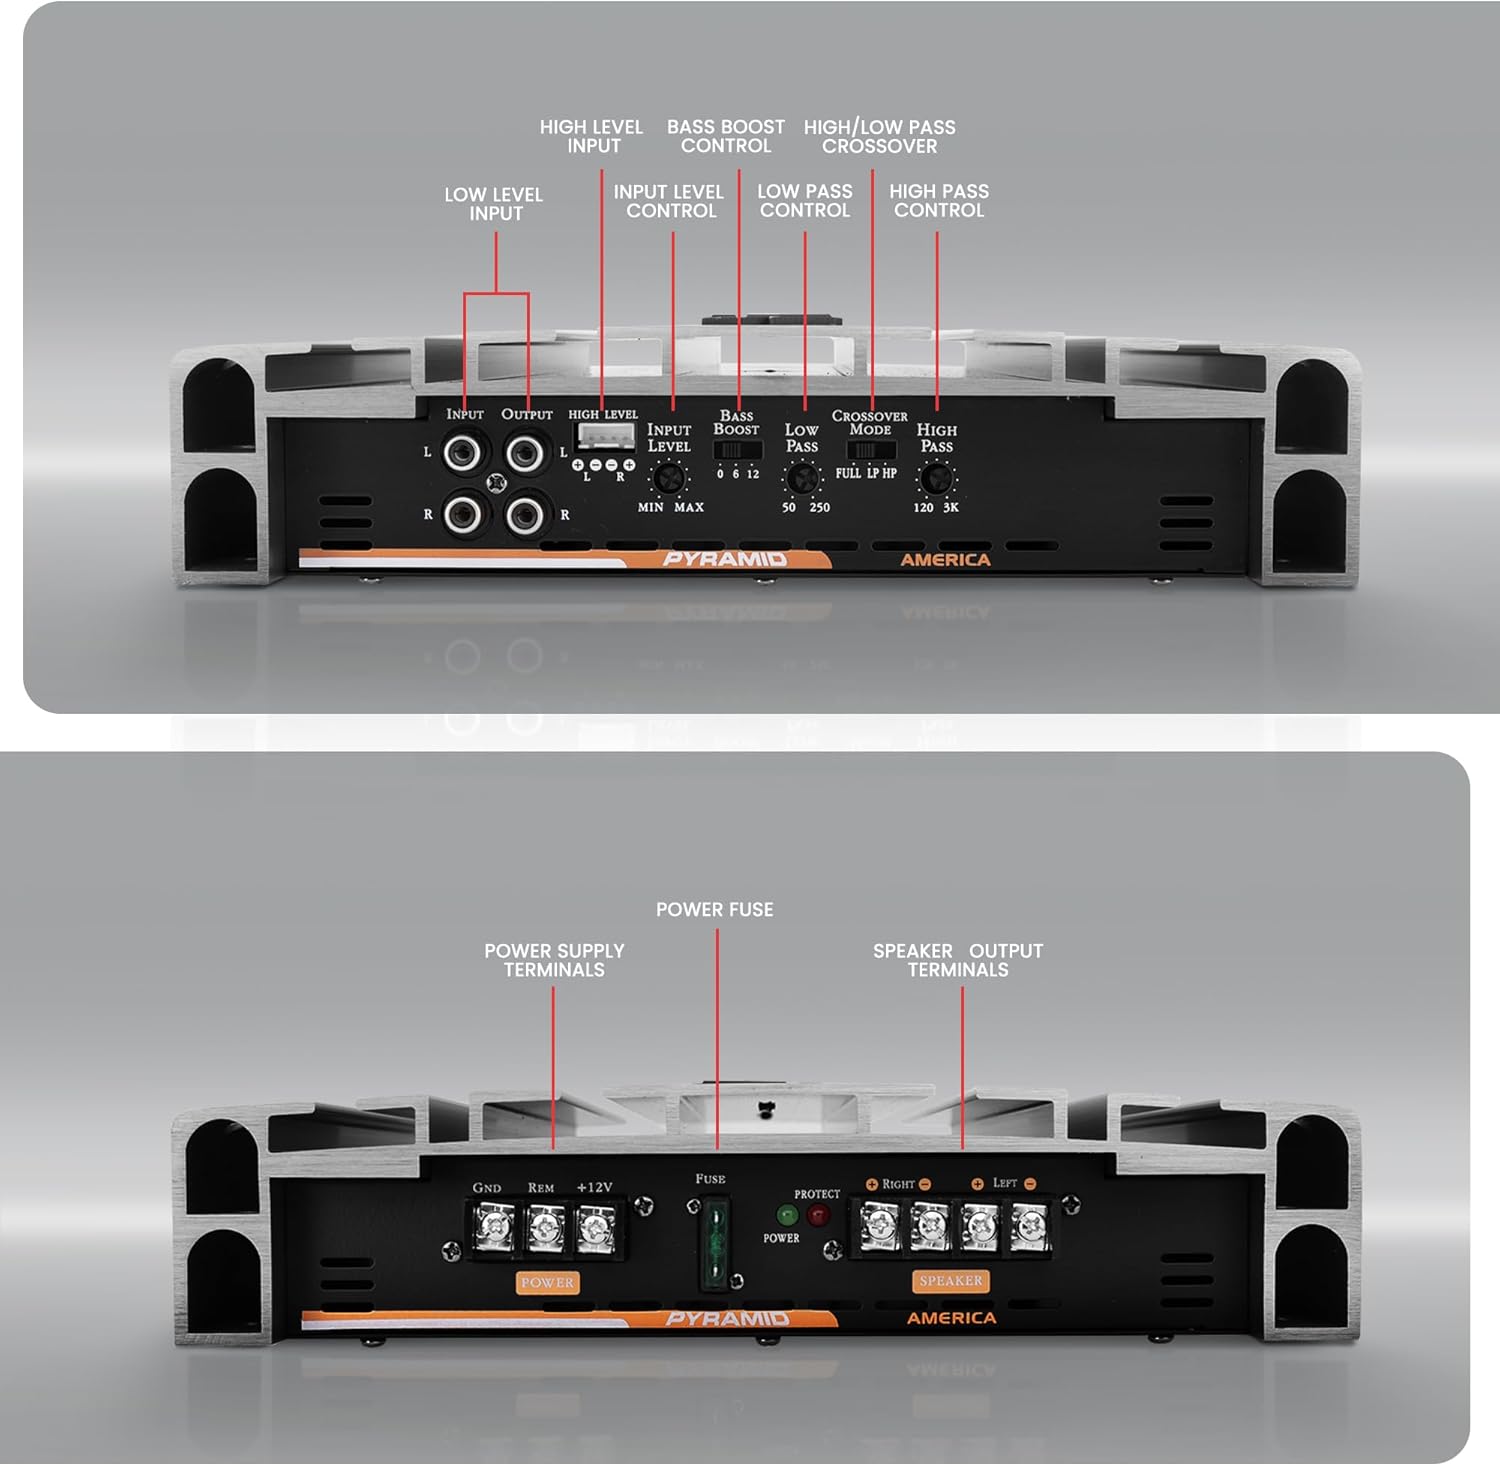
This image illustrates the various input and control options located on the front panel of the amplifier.
- Low Level Input (RCA): Connects to the RCA pre-out of your head unit.
- High Level Input: Connects to speaker-level outputs from your head unit, useful if RCA outputs are not available.
- Input Level Control (Gain): Adjusts the input sensitivity to match the output of your head unit. Start with minimum gain and increase until desired volume is achieved without distortion.
- Bass Boost Control: Adjusts the level of bass enhancement.
- Crossover (Low Pass/High Pass/Full): Selects the frequency range for the amplifier output.
- LP (Low Pass): Allows only frequencies below the set point to pass, typically for subwoofers.
- HP (High Pass): Allows only frequencies above the set point to pass, typically for full-range speakers.
- FULL: Allows the full frequency range to pass.
- High Pass Control: Adjusts the cutoff frequency for the high-pass filter.
- Low Pass Control: Adjusts the cutoff frequency for the low-pass filter.
Rear Panel Connections
This image details the power and speaker connection terminals on the rear panel of the amplifier.
- Power Supply Terminals:
- GND (Ground): Connect to a clean, unpainted metal surface of the vehicle chassis.
- REM (Remote Turn-On): Connect to the remote turn-on lead from your head unit.
- +12V (Power): Connect directly to the positive terminal of the vehicle's battery via an in-line fuse holder.
- Power Fuse: Protects the amplifier from overcurrent. Use only fuses of the specified rating.
- Speaker Output Terminals: Connect to your speakers. The amplifier supports 2-channel stereo or bridged mono operation.
Installation
- Mounting Location: Choose a dry, well-ventilated location that is protected from moisture and direct sunlight. Ensure adequate airflow around the amplifier for cooling. The slim design allows for flexible placement.

The amplifier's compact dimensions (13.8" x 10.24") facilitate easy installation in various vehicle locations.
- Power Wiring:
- Run a heavy-gauge power cable (e.g., 4-gauge or larger) from the vehicle's battery to the amplifier's +12V terminal. Install an in-line fuse holder within 18 inches of the battery.
- Connect a heavy-gauge ground cable of the same size from the amplifier's GND terminal to a clean, unpainted metal part of the vehicle chassis. Ensure a solid, low-resistance connection.
- Connect the remote turn-on lead from your head unit to the amplifier's REM terminal.
- Signal Input:
- For head units with RCA outputs, connect RCA cables from the head unit to the amplifier's Low Level Input.
- For head units without RCA outputs, use the High Level Input. Connect speaker wires from the head unit's speaker outputs to the amplifier's High Level Input.
- Speaker Wiring:
- Connect your speakers to the Speaker Output Terminals. Ensure correct polarity (+ to + and - to -).
- For 2-channel stereo operation, connect one speaker to the Right output and one to the Left output.
- For bridged mono operation (e.g., for a subwoofer), consult the wiring diagram in the full manual for specific connections to achieve maximum power output.
- Final Checks: Double-check all connections for proper polarity, security, and insulation before reconnecting the vehicle's battery.
Operating Instructions
- Power On: Once all connections are secure and the battery is reconnected, turn on your vehicle's ignition and head unit. The amplifier's power LED should illuminate. If the protection LED illuminates, refer to the Troubleshooting section.
- Adjust Input Level (Gain):
- Set the amplifier's Input Level control to minimum.
- Set your head unit's volume to about 75% of its maximum.
- Slowly increase the amplifier's Input Level control until you hear slight distortion, then back it off slightly. This ensures the amplifier receives a strong, clean signal without clipping.
- Set Crossover:
- If using full-range speakers, set the Crossover switch to "FULL" or "HP" and adjust the High Pass Control to filter out low frequencies that speakers cannot reproduce effectively.
- If using a subwoofer, set the Crossover switch to "LP" and adjust the Low Pass Control to filter out high frequencies, allowing only bass to pass through.
- Adjust Bass Boost: Fine-tune the Bass Boost control to your preference. Use sparingly to avoid distortion and potential speaker damage.
Maintenance
- Cleaning: Periodically wipe the amplifier's exterior with a soft, dry cloth. Do not use harsh chemicals or abrasive cleaners.
- Connection Checks: Regularly inspect all power, ground, remote, and speaker connections to ensure they remain tight and free from corrosion.
- Ventilation: Ensure that the amplifier's heat sink fins are not obstructed to allow for proper heat dissipation.
Troubleshooting
| Problem | Possible Cause | Solution |
|---|---|---|
| No Power / Power LED Off | Blown fuse, poor power/ground connection, no remote signal. | Check in-line fuse and amplifier fuse. Verify +12V, GND, and REM connections. |
| Protection LED On | Short circuit in speaker wiring, amplifier overheating, impedance mismatch. | Check speaker wiring for shorts. Ensure proper ventilation. Verify speaker impedance matches amplifier's capabilities. |
| No Sound | No input signal, incorrect gain setting, faulty RCA cables, speaker wires disconnected. | Check RCA connections and head unit output. Adjust gain. Verify speaker connections. |
| Distorted Sound | Gain set too high, improper crossover settings, poor ground connection. | Reduce gain. Adjust crossover settings. Check ground connection for tightness. |
Specifications
- Model: PB3818
- Number of Channels: 2
- Output Power: Up to 5000 Watts (Bridgeable)
- Voltage: 24 Volts (DC)
- Material: Aluminum
- Item Dimensions (L x W x H): 16.5 x 12.5 x 4 inches
- Weight: 4.5 Kilograms
- Mounting Type: Surface Mount
- GTIN/UPC: 068888993258
- Specification Met: Frequency Response, THD (<0.04%)
Warranty and Support
The Pyramid PB3818 amplifier comes with a limited one-year warranty. For warranty claims or technical support, please refer to the contact information provided with your purchase or visit the official Pyramid website.
For additional resources and product information, you may visit the Pyramid Store on Amazon.


