
Titan Controls HGC734105
Contents
Titan Controls Apollo 9 Digital Timer User Manual
Model: HGC734105
Introduction
The Titan Controls Apollo 9 is a versatile 24-hour digital timer designed for precise control of electrical devices in hydroponic systems and other applications. Featuring two outlets and a 15 Amp capacity, it allows for easy scheduling of pumps, fans, and other equipment. The timer supports 1-minute intervals and up to 8 separate ON/OFF schedules per day, offering extensive configuration options to meet diverse timing requirements. Its robust construction ensures durability, and a battery backup feature preserves settings during power outages.
Product Overview

Figure 1: Front view of the Apollo 9 timer, displaying the digital screen and programming buttons.
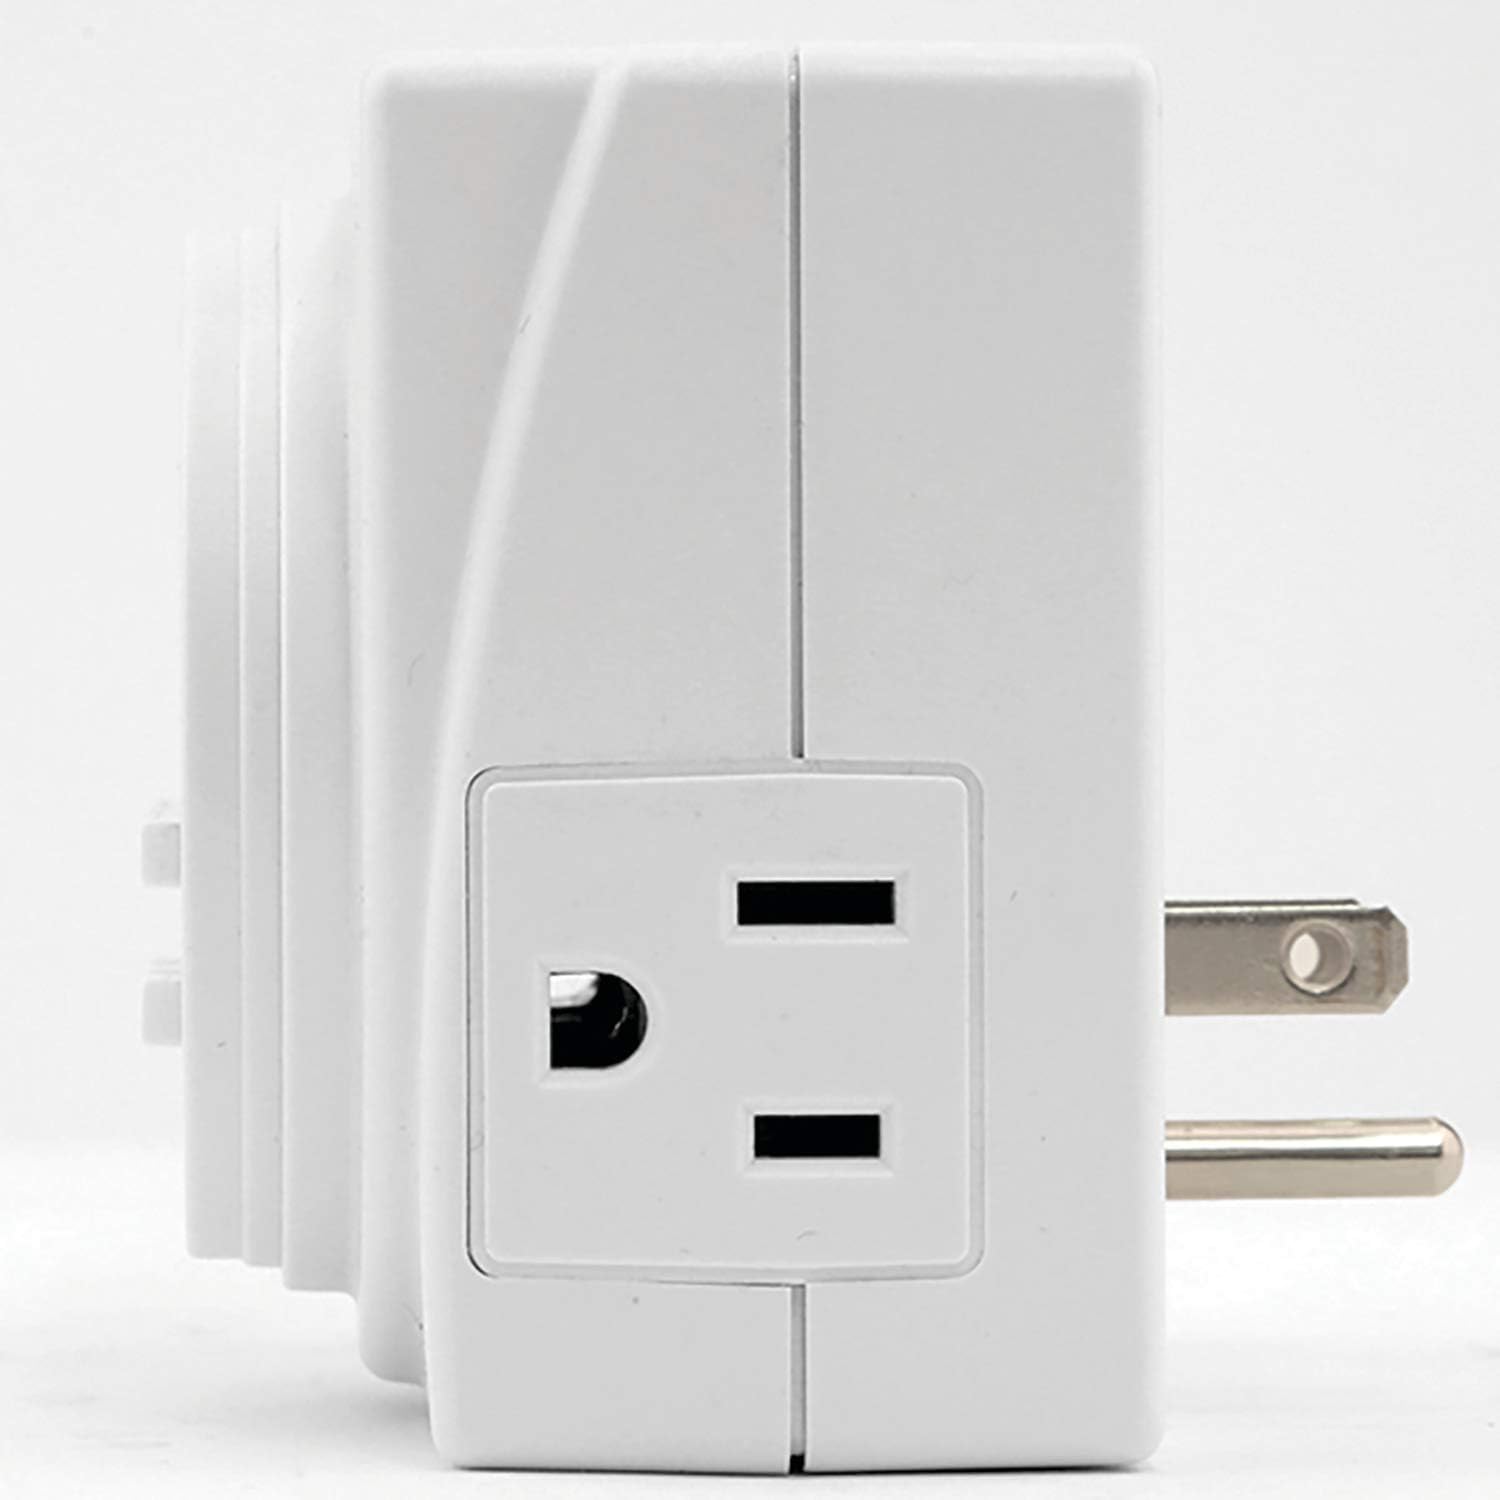
Figure 2: Side view illustrating one of the two integrated electrical outlets.

Figure 3: Opposite side view showing the second electrical outlet.

Figure 4: Product packaging detailing features and specifications.
Setup
Before initial use, please follow these steps:
- Unpack the Timer: Carefully remove the Apollo 9 timer from its packaging.
- Initial Charge/Reset: The timer includes a battery backup. If the display is blank or not functioning properly, plug the unit into a standard 120V AC outlet for at least 5 minutes to charge the internal battery.
- Press Reset Button: Locate the small reset button (often recessed) on the front or side of the timer. Use a pointed object (like a pen tip) to press the reset button. This will clear any previous settings and prepare the timer for programming.
- Placement: Plug the timer into a grounded 120V AC outlet. Ensure the location is free from excessive dust, rust, and moisture to maintain the unit's heavy-duty construction integrity.
Operating Instructions
Setting the Current Time
- Press the CLOCK button.
- While holding CLOCK, press WEEK to select the current day of the week (MO, TU, WE, TH, FR, SA, SU).
- While holding CLOCK, press HOUR to set the current hour (12-hour or 24-hour format, depending on the timer's default or setting).
- While holding CLOCK, press MIN to set the current minute.
- Release the CLOCK button. The time is now set.
Programming ON/OFF Schedules
The Apollo 9 allows for up to 8 ON/OFF programs. Both outlets will follow the same schedule.
- Press the PROG button once. The display will show "1 ON".
- Press WEEK to select the day(s) for this program (e.g., MO, TU, WE, TH, FR, SA, SU, or various combinations like MO-FR, SA-SU, etc.).
- Press HOUR to set the desired ON hour.
- Press MIN to set the desired ON minute.
- Press PROG again. The display will show "1 OFF".
- Repeat steps 2-4 to set the desired OFF time for Program 1.
- Continue pressing PROG to cycle through "2 ON", "2 OFF", up to "8 ON", "8 OFF", setting each program as needed.
- After setting all desired programs, press the CLOCK button to return to the current time display.
Manual Override (ON/AUTO/OFF)
The ON/AUTO/OFF button allows you to manually control the timer's output:
- ON: Forces the outlets to remain ON, overriding any programmed schedules.
- OFF: Forces the outlets to remain OFF, overriding any programmed schedules.
- AUTO: The timer will follow the programmed ON/OFF schedules. This is the standard operating mode for automated timing.
Press the ON/AUTO/OFF button repeatedly to cycle through these modes.
Maintenance
The Titan Controls Apollo 9 timer requires minimal maintenance. Follow these guidelines to ensure optimal performance and longevity:
- Cleaning: Wipe the timer with a soft, dry cloth. Do not use abrasive cleaners or immerse the unit in water.
- Environment: Ensure the timer is used in an environment free from excessive dust, rust, and moisture. While the construction is heavy-duty, prolonged exposure to harsh conditions can affect performance.
- Battery Backup: The internal battery is designed to retain settings during power outages. If the timer is stored for extended periods without power, the battery may discharge. Plug the unit in for several minutes to recharge it before programming.
Troubleshooting
| Problem | Possible Cause | Solution |
|---|---|---|
| Timer display is blank or unit is unresponsive. | Internal battery discharged or unit needs reset. | Plug the timer into a 120V AC outlet for at least 5 minutes to charge the battery. Press the reset button with a pointed object. |
| Timer is not turning ON/OFF at programmed times. | Timer is not in AUTO mode, incorrect programming, or time is not set correctly. | Ensure the timer is set to AUTO mode using the ON/AUTO/OFF button. Re-check your programmed ON/OFF times and ensure the current time is accurately set. |
| Timer is not keeping accurate time. | Internal clock issue or power fluctuations. | Perform a full reset by plugging in for 5 minutes and pressing the reset button. Then, re-set the current time. |
| Connected device is not receiving power. | Timer is OFF, device is faulty, or timer is overloaded. | Check if the timer is in ON or AUTO mode. Test the connected device directly in a wall outlet. Ensure the total wattage of connected devices does not exceed 1750 watts or 15 Amps. |
Important Note: This timer is not for use with digital ballasts.
Specifications
| Feature | Detail |
|---|---|
| Model Number | HGC734105 |
| Voltage | 120 Volts |
| Amperage | 15 Amps (Maximum) |
| Wattage | 1750 Watts (Maximum) |
| Frequency | 60 Hz |
| Outlets | Two (2) Grounded Outlets |
| Programming Intervals | 1 Minute |
| Number of Programs | Up to 8 ON/OFF schedules per day |
| Battery Backup | Yes (retains settings during power outage) |
| Construction | Heavy-duty, resists dust, rust, and moisture |
| Dimensions (approx.) | 1"D x 1"W x 1"H (Product) |
| Item Weight | 0.8 ounces (22.68 g) |
| Certifications | ETL Listed |
| Country of Origin | China |
Warranty & Support
The Titan Controls Apollo 9 Digital Timer comes with a manufacturer's 1-year warranty from the date of purchase, covering defects in materials and workmanship under normal use.
For technical support, troubleshooting assistance, or warranty claims, please contact Titan Controls customer service. Refer to the official product documentation for the most current contact information.
An official Instructions for Use (IFU) document is available for download: Download PDF User Guide
Documents and downloads
Ask a question about this manual
Ask about setup, troubleshooting, compatibility, parts, safety, or missing instructions. Manuals+ will review the question and use this page’s manual context to help answer it.