1. Introduction
The Vivitar 550 FD Speedlite is an external flash unit designed to provide additional illumination for photography. This flash features an auto thyristor system for automatic exposure control and can also be operated in manual mode. It is compatible with cameras equipped with a standard hot shoe mount, including many Canon, Nikon, and Sony models. This manual provides instructions for the proper setup, operation, and maintenance of your Vivitar 550 FD Speedlite.
2. Product Features
- Dedicated Flash: Designed for specific camera systems to ensure proper synchronization.
- Automatic Flash Range: Operates effectively within a range of 3 to 40 feet (approximately 0.9 to 12 meters).
- Auto Thyristor: Automatically adjusts flash output for correct exposure based on ambient light and camera settings.
- Bounce Functionality: Allows the flash head to be angled for indirect lighting, reducing harsh shadows.
- Power Source: Requires 4 AA batteries for operation.
3. Setup
3.1. Battery Installation
The Vivitar 550 FD Speedlite requires four (4) AA batteries for power. Ensure batteries are inserted with correct polarity.
- Locate the battery compartment cover, typically on the side or back of the flash unit.
- Open the cover and insert four fresh AA batteries, matching the positive (+) and negative (-) terminals as indicated inside the compartment.
- Close the battery compartment cover securely.
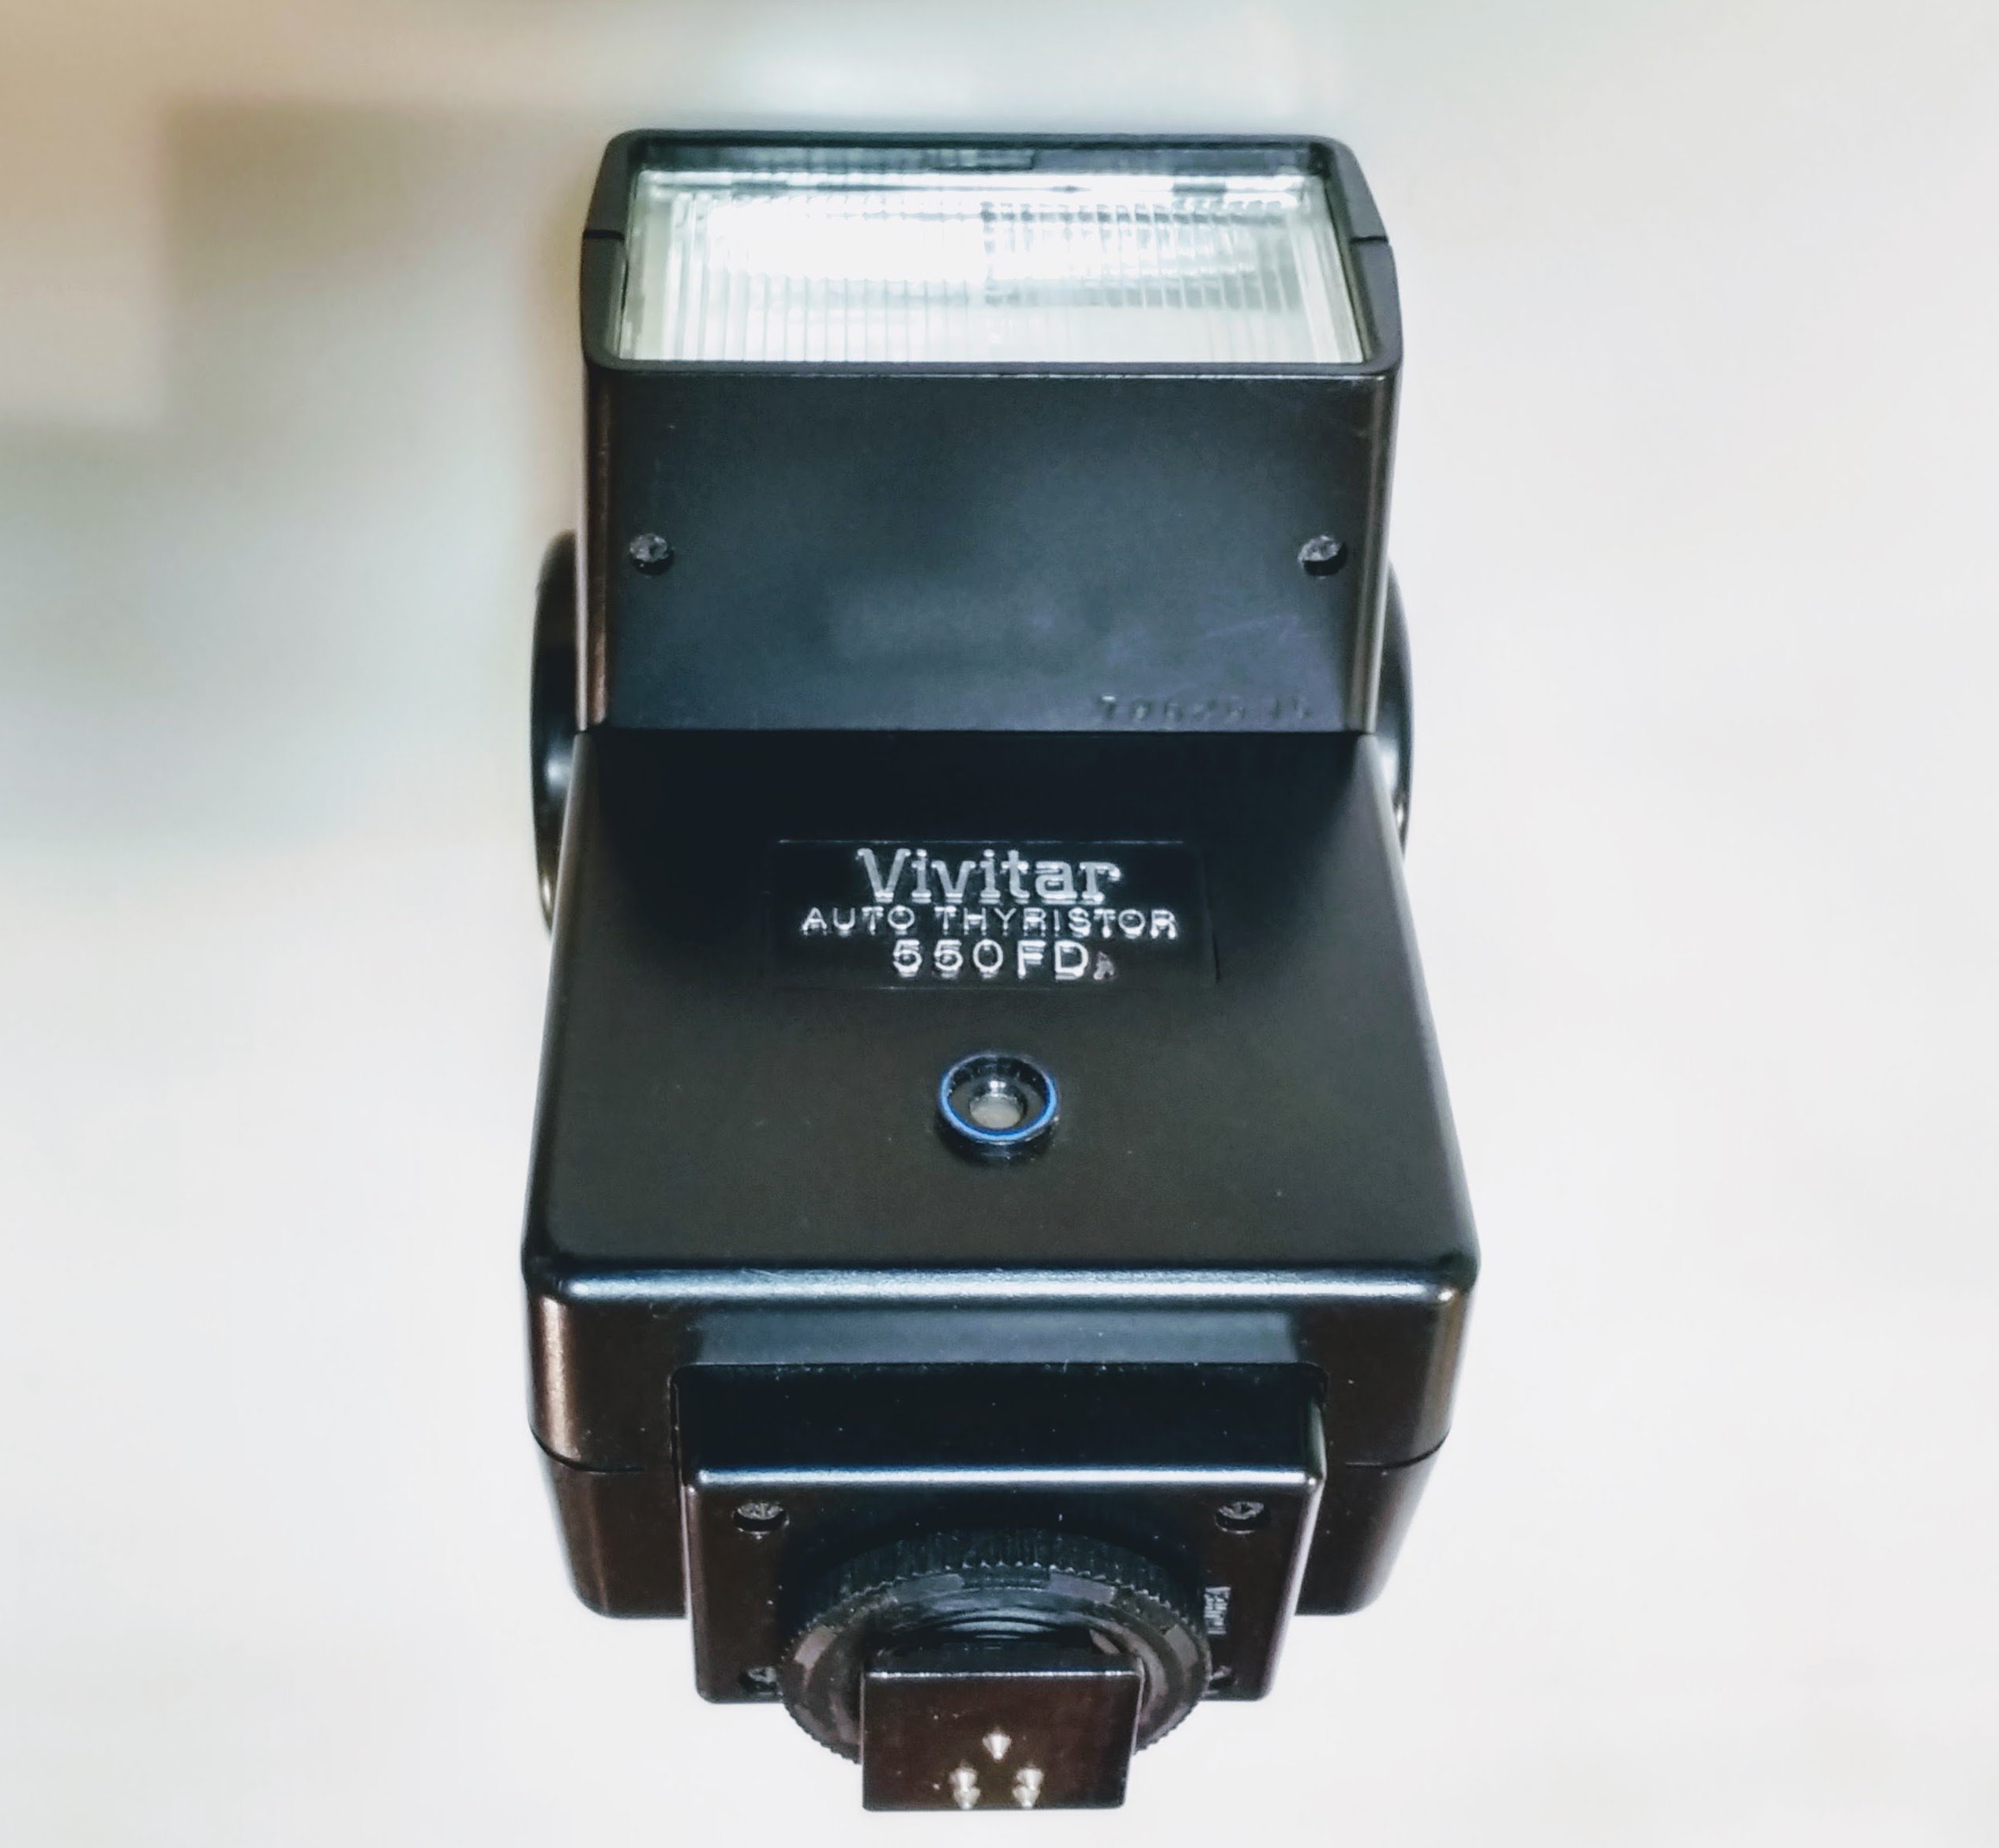
Figure 1: Side view of the Vivitar 550 FD Speedlite, showing the general form factor and potential battery compartment location.
3.2. Mounting the Flash to Your Camera
The flash unit is designed to attach to a camera's standard hot shoe mount.
- Ensure both the camera and flash are powered off.
- Slide the flash's mounting foot into the camera's hot shoe.
- Secure the flash by rotating the locking ring or tightening the locking screw on the flash unit until it is firmly attached. The flash features a "LOCK" indicator for secure attachment.

Figure 2: Top view of the Vivitar 550 FD Speedlite, illustrating the hot shoe mount and locking mechanism.
4. Operating Instructions
4.1. Controls Overview
Familiarize yourself with the controls on the flash unit:
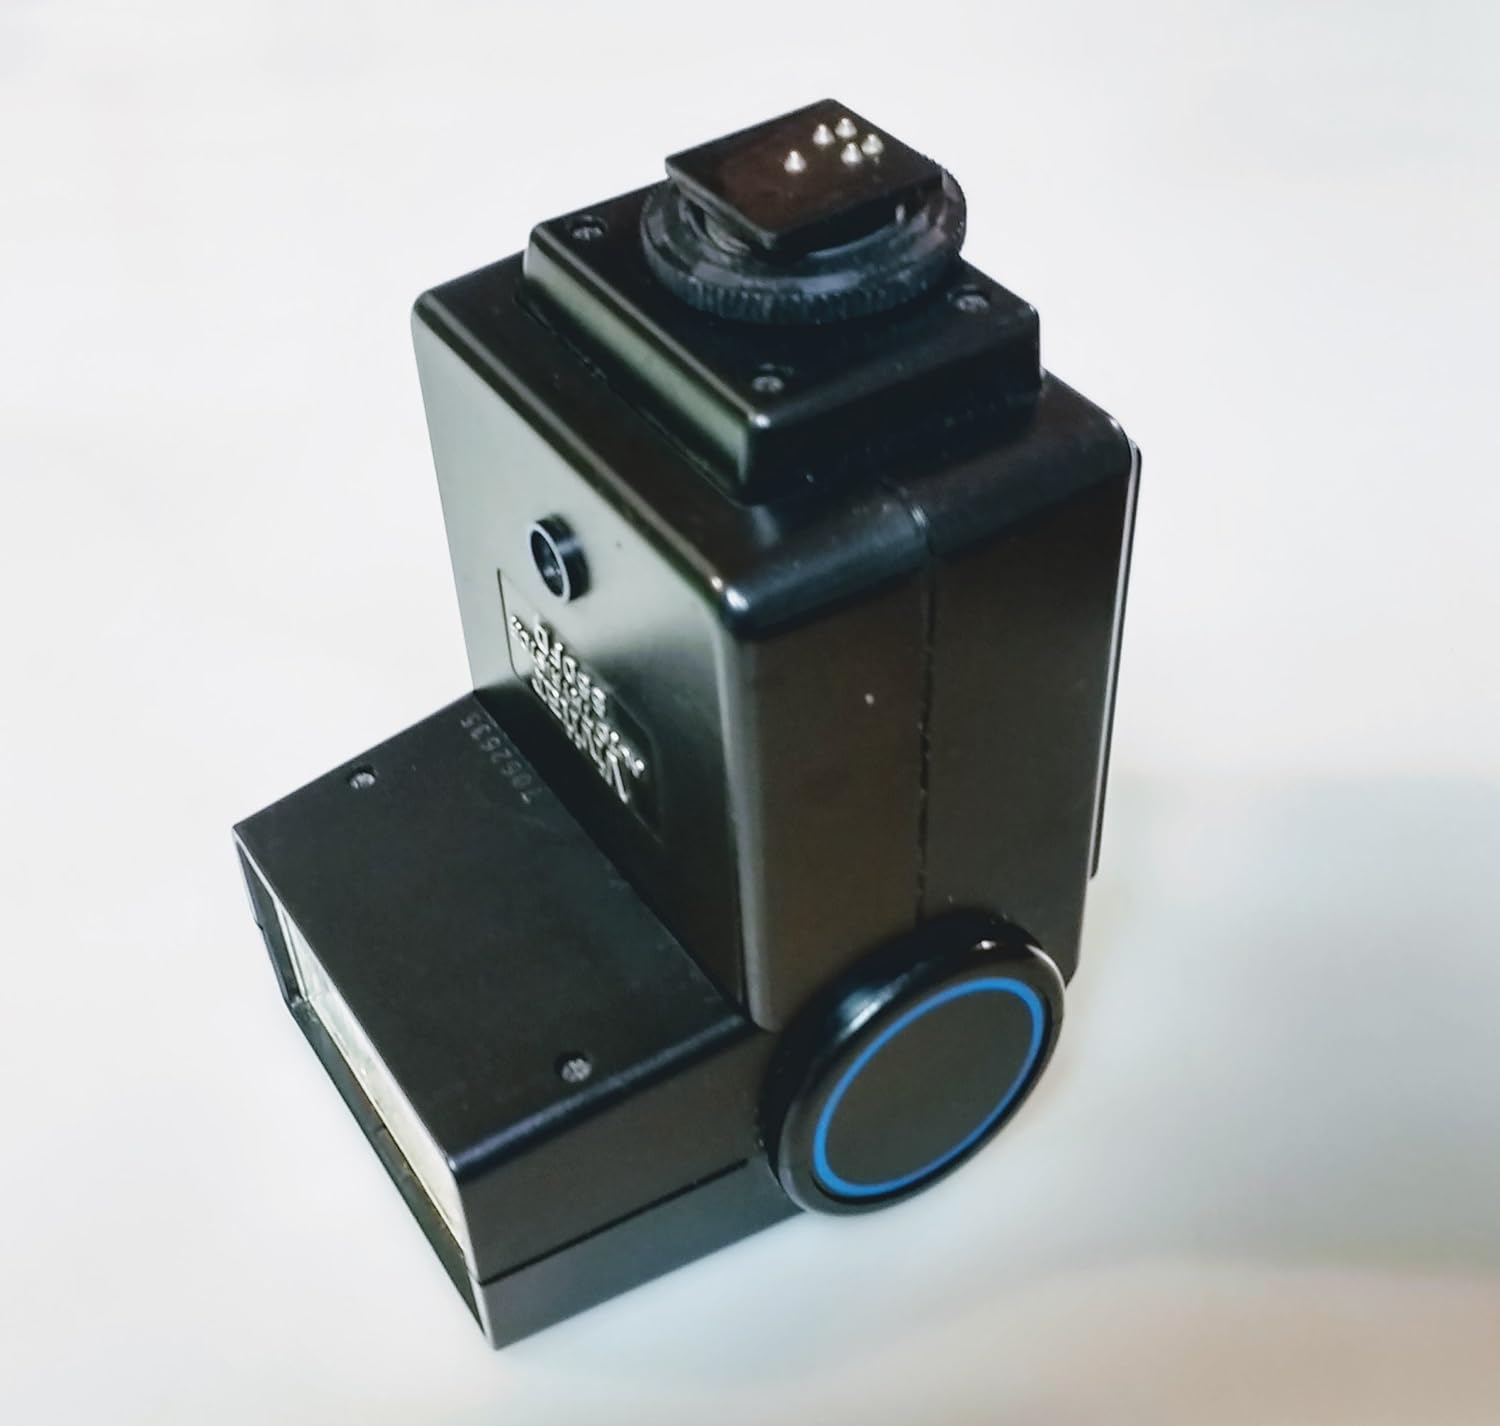
Figure 3: Front view of the Vivitar 550 FD Speedlite, highlighting the control panel.
- POWER Switch: Turns the flash unit on or off.
- FILM SPEED / ISO Dial: Sets the film speed or ISO sensitivity.
- AUTOMATIC / MANUAL Selector: Switches between automatic and manual flash modes.
- f/STOP / RANGE Dial: In automatic mode, this sets the aperture and corresponding flash range. In manual mode, it may indicate guide number related settings.
- AUTO OK Indicator: Lights up when the flash has achieved correct exposure in automatic mode.
- READY / TEST Button: Lights up when the flash is fully charged and ready to fire. Pressing it fires a test flash.
- C/R Switch: Likely a control for specific camera compatibility or mode.
- TTL A1/A2/M Selector: Selects between different automatic (A1, A2) or manual (M) modes, potentially related to TTL (Through-The-Lens) metering if supported by the camera.
4.2. Automatic Mode Operation
In automatic mode, the flash's built-in thyristor sensor measures the light reflected from the subject and automatically cuts off the flash output when sufficient light has been provided for correct exposure.
- Attach the flash to your camera and power on both devices.
- Set the AUTOMATIC / MANUAL selector to "AUTOMATIC".
- Set the FILM SPEED / ISO dial to match your camera's ISO setting.
- Select an appropriate f/stop on the flash using the f/STOP / RANGE dial. This will also indicate the effective flash range. Set your camera's aperture to match this f/stop.
- Wait for the READY / TEST indicator to light up, signifying the flash is charged.
- Take your photograph. The AUTO OK indicator will light briefly after the flash fires if the exposure was correct.
4.3. Manual Mode Operation
In manual mode, the flash fires at full power, and exposure is controlled by your camera's aperture and shutter speed settings.
- Attach the flash to your camera and power on both devices.
- Set the AUTOMATIC / MANUAL selector to "MANUAL".
- Consult the flash's guide number (usually found in a separate table or on the unit itself) to determine the correct aperture for a given distance and ISO.
- Set your camera's aperture and shutter speed accordingly.
- Wait for the READY / TEST indicator to light up.
- Take your photograph.
4.4. Bounce Flash
The Vivitar 550 FD Speedlite supports bounce flash, allowing you to direct the light indirectly off a ceiling or wall for softer, more natural illumination.
- Gently tilt the flash head upwards or to the side to bounce the light.
- Adjust camera settings as needed for the increased light path and diffusion.

Figure 4: Angled view of the Vivitar 550 FD Speedlite, demonstrating the ability to tilt the flash head for bounce photography.
5. Maintenance
- Cleaning: Use a soft, dry cloth to clean the exterior of the flash unit. For stubborn dirt, a slightly damp cloth can be used, followed by a dry cloth. Do not use strong solvents or abrasive cleaners.
- Battery Care: Remove batteries if the flash will not be used for an extended period to prevent leakage and corrosion.
- Storage: Store the flash in a cool, dry place, away from direct sunlight and extreme temperatures.
- Hot Shoe Contacts: Keep the hot shoe contacts clean and free of debris to ensure proper communication with the camera.
6. Troubleshooting
| Problem | Possible Cause | Solution |
|---|---|---|
| Flash does not fire. |
|
|
| Flash fires but images are too dark (underexposed). |
|
|
| Flash fires but images are too bright (overexposed). |
|
|
7. Specifications
- Model: 550 FD
- Brand: Vivitar
- Manufacturer: VIVITAR
- Power Source: 4 AA batteries (Note: Product specifications also mention "2 AA batteries required." in some places, but "4 AA" is more consistent with typical flash units and feature bullets. User should verify.)
- Automatic Flash Range: 3 - 40 ft. (0.9 - 12.2 m)
- Flash Sync Speed: 1/250 second
- Compatible Mountings: Standard Hotshoe (Canon, Nikon, Sony compatible)
- Color: Daylight
- Product Dimensions: 6.3 x 3.4 x 2.6 inches (16 x 8.6 x 6.6 cm)
- Item Weight: 0.353 ounces (approximately 10 grams) - Note: This weight seems unusually low for a flash unit and may be a data entry error. Actual weight may be higher.
8. Warranty and Support
Specific warranty information for the Vivitar 550 FD Speedlite is not provided within this manual. For details regarding warranty coverage, technical support, or service, please refer to the documentation included with your purchase or contact Vivitar customer service directly.


