1. Introduction
This manual provides essential information for the installation, operation, and maintenance of your Corsair TX650 650-Watt 80 Plus Bronze Certified Power Supply. The Corsair TX650 is designed to deliver reliable and efficient power to your personal computer system.
Key features of this power supply include:
- 650 Watts Continuous Power: Provides stable and consistent power delivery.
- 80 PLUS Bronze Certified: Ensures up to 85% energy efficiency under real-world load conditions, reducing heat and operating costs.
- Dedicated Single +12V Rail: Offers maximum compatibility with modern components, including high-end graphics cards.
- High-Quality Japanese Capacitors: For uncompromised performance and long-term reliability.
- Ultra-Quiet Double Ball-Bearing Fan: Delivers excellent airflow with minimal noise.
- Comprehensive Protection Circuitry: Includes Over-Voltage Protection (OVP), Over-Current Protection (OCP), Under-Voltage Protection (UVP), and Short-Circuit Protection (SCP) to safeguard your system components.
2. Safety Information
Please read and understand all safety warnings before installing or operating your power supply. Failure to follow these instructions may result in electric shock, fire, or damage to your equipment.
- High Voltage: The power supply contains high voltage components. Do not open the power supply casing. There are no user-serviceable parts inside. Opening the unit will void the warranty and poses a risk of electric shock.
- Proper Grounding: Ensure your computer system and the power supply are properly grounded to prevent electrical hazards.
- Ventilation: Do not block the ventilation openings of the power supply. Ensure adequate airflow around the unit to prevent overheating.
- Moisture: Do not expose the power supply to water or excessive humidity.
- Power Disconnection: Always disconnect the AC power cord from the wall outlet before installing, removing, or servicing the power supply or any other computer components.
- Professional Installation: If you are unsure about any part of the installation process, consult a qualified technician.
3. Setup and Installation
Follow these steps to properly install your Corsair TX650 power supply into your computer system.
- Preparation: Disconnect your computer from the AC power outlet. Open your computer case and remove any existing power supply if applicable.
- Mounting the Power Supply: Carefully place the Corsair TX650 into the power supply bay of your computer case. Secure it with the provided screws. Ensure the fan is facing the correct direction for optimal airflow (typically facing downwards or inwards, depending on your case design).
- Connecting the Main Motherboard Power: Connect the 24-pin ATX connector from the power supply to the corresponding port on your motherboard. Ensure it clicks securely into place.

Image: The 24-pin ATX power connector, essential for motherboard power.
- Connecting the CPU Power: Connect the 8-pin EPS12V (or 4+4-pin) connector to the CPU power port on your motherboard. This is usually located near the CPU socket.
- Connecting PCIe Power for Graphics Cards: If your graphics card requires additional power, connect the appropriate 6+2-pin PCIe power connectors from the power supply to your graphics card.
- Connecting SATA and Peripheral Power: Connect the SATA power connectors to your hard drives, SSDs, and optical drives. Use the 4-pin Molex connectors for other peripherals as needed.
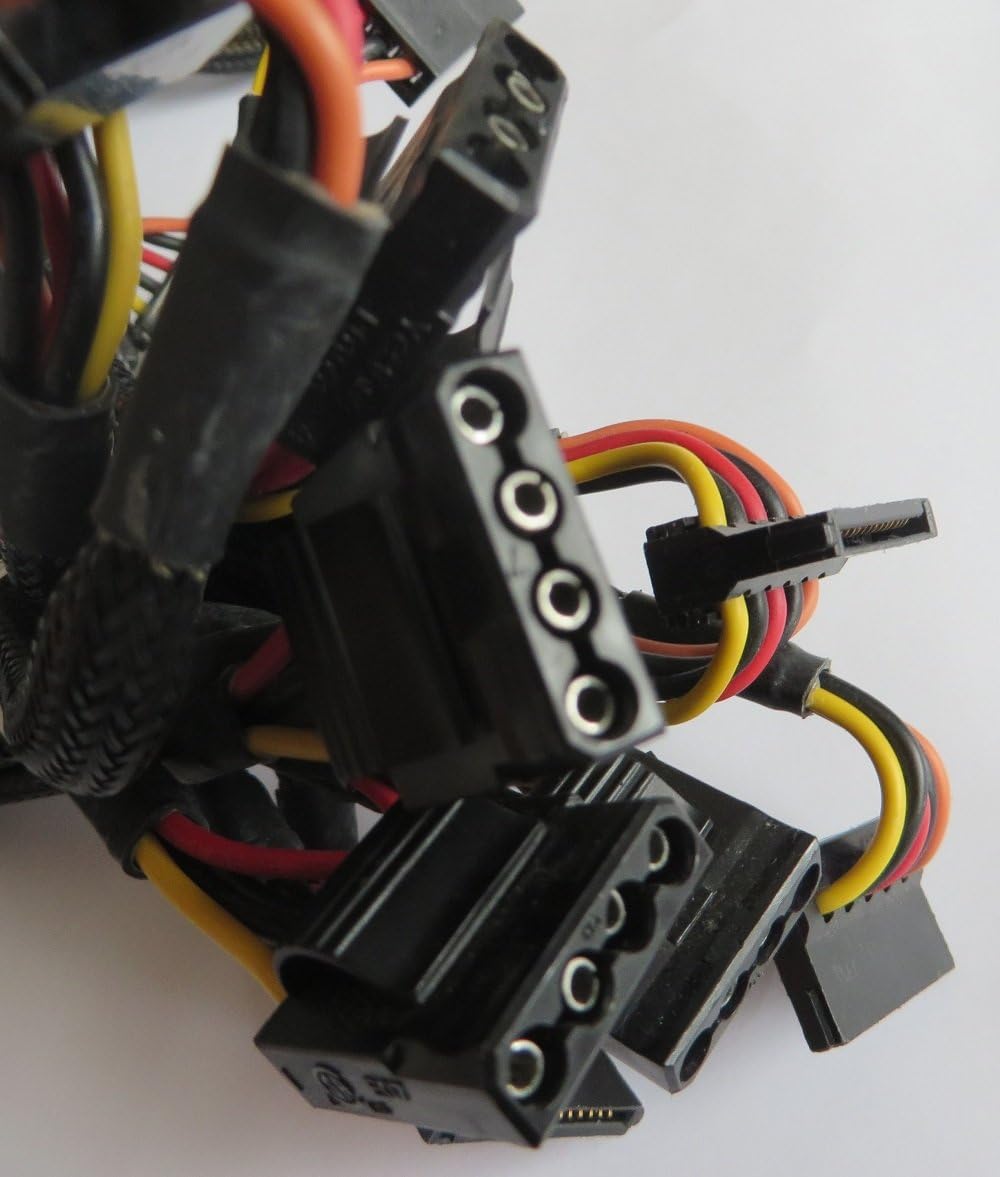
Image: SATA and Molex power connectors for drives and other peripherals.
- Cable Management: Route all cables neatly to ensure proper airflow within your case and to prevent interference with other components. Use zip ties or cable straps if necessary.
- Connecting AC Power: Once all internal connections are secure, connect the AC power cord to the power supply's input socket and then to a wall outlet.

Image: Rear panel of the TX650, showing the AC power input and main power switch.
- Power On: Flip the power switch on the back of the power supply to the 'ON' (I) position. Close your computer case and power on your system.
4. Operating Instructions
The Corsair TX650 power supply operates automatically once installed and powered on. It provides stable DC voltage to your system components.
- Fan Operation: The integrated fan will operate to cool the power supply. Its speed adjusts based on the internal temperature and load, ensuring optimal cooling while maintaining a low noise level.
- Energy Efficiency: The 80 PLUS Bronze certification means the power supply operates with high efficiency, converting more AC power into usable DC power and generating less waste heat.
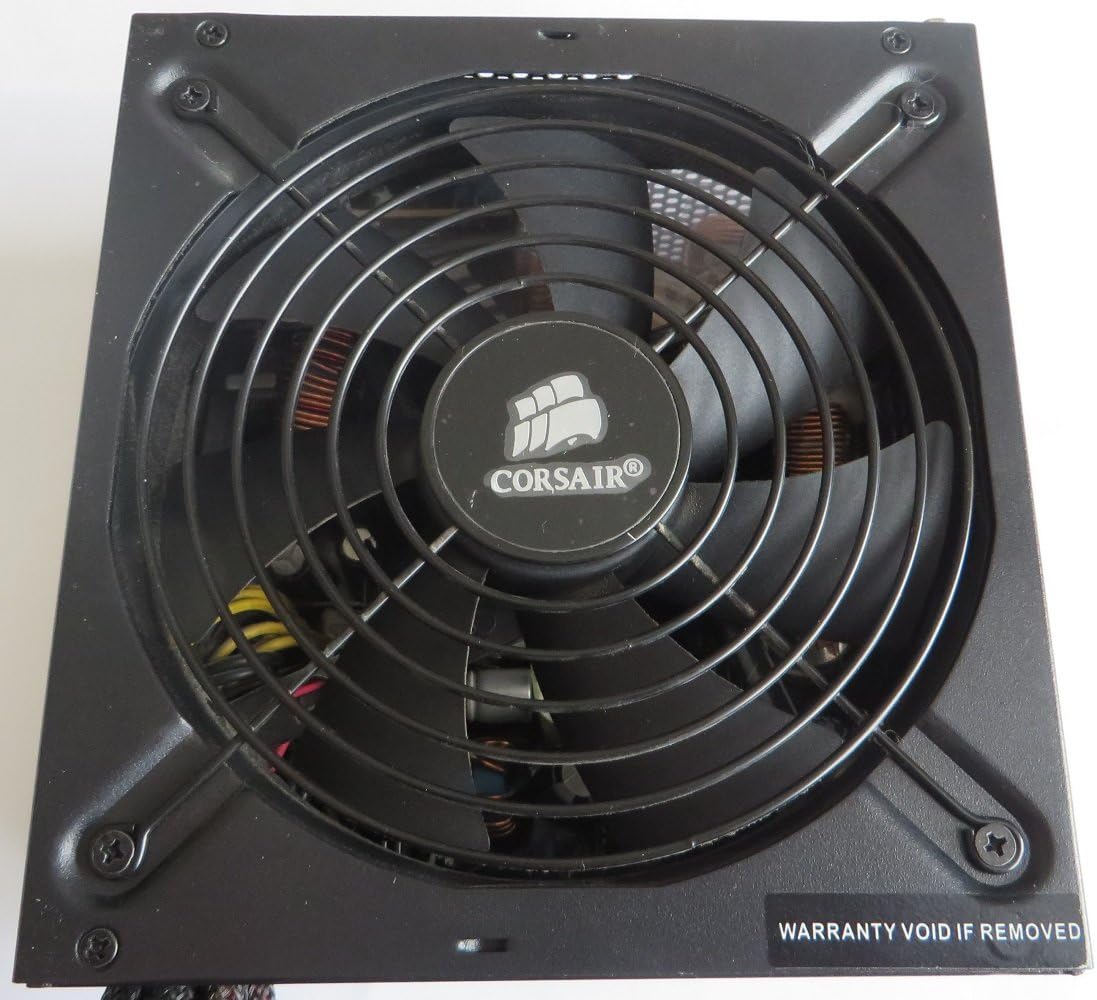
Image: Top view of the TX650, highlighting the cooling fan.
5. Maintenance
Proper maintenance ensures the longevity and optimal performance of your power supply.
- Keep Vents Clear: Regularly check that the intake and exhaust vents of the power supply are not obstructed by dust or other debris.
- Dust Cleaning: Periodically clean the power supply's exterior and fan grille using compressed air to remove accumulated dust. Ensure the system is powered off and unplugged before cleaning.
- Do Not Open: As stated in the safety information, do not attempt to open the power supply casing. This will void your warranty and expose you to dangerous high voltage components.
6. Troubleshooting
If you encounter issues with your power supply, refer to the following common troubleshooting steps:
- No Power to System:
- Ensure the AC power cord is securely connected to both the power supply and the wall outlet.
- Verify that the power switch on the back of the power supply is in the 'ON' (I) position.
- Check all internal power connections (24-pin ATX, EPS12V, PCIe, SATA) to ensure they are firmly seated.
- Test the wall outlet with another device to confirm it has power.
- System Instability or Random Shutdowns:
- Ensure your system's total power consumption does not exceed the 650W capacity of the power supply.
- Check for loose power connections to components.
- The power supply's protection features (OVP, OCP, UVP, SCP) may be triggering due to a fault in a component or an overloaded rail.
- Excessive Fan Noise:
- Ensure the power supply's fan intake and exhaust are not obstructed.
- Clean any dust accumulation from the fan grille.
- If the noise persists and is unusually loud, it may indicate a fan issue.
If troubleshooting steps do not resolve the issue, contact Corsair customer support for further assistance.
7. Specifications
| Feature | Specification |
|---|---|
| Model Name | CMPSU-650TXV2 |
| Brand | Corsair |
| Output Wattage | 650 Watts |
| Form Factor | ATX |
| Efficiency Certification | 80 PLUS Bronze |
| Cooling Method | Air (1 Fan) |
| Item Dimensions (L x W x H) | 6.3 x 5.91 x 3.39 inches |
| Item Weight | 6.05 Pounds |
| Input Voltage Range | 90~264V (Universal AC Input) |
| Protection Features | OVP, OCP, UVP, SCP |
| Main Connector | 24-pin ATX |
| CPU Connector | EPS (8-pin / 4+4-pin) |
| PCIe Connectors | 6+2-pin (Quantity varies by model revision) |
| SATA Connectors | Multiple |
| Molex Connectors | Multiple |
8. Warranty and Support
The Corsair TX650 power supply comes with a five-year warranty, ensuring peace of mind regarding its quality and durability.
Corsair provides lifetime access to its legendary technical support and customer service. For assistance, troubleshooting, or warranty claims, please visit the official Corsair website or contact their support team directly.
Serial Number: R1105B32682387 (Refer to the product label for your specific unit's serial number.)


