
Important Safety Information
READ AND UNDERSTAND ALL INSTRUCTIONS BEFORE OPERATING THIS HEATER. Failure to follow these instructions could result in fire, explosion, serious injury, or death.
- For outdoor use only. Do not use indoors or in enclosed spaces.
- Keep clear of combustible materials. Maintain a minimum clearance of 3 feet (0.9 meters) from sides and rear, and 2 feet (0.6 meters) from top.
- Do not store or use gasoline or other flammable vapors and liquids in the vicinity of this or any other appliance.
- Always ensure proper ventilation.
- Never leave the heater unattended when in operation.
- Keep children and pets away from the heater.
- Ensure the heater is on a level, stable surface.
- Do not move the heater while it is operating or still hot.
- Always turn off the gas supply at the cylinder when the heater is not in use.
- Inspect the gas hose before each use for signs of excessive abrasion, wear, or cuts. Replace if damaged.
Package Contents
Verify that all components are present before assembly.
- Heater Head Assembly (Burner, Reflector)
- Main Pole
- Base Assembly
- Adjustable Table
- Wheel Kit
- Hardware Pack (Screws, Nuts, Washers)
- Regulator and Hose Assembly
- Owner's Manual (this document)
Setup and Assembly
Assembly typically takes 30-60 minutes. Two people are recommended for easier assembly.
1. Base Assembly
Attach the main pole to the base using the provided hardware. Ensure all connections are secure.
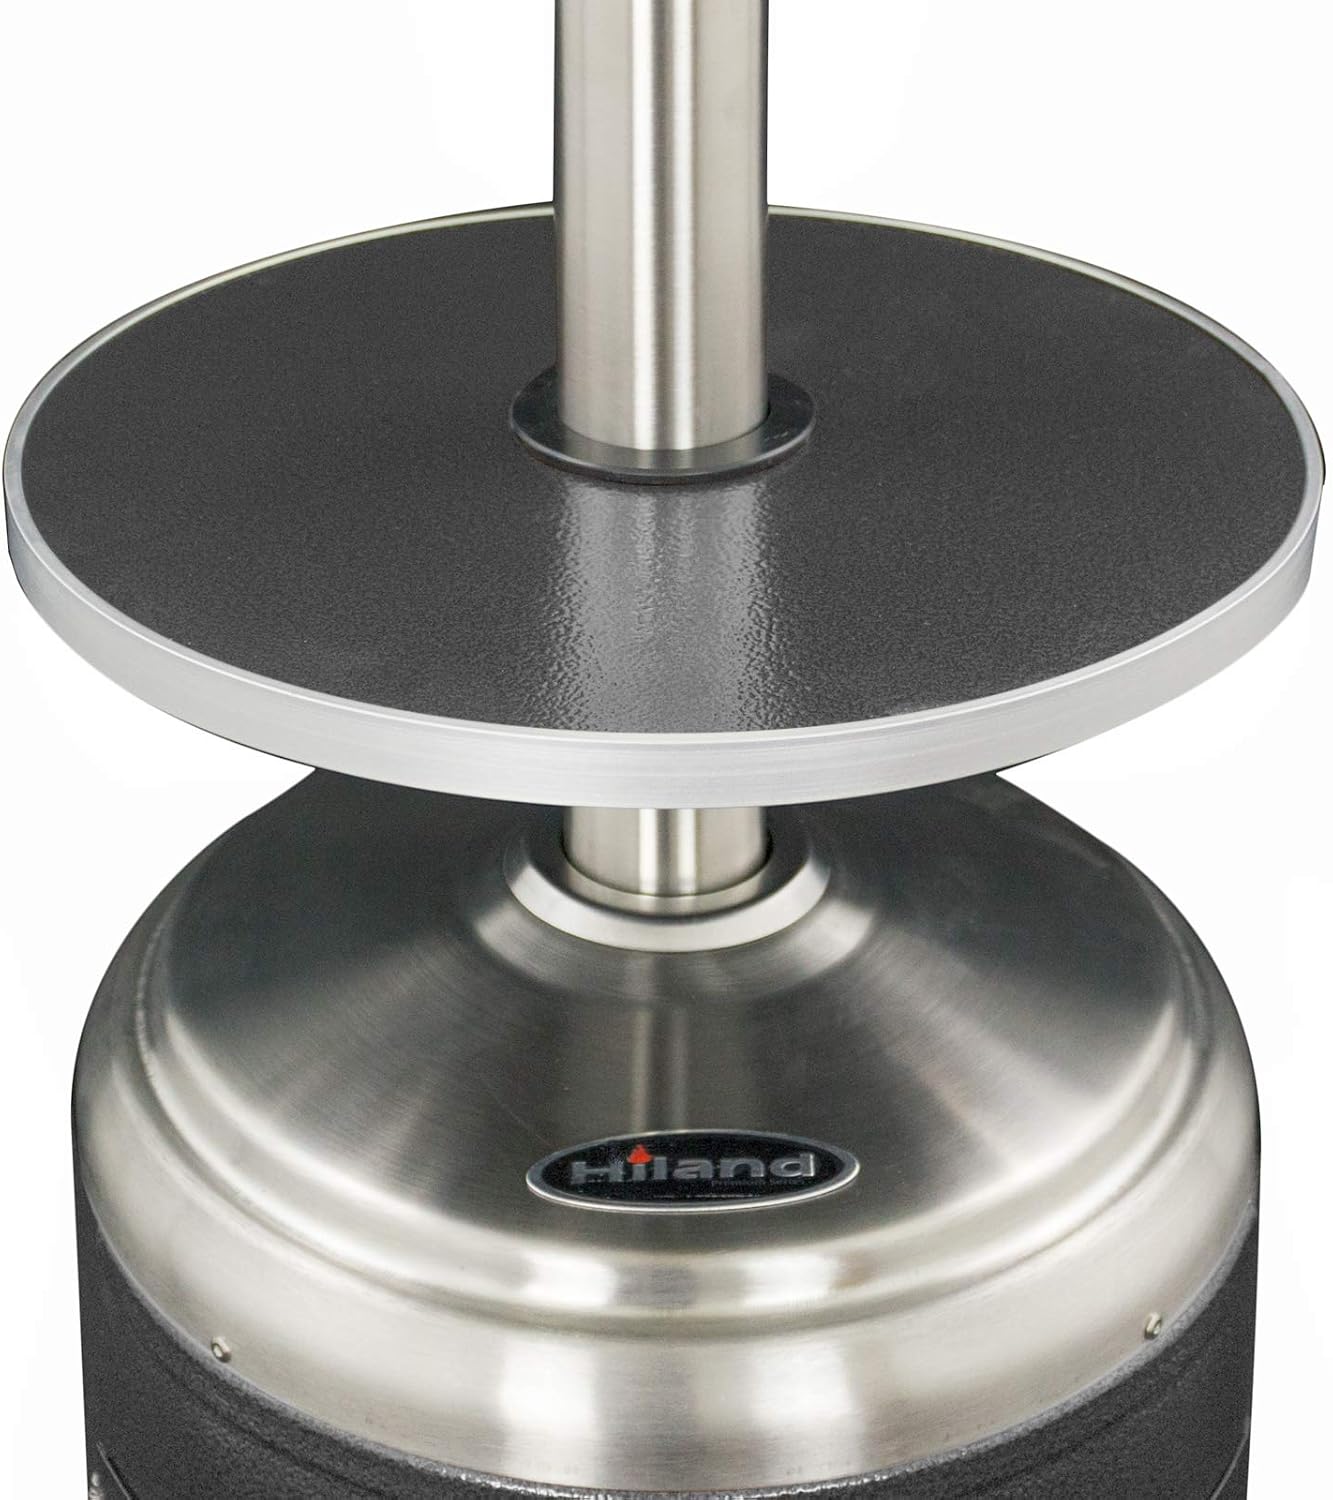
Image: Heater base and adjustable table. The table provides a convenient surface for drinks or small items.
2. Wheel Installation
Attach the wheel assembly to the base of the heater. This allows for easy mobility when the heater is not in operation and has cooled down.

Image: Detail of the mobility wheels. These wheels facilitate moving the heater to different locations on your patio.
3. Weight Bladder (Optional Stability)
For added stability, especially in windy conditions, the base includes a compartment for a weight bladder. Fill this bladder with sand or water and place it inside the base before securing the propane tank.

Image: Base with weight bladder instruction. Filling this bladder enhances the heater's stability.
4. Propane Tank Installation
- Ensure the propane tank valve is closed.
- Place a standard 20 lb. propane tank (not included) into the base compartment.
- Connect the regulator hose to the propane tank valve. Hand-tighten firmly. Do not use tools.
- Check all gas connections for leaks using a soap and water solution. Bubbles indicate a leak. If a leak is detected, turn off the gas, tighten connections, and re-test. Do not operate if a leak persists.
Note: The heater features an access door design for easy tank placement and connection.
5. Heater Head Assembly
Carefully attach the burner and reflector assembly to the top of the main pole. Ensure all gas lines are properly connected and secured according to the detailed assembly diagrams in the separate assembly guide (if provided).

Image: Burner and control panel. This section houses the ignition and flame control mechanisms.
Operating Instructions
Before operating, ensure the heater is on a stable, level surface and clear of all combustible materials.
1. Lighting the Heater
- Open the valve on the propane tank slowly.
- Turn the control knob on the heater to the "PILOT" position and push it in. Hold for 30-60 seconds to purge air from the gas lines.
- While still holding the control knob in, press the igniter button repeatedly until the pilot flame lights. You should see a small flame through the viewing hole.
- Once the pilot is lit, continue to hold the control knob in for another 10-15 seconds, then release it slowly. If the pilot goes out, repeat steps 2-4.
- After the pilot is stable, turn the control knob to the "LOW" position, then slowly rotate it to the desired heat setting (up to "HIGH"). The main burner will ignite.
2. Adjusting Heat Output
The heater features variable temperature control. Rotate the control knob between "LOW" and "HIGH" to adjust the heat output as desired, up to 48,000 BTUs.
3. Shutting Down the Heater
- Turn the control knob on the heater to the "OFF" position.
- Close the valve on the propane tank completely.
- Allow the heater to cool down completely before moving or storing.
Maintenance
Regular maintenance ensures safe and efficient operation of your patio heater.
- Cleaning: Wipe exterior surfaces with a soft, damp cloth. Do not use abrasive cleaners or solvents. Ensure the heater is completely cool before cleaning.
- Reflector: Keep the reflector clean for optimal heat distribution. Use a soft cloth and mild soap if necessary.
- Burner and Pilot Assembly: Keep the burner ports and pilot assembly free of dirt, dust, and insects. Use a soft brush or compressed air if needed.
- Hose and Regulator: Inspect the gas hose and regulator before each use for cracks, cuts, or damage. Replace immediately if any damage is found.
- Storage: When not in use for extended periods, disconnect the propane tank and store it outdoors in a well-ventilated area. Cover the heater with a weather-resistant cover to protect it from the elements.
Troubleshooting
| Problem | Possible Cause | Solution |
|---|---|---|
| Pilot will not light |
|
|
| Main burner will not light after pilot is lit |
|
|
| Heater produces low heat |
|
|
| Heater shuts off unexpectedly |
|
|
Specifications
| Model Number | HLDS01-SSHST |
| Heat Output | 48,000 BTUs |
| Fuel Type | Propane |
| Fuel Tank Size | Standard 20 lb. propane tank (not included) |
| Dimensions (D x W x H) | 18"D x 18"W x 87"H |
| Color | Hammered Silver / Stainless Steel |
| Safety Features | Thermocouple, Anti-tilt safety device |
| Mobility | Wheels for easy mobility |
| Additional Features | Adjustable table, Access door design |
Warranty Information
All products purchased have a 30-day replacement parts policy to ensure a fully working item. All products are covered under a 1-Year warranty when purchased on Amazon. The warranty period begins on the day the product is originally shipped.
The warranty covers all of the items and conditions identified in the original manufacturer's warranty. Some of the items specifically not covered by the warranty are loss and theft, water damage, customer abuse, and finish deterioration due to UV or coastal exposure.
Customer Support
For technical assistance, replacement parts, or warranty claims, please contact Hiland customer support. Refer to your purchase documentation for specific contact details or visit the official Hiland website.
When contacting support, please have your model number (HLDS01-SSHST) and proof of purchase readily available.