
1. Introduction
This manual provides instructions for the installation, use, and maintenance of your Whirlpool original manufacturer's replacement glass turntable plate. This turntable plate is designed for specific Whirlpool microwave oven models to ensure proper food rotation and even heating.
The turntable plate has a diameter of 28 cm and is compatible with various Whirlpool microwave models. These include, but are not limited to: IL10, IL12, MAX14, MAX15, MAX24, MAX25, MAX28, MAX34, MAX39. Please verify compatibility with your specific microwave model before installation.
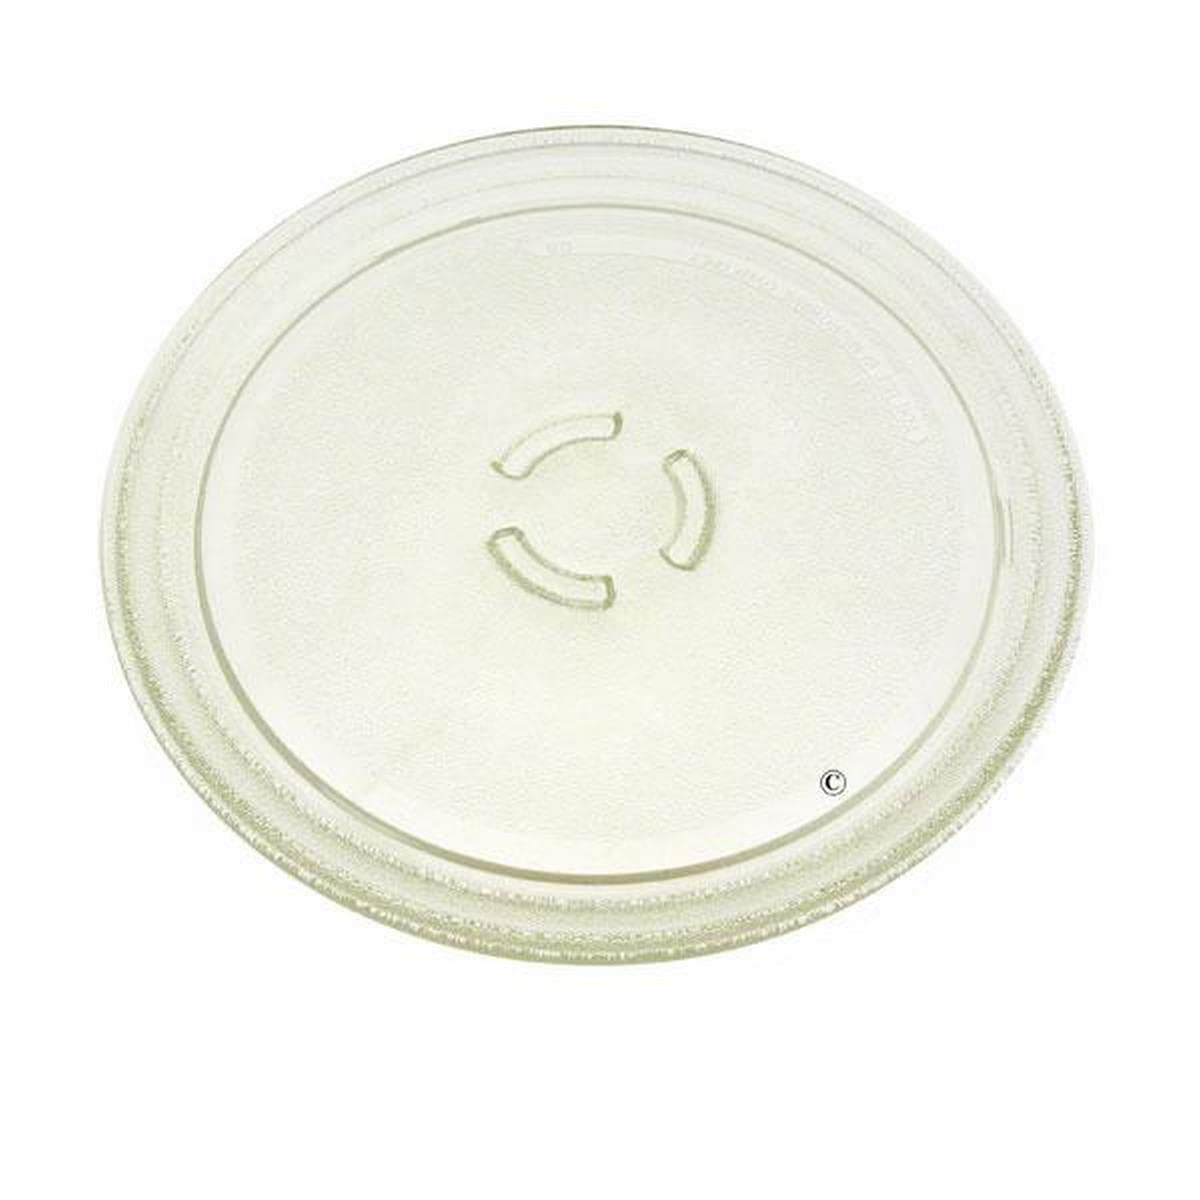
Image 1.1: Whirlpool 28 cm Glass Turntable Plate. This image shows the circular glass plate with a central hub designed to fit onto the microwave's rotating mechanism.
2. Safety Information
WARNING: Always disconnect power to the microwave oven before attempting any installation or maintenance.
- Handle the glass turntable plate with care to prevent breakage.
- Ensure the turntable plate is clean and free of debris before placing it in the microwave.
- Do not operate the microwave oven without the turntable plate and its support ring properly in place, unless specifically instructed by your microwave oven's manual.
- Avoid placing excessively heavy items on the turntable plate.
- Do not use a broken or chipped turntable plate, as this can be a safety hazard.
3. Package Contents
Verify that your package contains the following item:
- 1x Whirlpool Glass Turntable Plate (28 cm diameter)
Note: The turntable support ring and coupler are typically part of the microwave oven and are not included with this replacement plate.
4. Setup and Installation
Follow these steps to install the glass turntable plate in your Whirlpool microwave oven:
- Unpack the Turntable Plate: Carefully remove the new glass turntable plate from its packaging. Inspect it for any damage.
- Clean the Microwave Interior: Ensure the microwave oven's interior, especially the area where the turntable support ring and coupler sit, is clean and free of food debris.
- Place the Support Ring: Position the turntable support ring (if removed) correctly on the microwave oven's floor. The wheels of the ring should be aligned with the circular groove.
- Install the Turntable Plate: Carefully place the glass turntable plate onto the support ring and the central coupler. The plate's center indentation should fit securely over the coupler, allowing it to rotate freely.
- Verify Placement: Gently rotate the plate by hand to ensure it is seated correctly and spins smoothly without obstruction.
Your turntable plate is now installed and ready for use.
5. Operating the Turntable Plate
The turntable plate operates automatically when the microwave oven is in use. Its purpose is to rotate food for even heating.
- Place food containers directly on the glass turntable plate.
- Ensure that dishes or containers do not extend beyond the edge of the turntable plate, as this can impede rotation.
- Do not stop the turntable manually during operation. Allow it to complete its cycle.
6. Maintenance and Cleaning
Regular cleaning of the turntable plate will help maintain hygiene and ensure optimal performance.
- Removal: Carefully lift the glass turntable plate out of the microwave oven.
- Cleaning: Wash the glass turntable plate with warm, soapy water. For stubborn food residues, a non-abrasive sponge or cloth can be used. It is generally dishwasher safe, but refer to your microwave oven's main manual for specific care instructions.
- Drying: Dry the turntable plate thoroughly before returning it to the microwave oven.
- Cleaning the Support Ring and Coupler: Periodically clean the turntable support ring and the central coupler to prevent debris buildup that could hinder rotation.
7. Troubleshooting
If you encounter issues with your turntable plate, consider the following:
- Turntable Not Rotating:
- Ensure the glass plate is correctly seated on the central coupler and the support ring.
- Check for any food debris or obstructions beneath the plate or around the support ring/coupler.
- Verify that the microwave oven's turntable motor is functioning (refer to your microwave oven's main manual).
- Plate Wobbles or Makes Noise:
- Confirm the plate is centered and properly engaged with the coupler.
- Inspect the turntable support ring for damage or missing wheels.
- Ensure the microwave oven's floor is clean and level.
- Plate is Chipped or Broken:
- Discontinue use immediately. A broken glass plate can be a safety hazard.
- Replace the plate with an original manufacturer's part or a compatible equivalent.
8. Specifications
| Feature | Detail |
|---|---|
| Product Type | Glass Turntable Plate |
| Brand | Whirlpool (Original Manufacturer Part) |
| Part Model Number | 481246678407 |
| Material | Glass |
| Diameter | 28 cm |
| Approximate Dimensions (L x W x H) | 14 x 15 x 12 cm (packaging/shipping dimensions) |
| Approximate Weight | 1.08 kg |
| Compatible Microwave Oven Models | IL10, IL12, MAX14, MAX15, MAX24, MAX25, MAX28, MAX34, MAX39, and others (refer to product description for full list) |
9. Warranty and Support
This product is an original manufacturer's replacement part. For specific warranty information, please refer to the documentation provided with your original Whirlpool microwave oven or contact Whirlpool customer service directly.
If you require further assistance or have questions regarding the compatibility or installation of this turntable plate, please contact the retailer or Whirlpool customer support.
Whirlpool Customer Service: Please visit the official Whirlpool website for contact information in your region.