
KÄRCHER SC1020
KÄRCHER SC1020 Steam Cleaner User Manual
Model: SC1020
1. Important Safety Instructions
Please read these safety instructions carefully before using your KÄRCHER SC1020 Steam Cleaner. Failure to follow these instructions may result in electric shock, fire, or serious injury.
- Electrical Safety: Ensure the voltage indicated on the appliance corresponds to your local mains voltage. Do not operate the appliance with a damaged cord or plug. Always unplug the appliance when not in use and before cleaning.
- Steam Hazard: Steam is hot and can cause severe burns. Never direct steam at people, animals, or electrical components. Keep hands and face away from the steam nozzle during operation.
- Water Tank: Do not open the water tank cap while the appliance is under pressure or hot. Allow the appliance to cool down completely before refilling or emptying the water tank. Use only clean tap water; do not add detergents or chemicals to the water tank.
- Children and Pets: Keep the appliance out of reach of children and pets. Supervise children to ensure they do not play with the appliance.
- Storage: Store the appliance in a dry, secure place when not in use.
2. Product Overview
The KÄRCHER SC1020 is a lightweight and rapid heat-up steam cleaner designed for effective cleaning of various surfaces using only steam. It comes with several accessories to tackle different cleaning tasks.
2.1 Main Unit and Components
The main unit houses the water tank and heating element. Various attachments connect to the steam gun for specific cleaning applications.
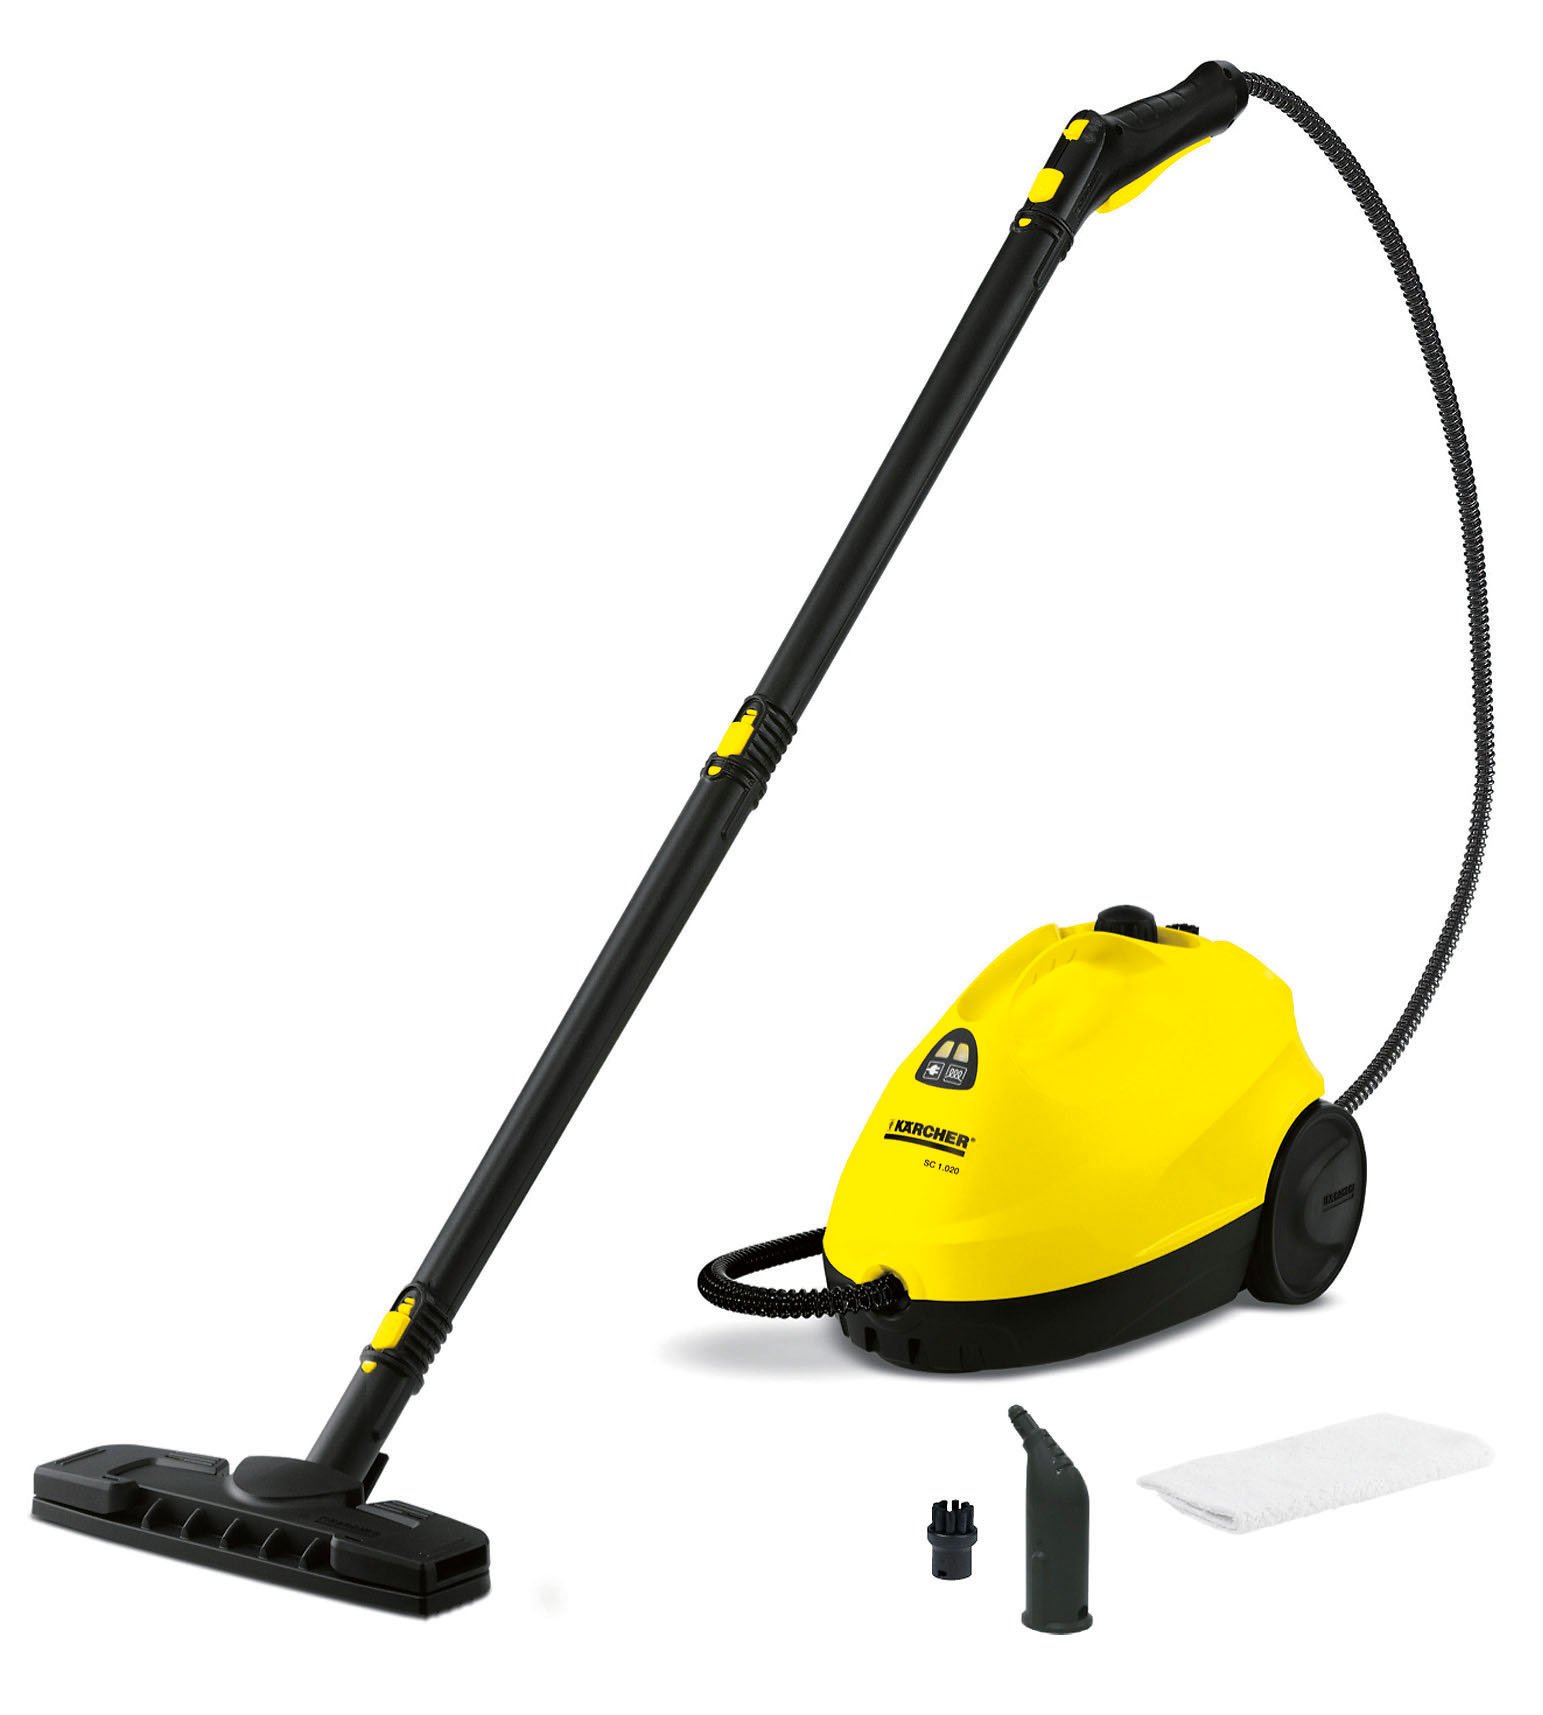
Image 2.1: Karcher SC1020 Steam Cleaner main unit with floor nozzle attached, and a user cleaning a kitchen counter with the hand nozzle.
2.2 Included Accessories
Your SC1020 Steam Cleaner typically includes the following components:
- Steam Gun with Hose
- Floor Nozzle
- Extension Tubes (2x)
- Detail Nozzle
- Round Brush
- Hand Nozzle
- Microfiber Cloths (for floor and hand nozzle)
- User Manual

Image 2.2: Two extension tubes, used to extend the reach of the steam gun for floor cleaning.
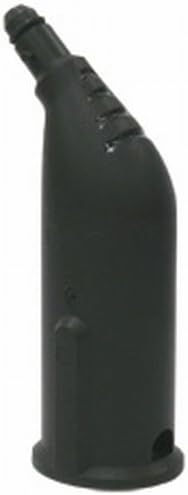
Image 2.3: The detail nozzle, designed for concentrated steam application in tight spaces.

Image 2.4: A small round brush attachment, useful for scrubbing stubborn dirt with steam.
3. Setup and Preparation
Follow these steps to prepare your steam cleaner for first use.
3.1 Unpacking
- Remove all components from the packaging.
- Check for any damage during transit. Contact your retailer if any parts are damaged or missing.
3.2 Filling the Water Tank
- Ensure the appliance is unplugged and cool.
- Unscrew the safety cap of the water tank.
- Fill the water tank with a maximum of 1 liter of clean tap water using a measuring jug. Do not overfill.
- Carefully screw the safety cap back on until it is hand-tight.
3.3 Attaching Accessories
Select the appropriate accessory for your cleaning task and attach it to the steam gun. For floor cleaning, connect the extension tubes to the steam gun, then attach the floor nozzle to the end of the extension tubes. Ensure all connections click securely into place.
4. Operating Instructions
Once set up, your KÄRCHER SC1020 is ready for operation.
4.1 Powering On and Heating Up
- Plug the power cord into a suitable 100V electrical outlet.
- Press the ON/OFF switch. The heating indicator light will illuminate (refer to Image 4.1).
- The appliance will heat up rapidly. Once the operating pressure is reached, the heating indicator light will turn off or change color, indicating it is ready for use. This typically takes a few minutes.

Image 4.1: The control panel showing the ON switch and the heating indicator light.
4.2 Steam Application
- Unlock the steam gun trigger by sliding the safety lock forward.
- Press the steam trigger to release steam. A small amount of water may initially be discharged; direct this into a cloth until only steam emerges.
- For continuous steam, some models may have a continuous steam lock. Refer to your specific model's steam gun.
- To stop steam, release the trigger and engage the safety lock.
4.3 Cleaning Different Surfaces
The SC1020 is suitable for cleaning floors, counter tops, and upholstery.
4.3.1 Floor Cleaning
Attach the extension tubes and floor nozzle. Place a microfiber floor cloth onto the floor nozzle. Move the floor nozzle slowly and evenly over the surface to be cleaned. For heavily soiled areas, move the nozzle more slowly or apply steam repeatedly.

Image 4.2: Demonstrating floor cleaning with the steam cleaner's floor nozzle.
4.3.2 Spot and Detail Cleaning
For smaller areas, corners, or stubborn dirt, use the detail nozzle, possibly with a round brush. Attach the desired accessory directly to the steam gun or via a single extension tube for better reach.
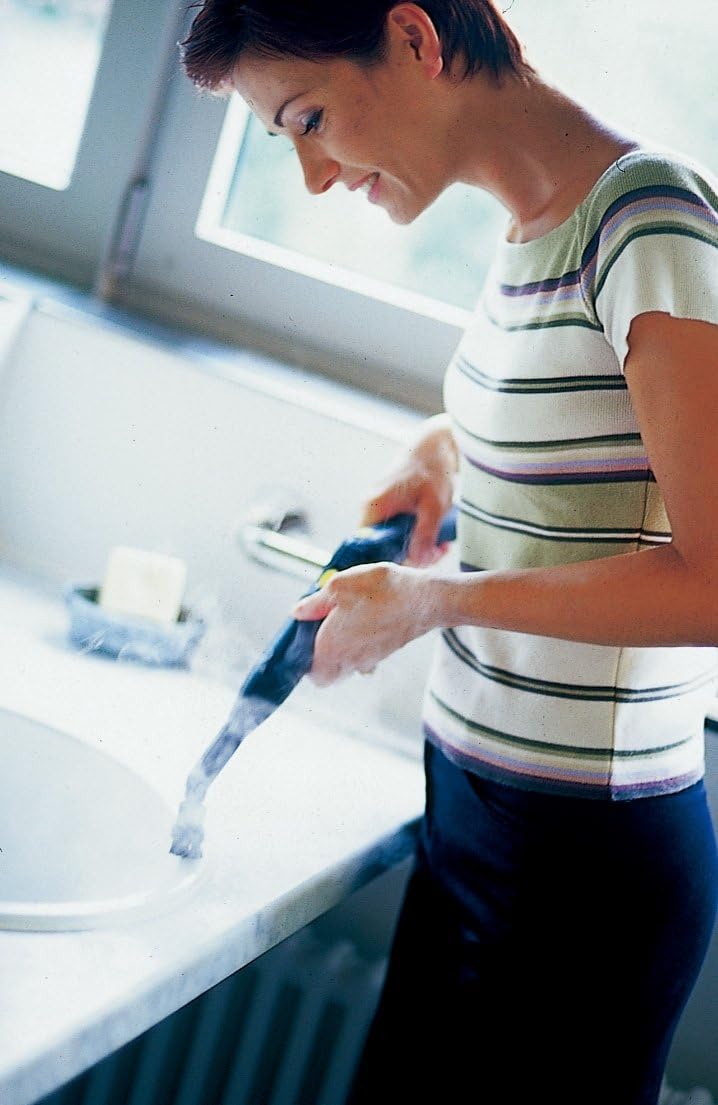
Image 4.3: Cleaning a faucet using the detail nozzle for targeted steam application.

Image 4.4: The steam gun being used to clean a kitchen surface, demonstrating handheld operation.
5. Maintenance and Care
Regular maintenance ensures optimal performance and extends the life of your steam cleaner.
5.1 After Each Use
- Unplug the appliance and allow it to cool down completely.
- Carefully unscrew the safety cap and empty any remaining water from the tank.
- Rinse the water tank with clean water.
- Clean accessories (nozzles, brushes, cloths) with water and mild detergent if necessary. Microfiber cloths can be machine washed.
5.2 Descaling
Depending on the hardness of your tap water, limescale may build up in the appliance. KÄRCHER recommends descaling the appliance periodically (e.g., every 3-6 months). Use KÄRCHER descaling agents or a suitable commercial descaler following the product instructions. Never use vinegar or other aggressive descaling agents not approved for steam cleaners.
5.3 Storage
Ensure the appliance is completely dry before storing. Store the steam cleaner and its accessories in a dry, frost-free location, out of reach of children.
6. Troubleshooting
If you encounter issues with your KÄRCHER SC1020, refer to the following table for common problems and solutions.
| Problem | Possible Cause | Solution |
|---|---|---|
| No steam or very little steam | No water in tank / Appliance not heated up / Safety cap not fully closed | Refill water tank / Wait for heating indicator to turn off / Tighten safety cap |
| Water dripping from nozzle | Appliance not fully heated / Condensation in hose | Wait for full heat-up / Direct first bursts of steam into a cloth |
| Steam pressure too low | Limescale buildup | Descale the appliance (refer to Section 5.2) |
| Appliance not turning on | No power supply / Faulty power cord | Check power outlet and plug / Contact KÄRCHER service |
If the problem persists after trying these solutions, please contact KÄRCHER customer support.
7. Technical Specifications
| Feature | Specification |
|---|---|
| Model Number | SC1020 |
| Brand | KÄRCHER |
| Voltage | 100 Volts |
| Wattage | 1500 watts |
| Water Tank Capacity | 1 Liters |
| Item Weight | 3 Kilograms |
| Special Features | Lightweight, Rapid Heat Up |
| Surface Recommendation | Floor, Counter Top, Upholstery |
8. Warranty and Support
Your KÄRCHER SC1020 Steam Cleaner comes with a manufacturer's warranty. Please refer to the warranty card included in your product packaging for specific terms and conditions.
For technical support, spare parts, or warranty claims, please contact KÄRCHER customer service. You can find contact information on the official KÄRCHER website or through the brand store link below:
Related documentsSC1020


Ask a question about this manual
Ask about setup, troubleshooting, compatibility, parts, safety, or missing instructions. Manuals+ will review the question and use this page’s manual context to help answer it.