1. Introduction
The Seco-Larm E-960-D290Q Enforcer Twin Photobeam Detectors are designed to establish a reliable perimeter security barrier. This system utilizes twin infrared beams to detect any interruption, signaling an alarm output. Featuring laser beam alignment, these detectors are suitable for both indoor and outdoor applications, offering enhanced immunity to environmental factors and minimizing false alarms.
2. Product Overview
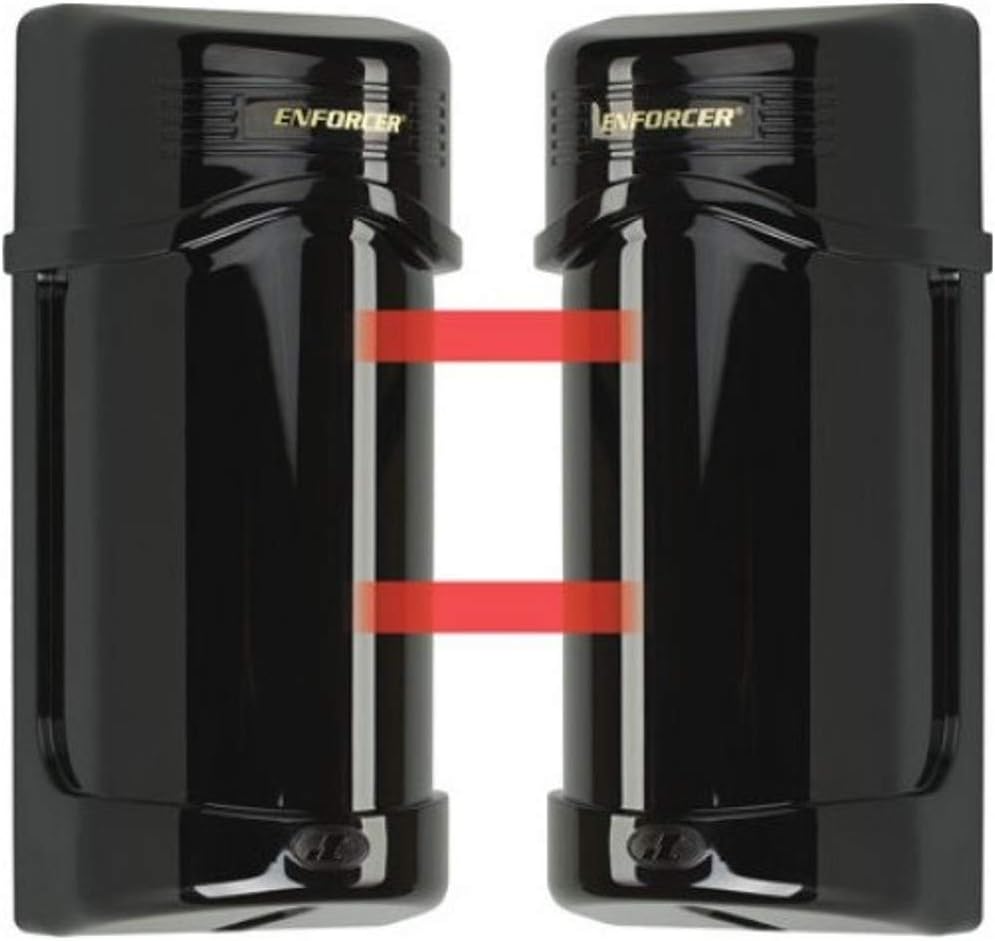
Image: Two Seco-Larm E-960-D290Q photobeam detector units are shown facing each other, with two red horizontal lines illustrating the twin infrared beams that form the detection zone between them. Each unit is black with 'ENFORCER' branding visible on the top front.
3. Key Features
- Twin Infrared Beams: Creates a robust cross-beam detection area, minimizing false alarms from small objects.
- Laser Beam Alignment: Integrated laser facilitates precise and easy alignment of the transmitter and receiver units.
- Adjustable Interruption Time: Allows customization of the beam interruption duration (50ms to 700ms) to suit various environmental conditions and reduce false triggers.
- Weatherproof Design: Enclosed in a durable, sunlight-filtering PC resin case, suitable for outdoor use.
- Anti-Frost System: Ensures reliable operation even in extreme cold conditions.
- Lensed Optics: Reinforces beam strength and provides excellent immunity to false alarms caused by rain, snow, or mist.
- Flexible Outputs: Features N.C./N.O. alarm output and an N.C. tamper circuit.
- Non-Polarized Power Inputs: Simplifies wiring and installation.
- Wide Sensing Range: Up to 190ft (60m) outdoors and 390ft (120m) indoors.
4. Safety Information
Please read and understand all instructions before installation and operation. Failure to follow these instructions may result in damage to the product, property, or personal injury.
- Electrical Safety: Ensure power is disconnected before performing any wiring or maintenance. All wiring should comply with local electrical codes.
- Mounting: Mount units securely to a stable surface to prevent accidental dislodgement.
- Laser Safety: Avoid direct eye exposure to the laser beam. Although low power, prolonged exposure can be harmful.
- Environmental Considerations: While weatherproof, avoid submerging the units in water. Ensure proper drainage around the installation site.
- Authorized Personnel: Installation and servicing should ideally be performed by qualified personnel.
5. Setup and Installation
5.1. Mounting
- Identify suitable locations for the transmitter and receiver units. They should be mounted directly opposite each other, within the specified sensing range.
- Ensure a clear line of sight between the two units, free from obstructions.
- Securely attach the mounting brackets to a stable surface (e.g., wall, pole) using appropriate hardware.
- Mount the transmitter and receiver units onto their respective brackets.
5.2. Wiring
The E-960-D290Q features non-polarized power inputs, simplifying connection. Refer to the wiring diagram provided with your product packaging for specific connections.
- Power: Connect 10~30VAC/VDC power to the designated terminals.
- Alarm Output: Connect the N.C./N.O. relay output to your alarm panel or monitoring device.
- Tamper Circuit: Connect the N.C. tamper switch to your security system for tamper detection.
5.3. Laser Beam Alignment
The integrated laser and tuning LED simplify precise alignment.
- Apply power to both the transmitter and receiver units. The green 'Operation LED' on both units should illuminate.
- On the transmitter unit, activate the laser alignment feature (refer to the unit's specific controls).
- Adjust the horizontal (±90°) and vertical (±5°) alignment of the receiver unit until the laser beam from the transmitter is centered on the receiver's lens.
- Fine-tune the alignment while observing the yellow 'Tuning LED' on the receiver. The LED will illuminate when alignment is successful. Aim for the brightest and most stable illumination.
- Repeat the process for the transmitter unit, ensuring optimal alignment from both sides.
- Once aligned, deactivate the laser alignment feature on the transmitter.
6. Operation
6.1. Basic Function
Once properly installed and aligned, the photobeam detectors continuously emit and receive twin infrared beams. When both beams are simultaneously interrupted by an object passing through the detection zone, the receiver unit triggers the alarm output.
6.2. Interruption Time Adjustment
The interruption speed is adjustable from 50ms to 700ms. This setting determines the minimum time interval both beams must be broken to trigger an alarm. A longer interval can reduce false alarms from fast-moving small objects like birds or falling leaves, while a shorter interval detects faster-moving intruders.
- Locate the interruption time adjustment dial or switch on the unit (refer to product diagram).
- Rotate the dial or adjust the switch to set the desired interruption time. Test the setting with various objects to ensure optimal performance for your environment.
7. Maintenance
Regular maintenance ensures optimal performance and longevity of your photobeam detectors.
- Cleaning: Periodically clean the lenses of both the transmitter and receiver units with a soft, damp cloth to remove dust, dirt, or debris that could obstruct the beams.
- Alignment Check: Occasionally verify the alignment of the units, especially after severe weather conditions. Re-align if the tuning LED indicates a weaker signal.
- Wiring Inspection: Check all wiring connections for corrosion or damage. Ensure all connections are secure.
- Environmental Obstructions: Keep the area between the units clear of growing vegetation, spiderwebs, or other potential obstructions.
- Anti-Frost System: The anti-frost system operates automatically. Ensure the units are not covered by snow or ice buildup that could block the beams.
8. Troubleshooting
Refer to the following common issues and solutions:
- No Power (Green LED OFF):
Check power connections and ensure the power supply is within the 10~30VAC/VDC range. - No Alarm Trigger (Red LED OFF when beam broken):
Verify alignment using the tuning LED. Ensure the beams are not obstructed. Check the alarm output wiring. Adjust interruption time if objects are moving too fast or too slow. - False Alarms (Red LED ON without interruption):
Check for partial beam obstructions (e.g., spiderwebs, leaves, swaying branches). Re-align the units for optimal signal strength. Increase the interruption time setting to filter out brief disturbances. Ensure units are securely mounted and not vibrating. - Tuning LED Not Illuminating (or weak):
Indicates poor alignment or an obstruction. Re-align the units carefully. Clean the lenses. Ensure the distance between units is within the specified range. - Tamper Alarm:
Check if the unit's cover is securely closed and the tamper switch is engaged. Inspect tamper circuit wiring.
9. Technical Specifications
| Specification | Detail |
|---|---|
| Model Number | E-960-D290Q |
| Max. Range (Outdoor) | 190ft (60m) |
| Max. Range (Indoor) | 390ft (120m) |
| Power Input | 10~30VAC / VDC (Non-polarized) |
| Current Draw | 62mA |
| Detection Method | Simultaneous break of 2 beams |
| Interrupt Speed | 50msec~700msec (variable) |
| Alarm Output | NO./NC. relay, 1A@120VAC |
| Tamper Output | NC. switch, 1A@120VAC |
| Alarm LED (Receiver) | Red LED ON: When an alarm is initiated |
| Tuning LED (Receiver) | Yellow LED ON: When alignment is successful |
| Operation LED (Tx/Rx) | Green LED ON: When power is applied |
| Laser Wavelength | 650nm |
| Laser Output Power | 5mW |
| Alignment Angle | Horizontal (±)90°, Vertical: (±)5° |
| Operating Temperature | -13° ~+131° F (-25° ~+55° C) |
| Weight | 2.47-lb (1.12kg) |
| Case Material | PC Resin |
| UPC | 676544000839 |
10. Warranty and Support
The Seco-Larm E-960-D290Q Enforcer Twin Photobeam Detectors come with a 1-Year Limited Warranty from the date of purchase. This warranty covers defects in materials and workmanship under normal use.
For technical support, troubleshooting assistance, or warranty claims, please contact Seco-Larm customer service. Refer to the contact information provided in your product packaging or on the official Seco-Larm website.
Please retain your proof of purchase for warranty purposes.


