
Introduction
This instruction manual provides detailed guidance for the assembly, installation, and maintenance of your Zenna Home Tension Pole Caddy. Designed to provide valuable storage in your shower, this rust-resistant caddy features adjustable L-shaped shelves to accommodate various bath items. Please read these instructions carefully before beginning assembly to ensure proper installation and safe use.
Safety Information
- Ensure all parts are present and undamaged before assembly. Do not use if any parts are missing or broken.
- Install the caddy in a stable corner of your shower or bathtub.
- Do not overload the shelves. The maximum weight recommendation is 16 pounds.
- Exercise caution when adjusting the tension pole to prevent injury or damage to surfaces.
- Keep small children away from the assembly area and the installed caddy to prevent accidents.
- Regularly check the caddy for stability and tighten if necessary.
Package Contents
Verify that all the following components are included in your package:
- Tension Pole Sections (various lengths, including one with a spring mechanism)
- L-Shaped Shelves (4 total, including one deep basket)
- Wedges/Collars for shelf adjustment
- End Caps (top and bottom)
- Tape Strips (for pole seams)
Setup and Assembly
Follow these steps to assemble and install your shower caddy:
Step 1: Measure Your Shower Height
Measure the height from the tub ledge or shower floor to the ceiling. The caddy fits heights up to 97 inches (8 feet, 1 inch). Refer to the cutting chart if your shower height requires a pole adjustment.

Measure the height of your shower or tub opening.

Optional: Use a hacksaw to cut tube B to size if your shower height falls within the specified ranges. Consult the chart for exact measurements.
Step 2: Assemble Tubes and Shelves
Place the wedges and shelves onto the pole sections. The shelves can be adjusted to your desired height. Assemble the pole by connecting the sections, ensuring the straight tube with the spring mechanism is at the top.

Add wedges and shelves to the tubes before assembling the full pole.

Connect the pole sections together.
Step 3: Secure Pole Sections
Add the spacer between the small and large tubes. Apply the provided tape strips around the seams of the pole sections to protect against moisture and enhance stability.
Add tape strips to the pole seams for moisture protection.
Step 4: Install the Caddy
Hold the assembled pole at the bottom. Lift the entire unit into your desired shower corner. Compress the top of the pole against the ceiling and guide the bottom end into position on the tub ledge or shower floor. The spring mechanism will provide tension to hold the caddy securely in place.

The Zenna Home Shower Tension Pole Caddy, L-Shaped Shelves, Satin Nickel, installed in a shower corner.
Official installation video for the Zenna Home Tension Corner Pole Caddy, demonstrating the assembly and tensioning process.
Operation and Usage
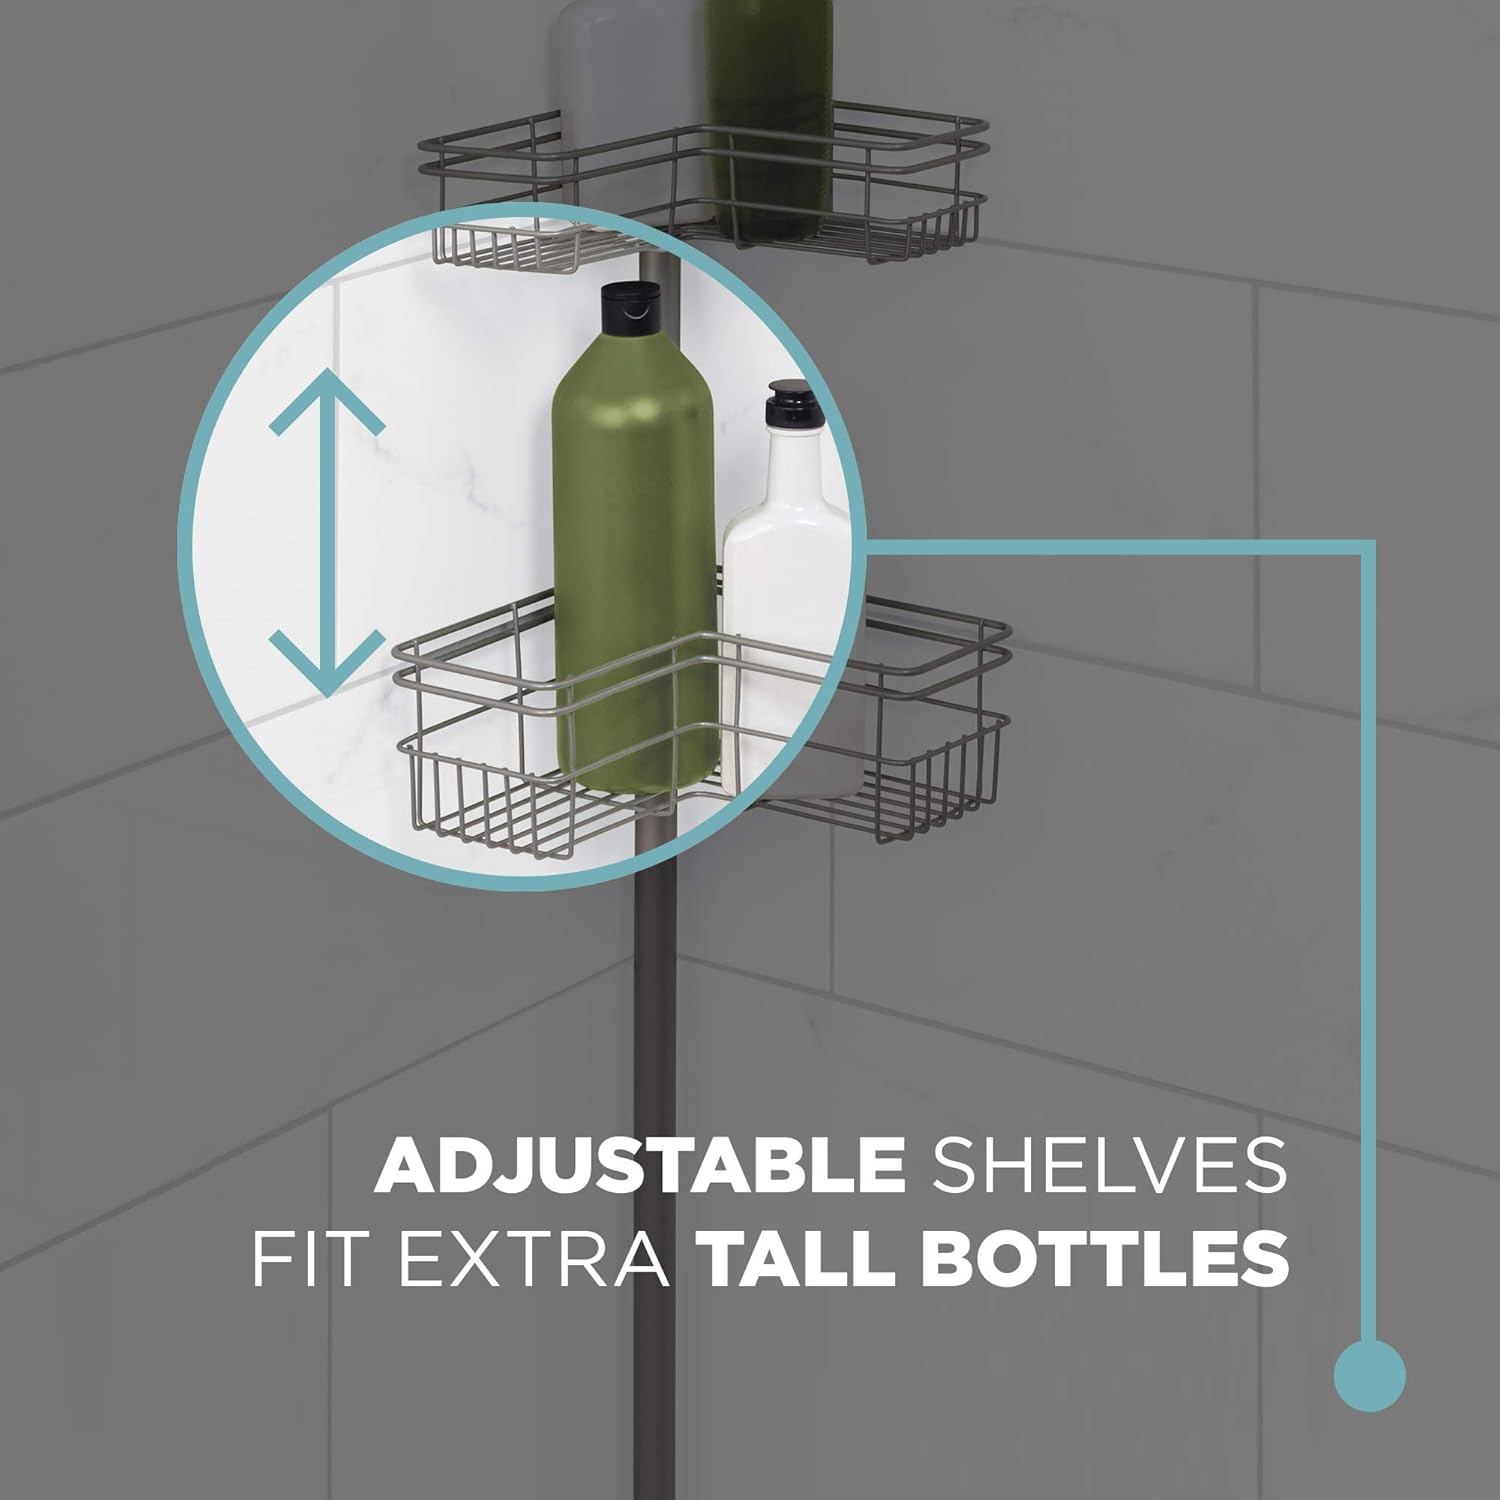
Once installed, your Zenna Home Tension Pole Caddy is ready for use. The L-shaped shelves are designed to maximize corner space and can be adjusted vertically to accommodate items of varying heights.
- Adjusting Shelves: To adjust a shelf, gently lift it to release it from its current position, slide the plastic wedges to the desired height, and then lower the shelf onto the wedges until it is secure.
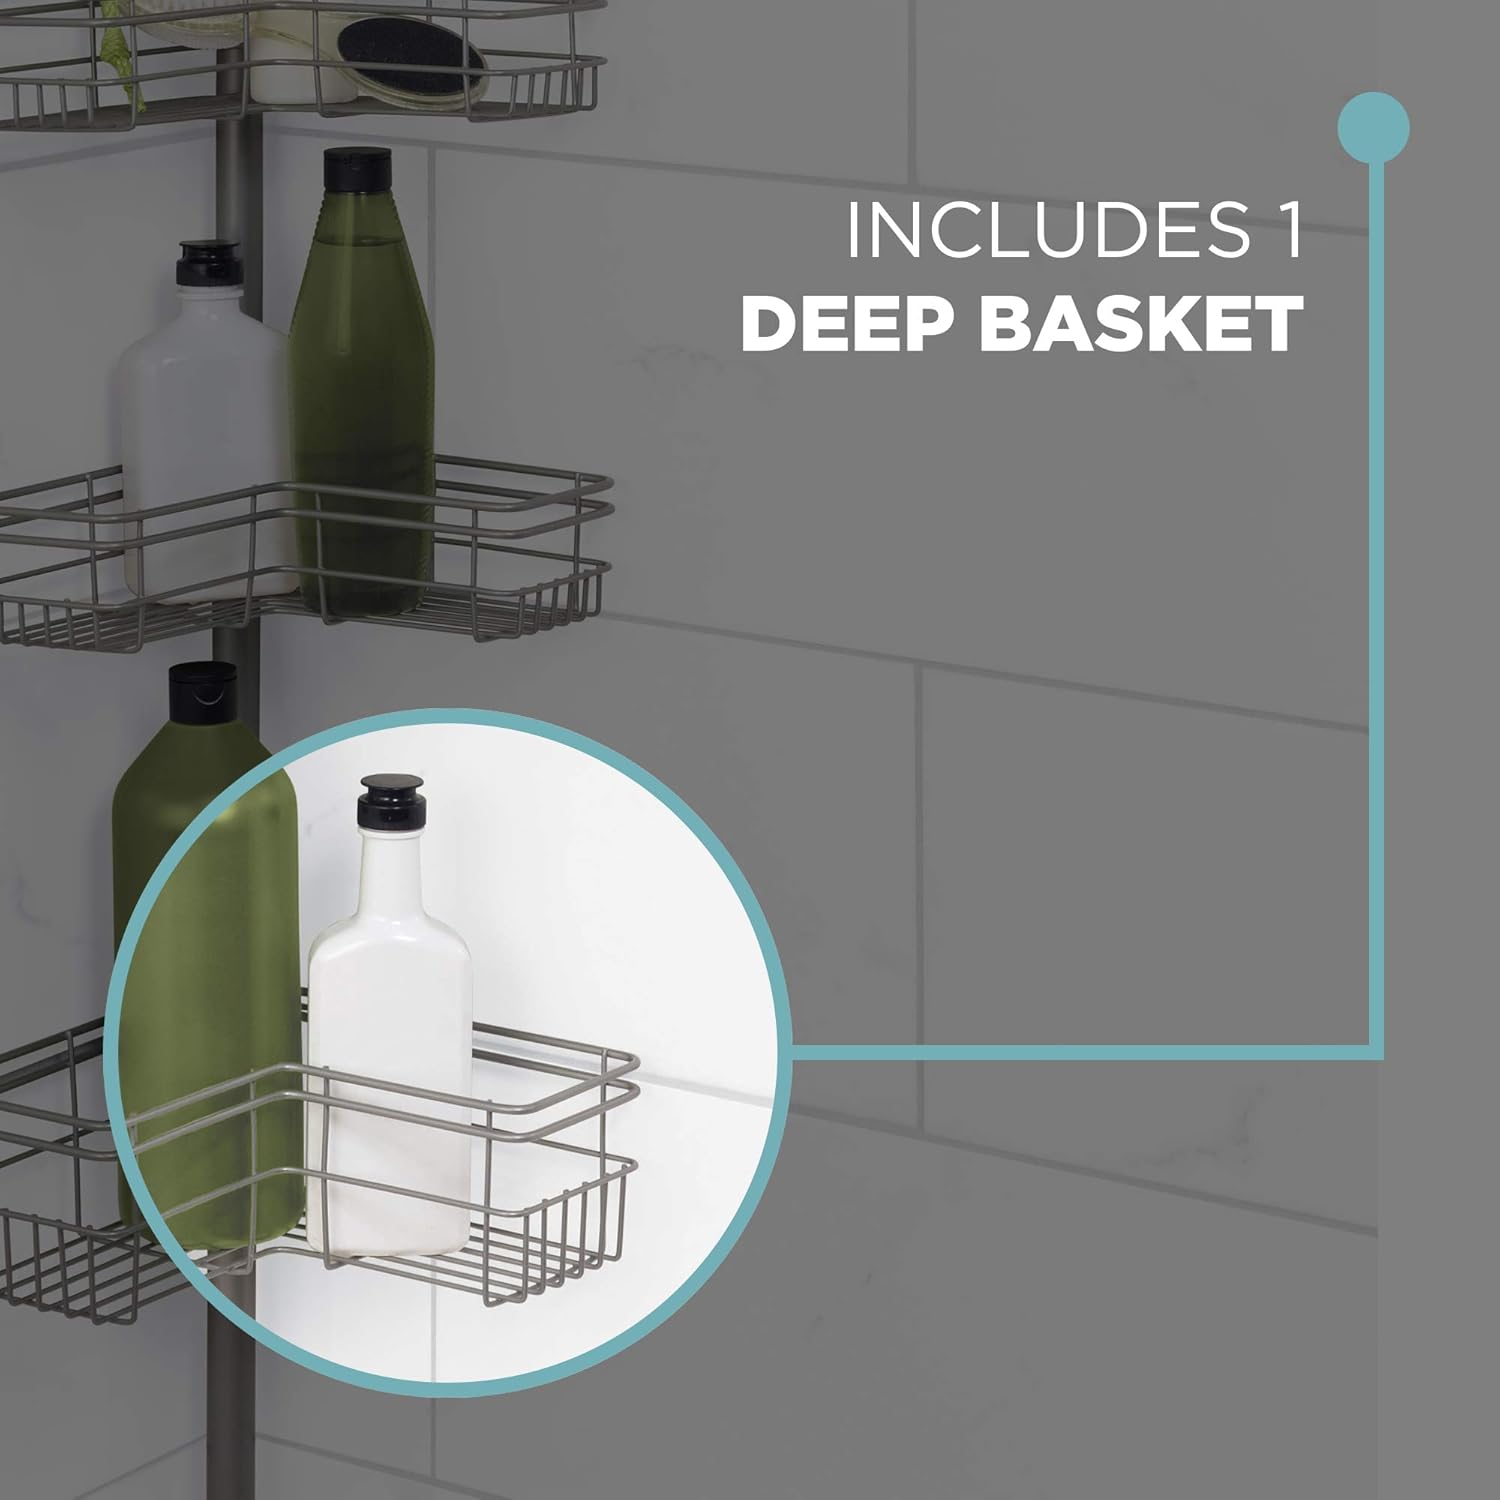
- Deep Basket: The caddy includes one deep basket, ideal for taller bottles or larger items, preventing them from falling out.
- Weight Distribution: Distribute items evenly across the shelves to maintain stability. Avoid placing all heavy items on a single shelf.
Adjustable shelves allow for flexible storage of various bottle sizes.

The caddy includes one deep basket for secure storage of larger items.
Maintenance
To ensure the longevity and appearance of your Zenna Home Tension Pole Caddy:
- Cleaning: Wipe down the caddy regularly with a soft cloth and mild soap and water. Avoid abrasive cleaners or scouring pads, which can damage the satin nickel finish.
- Rust Resistance: The caddy is designed to be rust-resistant. However, proper ventilation and regular cleaning will help maintain its condition.
- Stability Check: Periodically check the tension of the pole and the security of the shelves. Re-adjust if any looseness is detected.
Troubleshooting
- Caddy feels wobbly: Ensure the tension pole is fully compressed between the floor/tub and ceiling. Re-adjust the pole by compressing it further until it is stable.
- Shelves slide down: Check that the plastic wedges are correctly positioned and securely holding the shelves. Ensure the shelves are not overloaded.
- Difficulty with pole length: If the pole is too long or too short, refer to the cutting chart in the setup section. Some non-standard shower heights may require cutting one of the pole sections.
Specifications
| Brand: | Zenna Home |
| Model Number: | 2130NN |
| Style: | L-Shaped Shelves |
| Color: | Satin Nickel |
| Material: | Metal |
| Mounting Type: | Tension Mount |
| Product Dimensions (D x W x H): | 8.75"D x 12.25"W x 97"H |
| Number of Compartments: | 4 |
| Maximum Weight Recommendation: | 16 Pounds |
| Special Features: | Adjustable, Rust Resistant |
Warranty and Support
For warranty information, technical support, or to order replacement parts, please contact Zenna Home customer service directly. Refer to the product packaging or the official Zenna Home website for contact details.


