Pro'sKit MT-1860 Multimeter User Manual
Model: MT-1860
Introduction
This manual provides comprehensive instructions for the safe and effective operation, maintenance, and troubleshooting of your Pro'sKit MT-1860 Multimeter. Please read this manual thoroughly before using the device to ensure proper functionality and to prevent damage or injury.
The Pro'sKit MT-1860 is a versatile digital multimeter designed for precise electrical measurements, featuring a dual display and PC interface capabilities for advanced data logging and analysis.
Safety Information
Always observe basic safety precautions when using this multimeter to reduce the risk of fire, electric shock, or personal injury. Pay close attention to all warnings and cautions.
- Do not exceed the maximum input limits for any function.
- Use caution when working with voltages above 30V AC RMS, 42V peak, or 60V DC. These voltages pose a shock hazard.
- Ensure the correct function and range are selected before making measurements.
- Inspect test leads for damaged insulation or exposed metal before use.
- Replace blown fuses only with fuses of the specified type and rating.
- Do not operate the meter if it appears damaged or if the case is open.
Product Overview
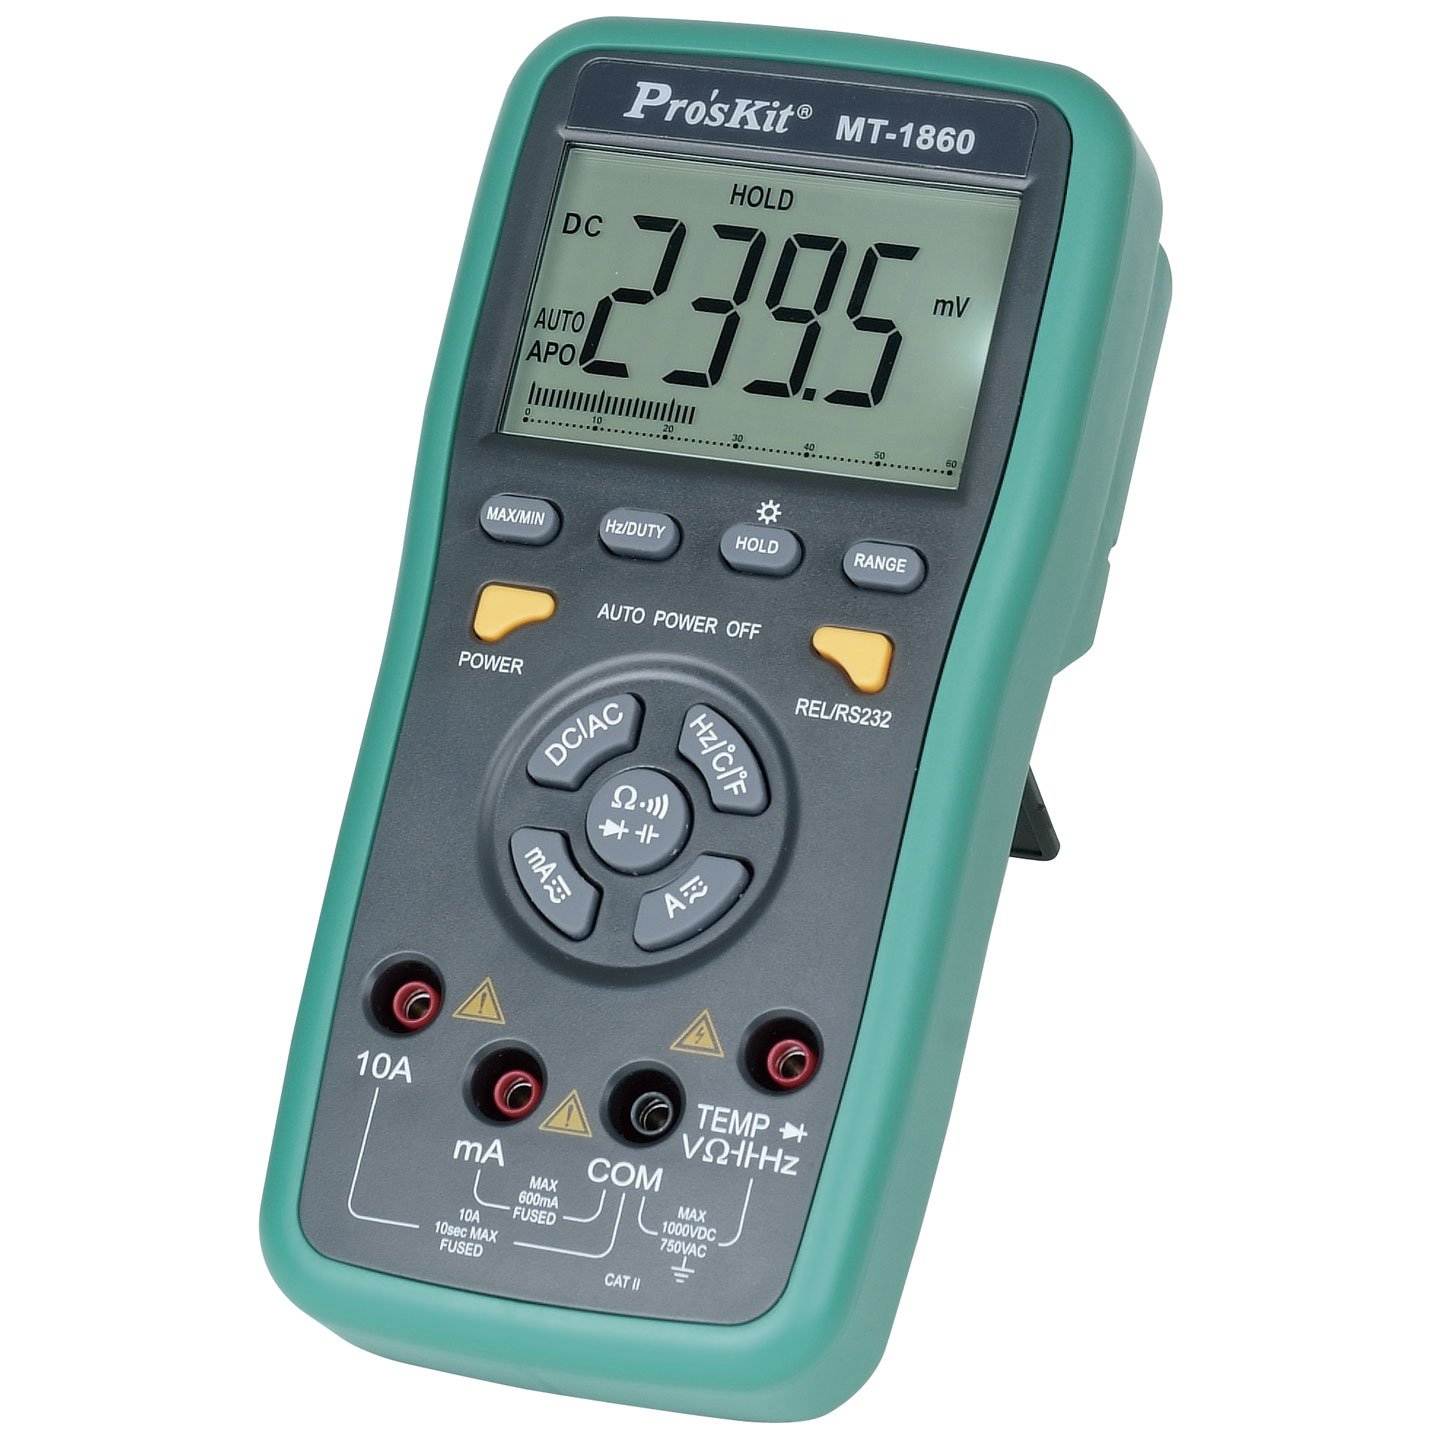
Figure 1: Pro'sKit MT-1860 Multimeter. This image shows the Pro'sKit MT-1860 Multimeter, featuring its green and grey casing, large dual display, central rotary switch, and various function buttons. Key input jacks for 10A, mA, COM, and VΩHz are visible at the bottom.
The Pro'sKit MT-1860 is a high-performance digital multimeter designed for professional and hobbyist use. It features a large LCD with dual display capability, allowing simultaneous viewing of primary and secondary measurements. The device includes a wide range of measurement functions and a PC interface for data connectivity.
Key Features:
- Dual Display LCD
- PC Interface (RS232)
- Auto Ranging and Manual Ranging
- True RMS Measurement
- Data Hold, MAX/MIN, Relative Measurement
- Auto Power Off
- Measures DC/AC Voltage, DC/AC Current, Resistance, Capacitance, Frequency, Temperature, Diode, and Continuity.
Setup
1. Unpacking and Inspection:
Carefully unpack the multimeter and all accessories. Verify that all items listed in the packing list are present and undamaged. If any items are missing or damaged, contact your supplier immediately.
2. Battery Installation:
- Ensure the multimeter is turned off.
- Locate the battery compartment cover on the rear of the unit.
- Loosen the screw(s) securing the cover and remove it.
- Insert the required batteries (typically 9V, not included) observing the correct polarity (+ and -).
- Replace the battery compartment cover and secure it with the screw(s).
3. Connecting Test Leads:
Always connect the common (COM) test lead first, then the positive (+) test lead. When disconnecting, remove the positive (+) test lead first, then the common (COM) test lead.
- For most measurements (Voltage, Resistance, Continuity, Diode, Capacitance, Frequency, Temperature), connect the black test lead to the COM jack and the red test lead to the VΩHz jack.
- For current measurements up to 600mA, connect the black test lead to the COM jack and the red test lead to the mA jack.
- For current measurements up to 10A, connect the black test lead to the COM jack and the red test lead to the 10A jack.
Operating Instructions
1. Powering On/Off:
Press the POWER button to turn the multimeter on or off. The meter features an Auto Power Off function to conserve battery life, which can be disabled by pressing the AUTO POWER OFF button.
2. Function Selection:
Rotate the central rotary switch to select the desired measurement function (e.g., DCV, ACV, DCA, ACA, Ohms, Capacitance, Frequency, Temperature, Diode, Continuity). Some positions may have multiple functions; press the corresponding button (e.g., DC/AC, Hz/°C/°F) to cycle through them.
3. Range Selection:
The MT-1860 typically operates in auto-ranging mode. To manually select a range, press the RANGE button. Each press will cycle through available ranges. To return to auto-ranging, press and hold the RANGE button.
4. Special Functions:
- HOLD: Press to freeze the current display reading. Press again to release.
- MAX/MIN: Press to enter MAX/MIN recording mode. The meter will display the maximum or minimum reading detected since activation. Press again to cycle between MAX, MIN, and current reading.
- REL/RS232: Press for Relative measurement mode, which subtracts a stored reference value from subsequent measurements. Press and hold to activate the RS232 PC interface for data transfer.
- Hz/DUTY: In frequency mode, press to toggle between frequency and duty cycle measurements.
5. Making Measurements:
- Connect the test leads to the appropriate input jacks.
- Select the desired function and range using the rotary switch and function buttons.
- Connect the test probes to the circuit or component to be measured.
- Read the measurement value on the LCD.
- Disconnect the test probes from the circuit before changing functions or ranges.
Maintenance
1. Cleaning:
Wipe the case with a damp cloth and mild detergent. Do not use abrasives or solvents. Ensure the meter is completely dry before use.
2. Battery Replacement:
When the battery indicator appears on the display, replace the battery promptly to ensure accurate readings. Follow the battery installation steps outlined in the "Setup" section.
3. Fuse Replacement:
If the meter fails to measure current, the fuse may be blown. Refer to the specifications for the correct fuse type and rating. To replace a fuse:
- Ensure the meter is turned off and test leads are disconnected.
- Open the battery compartment/rear case (may require additional screws beyond battery cover).
- Carefully remove the old fuse and replace it with a new one of the identical type and rating.
- Reassemble the meter, ensuring all screws are tightened.
4. Storage:
If the meter is not to be used for an extended period, remove the batteries to prevent leakage and corrosion. Store the meter in a cool, dry place, away from direct sunlight and extreme temperatures.
Troubleshooting
| Problem | Possible Cause | Solution |
|---|---|---|
| No display or dim display | Dead or weak batteries; incorrect battery installation. | Replace batteries; check battery polarity. |
| No current measurement | Blown fuse; incorrect input jack connection. | Replace fuse; ensure test leads are in the correct current jacks (mA or 10A). |
| "OL" or "OVER" displayed | Overload; measurement exceeds selected range. | Select a higher range (if in manual range); ensure input is within meter's maximum limits. |
| Inaccurate readings | Weak batteries; poor test lead connection; external interference. | Replace batteries; ensure secure connections; move away from strong electromagnetic fields. |
If the problem persists after attempting these solutions, contact qualified service personnel.
Specifications
| Parameter | Value |
|---|---|
| Brand | Best Price Square (Manufacturer: Pro'sKit) |
| Model Number | MT-1860 |
| Measurement Type | Multimeter |
| Power Source | Corded Electric (Internal battery for operation) |
| Item Weight | 370 Grams |
| Package Dimensions | 22.61 x 16.26 x 7.37 cm |
| Safety Standard | CE, CAT II (Max 1000VDC / 750VAC) |
| PC Interface | RS232 |
| Display | Dual Display LCD |
Note: Specifications are subject to change without notice. For detailed electrical specifications (e.g., accuracy, resolution for each range), please refer to the product's official datasheet or contact the manufacturer.
Warranty and Support
This Pro'sKit MT-1860 Multimeter is covered by a standard manufacturer's warranty against defects in materials and workmanship. The duration and terms of the warranty may vary by region and retailer. Please retain your purchase receipt as proof of purchase for warranty claims.
For technical support, service, or warranty inquiries, please contact your point of purchase or the official Pro'sKit distributor in your region. You may also visit the official Pro'sKit website for further information and resources.