1. Introduction
The Datacolor Spyder Checkr is a color calibration tool designed to assist photographers in achieving accurate and consistent color reproduction across various camera systems and lighting environments. It facilitates precision in-camera white balance and provides known-color samples for post-production adjustments. This tool integrates into your existing workflow, allowing for the creation of custom HSL presets for editing software such as Adobe Lightroom Classic, Adobe Camera RAW, or Hassleblad Phocus.
The Spyder Checkr features a robust design with 48 spectrally engineered color patches and a dedicated grey card. Its target cards are replaceable, and a Fade Checkr light-sensitive patch indicates when replacement is necessary to maintain color accuracy.

Image 1.1: The Datacolor Spyder Checkr opened, revealing its 48 color patches and grey scale for calibration.
2. Product Components
The Spyder Checkr system includes the following key components:
- Spyder Checkr Unit: A durable, self-casing unit that protects the color target cards.
- 48 Spectrally Engineered Color Patches: These include the standard 24 sRGB color space, along with additional targets for precise skin tones and detailed near-white/black tones.
- Grey Card: Located on the reverse side of one of the target cards, used for in-camera white balance.
- Fade Checkr Patch: A light-sensitive indicator that changes color from red to yellow, signaling when the target cards may need replacement due to light exposure and potential fading.
- Replaceable Target Cards: The color and grey cards can be replaced to ensure long-term accuracy.
- Tripod Mount: A 1/4-20 female thread on the bottom and a retractable 1/4-20 male screw on the top allow for secure mounting.

Image 2.1: Detail of the Fade Checkr patch, indicating the condition of the color targets.

Image 2.2: The Spyder Checkr with its integrated tripod mount for stable positioning.
3. Setup
3.1 Unboxing and Inspection
Upon receiving your Datacolor Spyder Checkr, carefully unbox the unit. Inspect the color patches and the grey card for any visible damage or imperfections. Ensure the Fade Checkr patch is red, indicating the cards are fresh and ready for use.
3.2 Software Installation
The Spyder Checkr requires accompanying software to generate color calibration presets. Download and install the latest Spyder Checkr software from the official Datacolor website. This software is designed to integrate with popular editing applications such as Adobe Lightroom Classic, Adobe Camera RAW, and Hassleblad Phocus.
3.3 Physical Placement
For optimal results, position the Spyder Checkr in the same lighting conditions as your subject. The durable self-casing construction allows for use in various environments. Utilize the integrated tripod mount to secure the Spyder Checkr in a stable position, ensuring it is flat and evenly lit. This helps in capturing a consistent reference image.

Image 3.1: A camera positioned to capture the Spyder Checkr for color calibration.
4. Operating Instructions
4.1 In-Camera White Balance
Before capturing your main images, use the grey card on the Spyder Checkr to set a custom white balance in your camera. This ensures accurate color rendition directly from the camera sensor.
- Place the Spyder Checkr in the scene, ensuring the grey card is visible and evenly lit.
- Fill the frame with the grey card and take a reference shot.
- Consult your camera's manual for specific instructions on setting a custom white balance using a reference image.
- Once set, your camera will use this white balance for subsequent photos under the same lighting conditions.
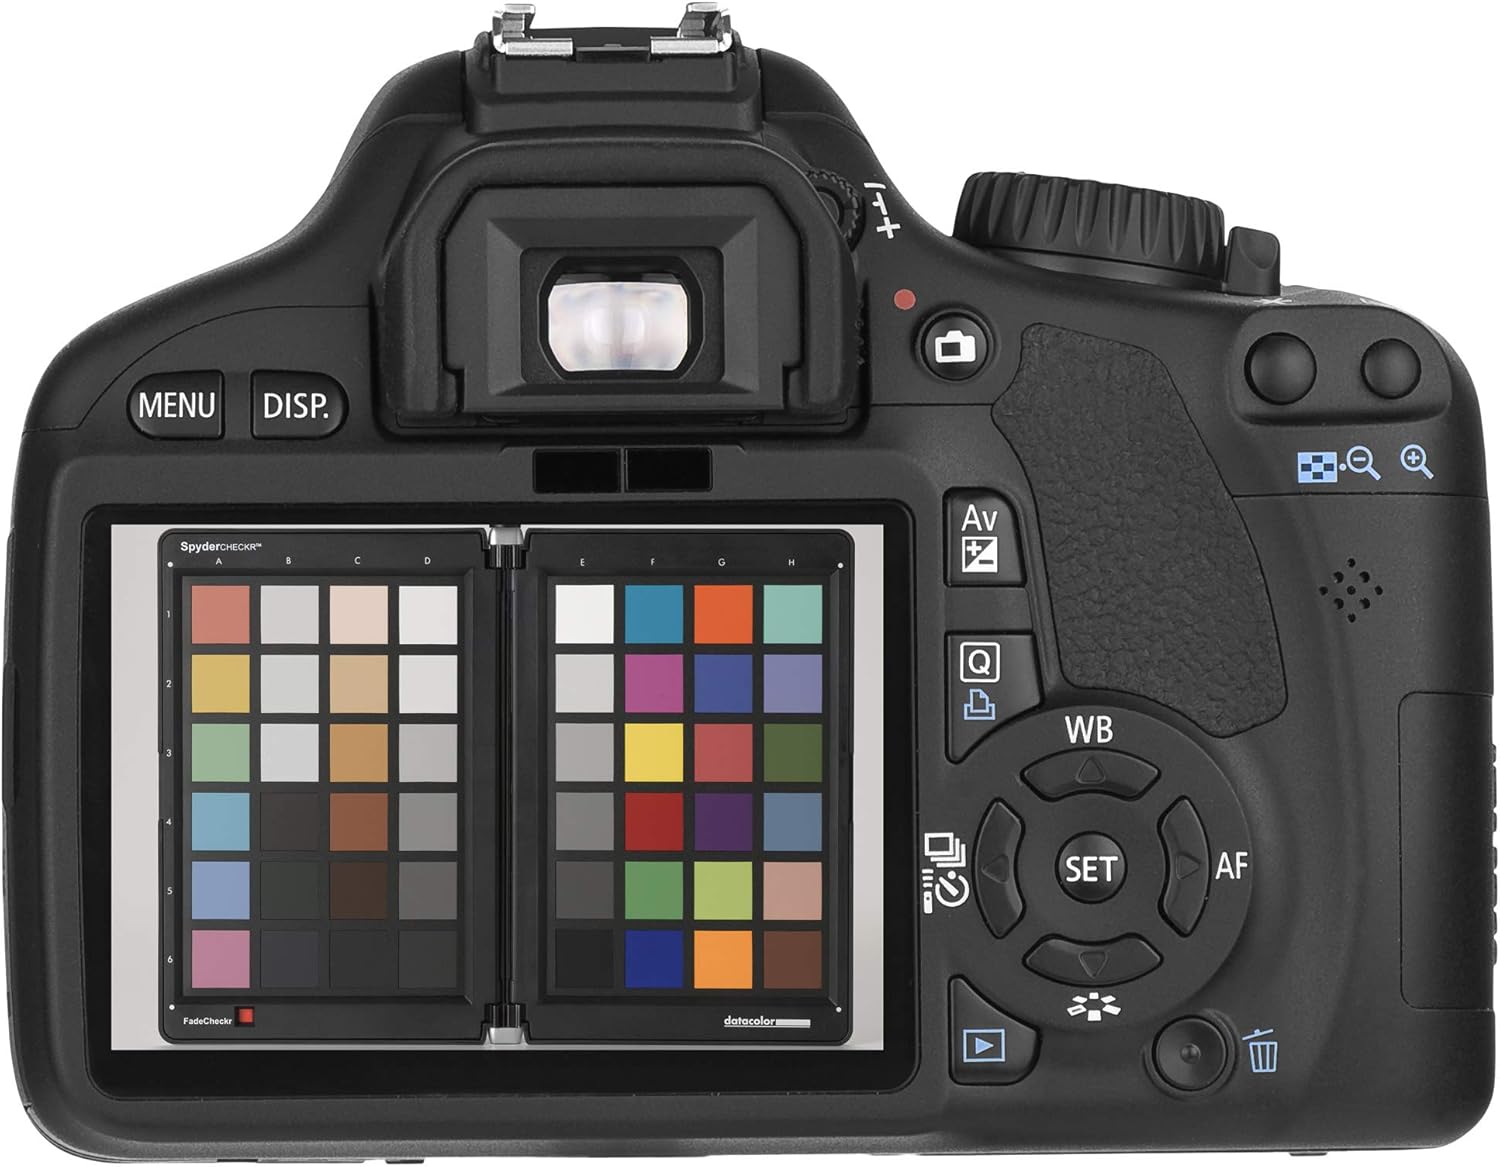
Image 4.1: The Spyder Checkr visible on a camera's LCD, demonstrating its use for in-camera white balance.
4.2 Capturing the Color Chart
To create a color profile for your camera and lens combination under specific lighting:
- Position the Spyder Checkr within your scene, ensuring all 48 color patches are clearly visible and evenly illuminated. Avoid reflections or shadows on the chart.
- Take a photograph of the Spyder Checkr. This image will serve as your color reference.
- Ensure the image is properly exposed and in focus.

Image 4.2: The Spyder Checkr placed within a setup, illuminated by a ring light for consistent color capture.
4.3 Software Workflow and Preset Creation
After capturing the reference image:
- Import the reference image into your preferred editing software (e.g., Adobe Lightroom Classic, Adobe Camera RAW).
- Open the Spyder Checkr software. It will analyze the color results from your test shot.
- The software will generate an HSL (Hue, Saturation, Luminance) preset based on the analysis.
- Apply this custom HSL preset to all other images taken under the same lighting conditions to achieve consistent and accurate colors throughout your project.
5. Maintenance
5.1 Cleaning
To maintain the accuracy of your Spyder Checkr, keep the color patches clean. Gently wipe the surfaces with a soft, lint-free cloth. Avoid using abrasive cleaners or solvents that could damage the color integrity.
5.2 Monitoring Fade Checkr and Replacing Target Cards
The Fade Checkr patch is designed to alert you when the target cards have been exposed to too much light and may have faded, affecting their accuracy. The patch will gradually change from red to yellow after approximately 30 days of full summer sun exposure equivalent.
- Regularly check the Fade Checkr patch.
- When the patch turns yellow, it is recommended to replace the target cards to ensure continued color accuracy.
- Replacement target cards can be purchased separately from Datacolor.
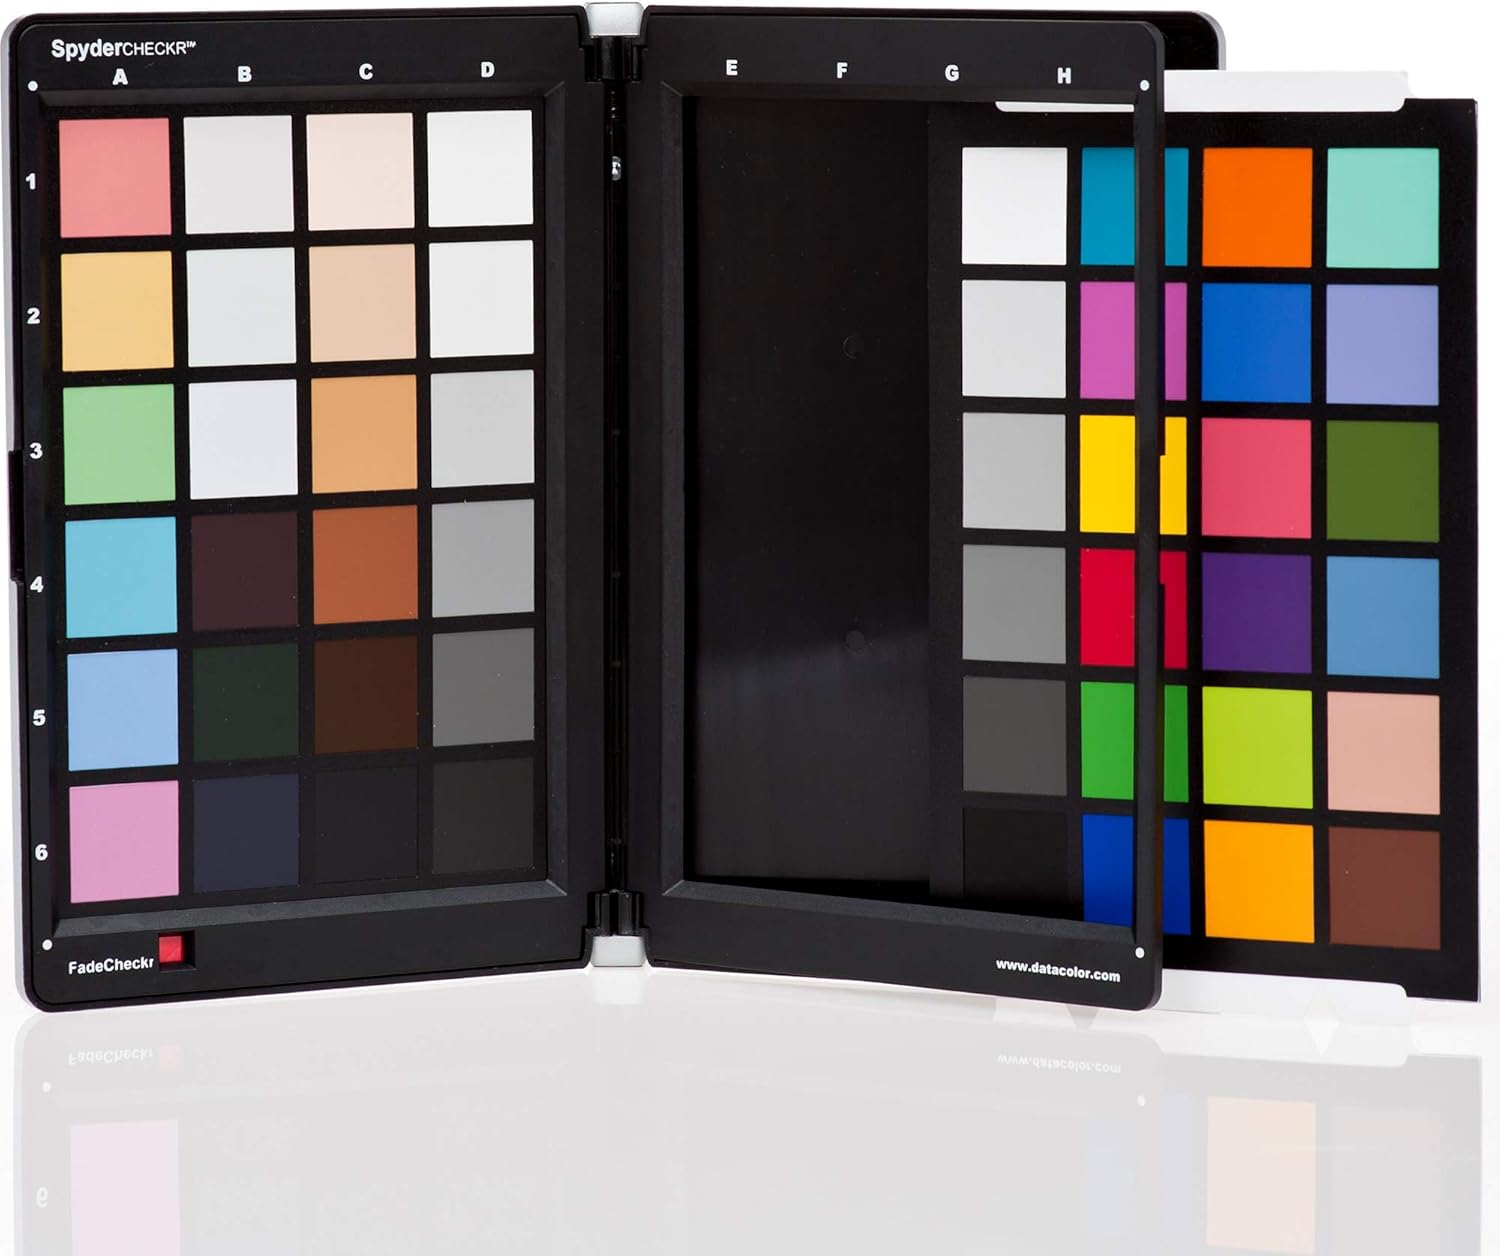
Image 5.1: The Spyder Checkr demonstrating its replaceable color target cards.

Image 5.2: The individual color target cards removed from the Spyder Checkr casing.
5.3 Storage
When not in use, keep the Spyder Checkr closed in its durable self-casing to protect the color patches from dust, dirt, and excessive light exposure. Store it in a cool, dry place away from direct sunlight.

Image 5.3: The Spyder Checkr in its closed position, ready for storage or transport.
6. Troubleshooting
6.1 Inaccurate Color Results
- Check Lighting: Ensure the Spyder Checkr is evenly lit and not in shadow or direct harsh light that could cause reflections.
- Fade Checkr Status: Verify the Fade Checkr patch is still red. If it has turned yellow, replace the target cards.
- Camera Settings: Confirm your camera settings (ISO, aperture, shutter speed) are appropriate for the lighting conditions and that the image of the chart is properly exposed.
- Software Version: Ensure you are using the latest version of the Spyder Checkr software.
6.2 Software Compatibility Issues
The Spyder Checkr software is designed to work with specific editing applications like Adobe Lightroom Classic, Adobe Camera RAW, and Hassleblad Phocus. Compatibility with other software, such as Capture One, may not be supported, and functionality cannot be guaranteed. Always refer to the official Datacolor website for the latest compatibility information.
6.3 Physical Damage
If the color patches are scratched, smudged, or otherwise damaged, their accuracy will be compromised. In such cases, replace the affected target cards.
7. Specifications
| Feature | Detail |
|---|---|
| Product Dimensions | 7.29 x 1.58 x 13 inches |
| Item Weight | 1 pound |
| Model Number | SCK100 |
| Manufacturer | Datacolor |
| Color Patches | 48 spectrally engineered color targets |
| White Balance Tool | Integrated grey card |
| Fading Indicator | Fade Checkr light-sensitive patch |
| Mounting | 1/4-20 tripod mount |
8. Support and Warranty
For technical assistance, software updates, and detailed product information, please visit the official Datacolor support website. Datacolor provides resources to help users maximize the performance of their Spyder Checkr.
Information regarding product warranty, including terms and conditions, can typically be found on the Datacolor website or within the product packaging. Please retain your proof of purchase for warranty claims.
Datacolor Official Website: www.datacolor.com


