
1. Introduction
This manual provides essential instructions for the safe and efficient operation of your Vivitar ViviCam F529 Digital Camera. Please read this manual thoroughly before using your camera and retain it for future reference.
Package Contents
Ensure all items listed below are present in your camera package:
- Vivitar ViviCam F529 Digital Camera
- USB Cable
- Rechargeable Lithium Ion Battery
- Wrist Strap
2. Camera Overview
The Vivitar ViviCam F529 is a compact digital camera designed for ease of use, featuring a 14.1-megapixel sensor, 5x optical zoom, and a 2.7-inch preview screen. It supports both still photography and 720p video recording.
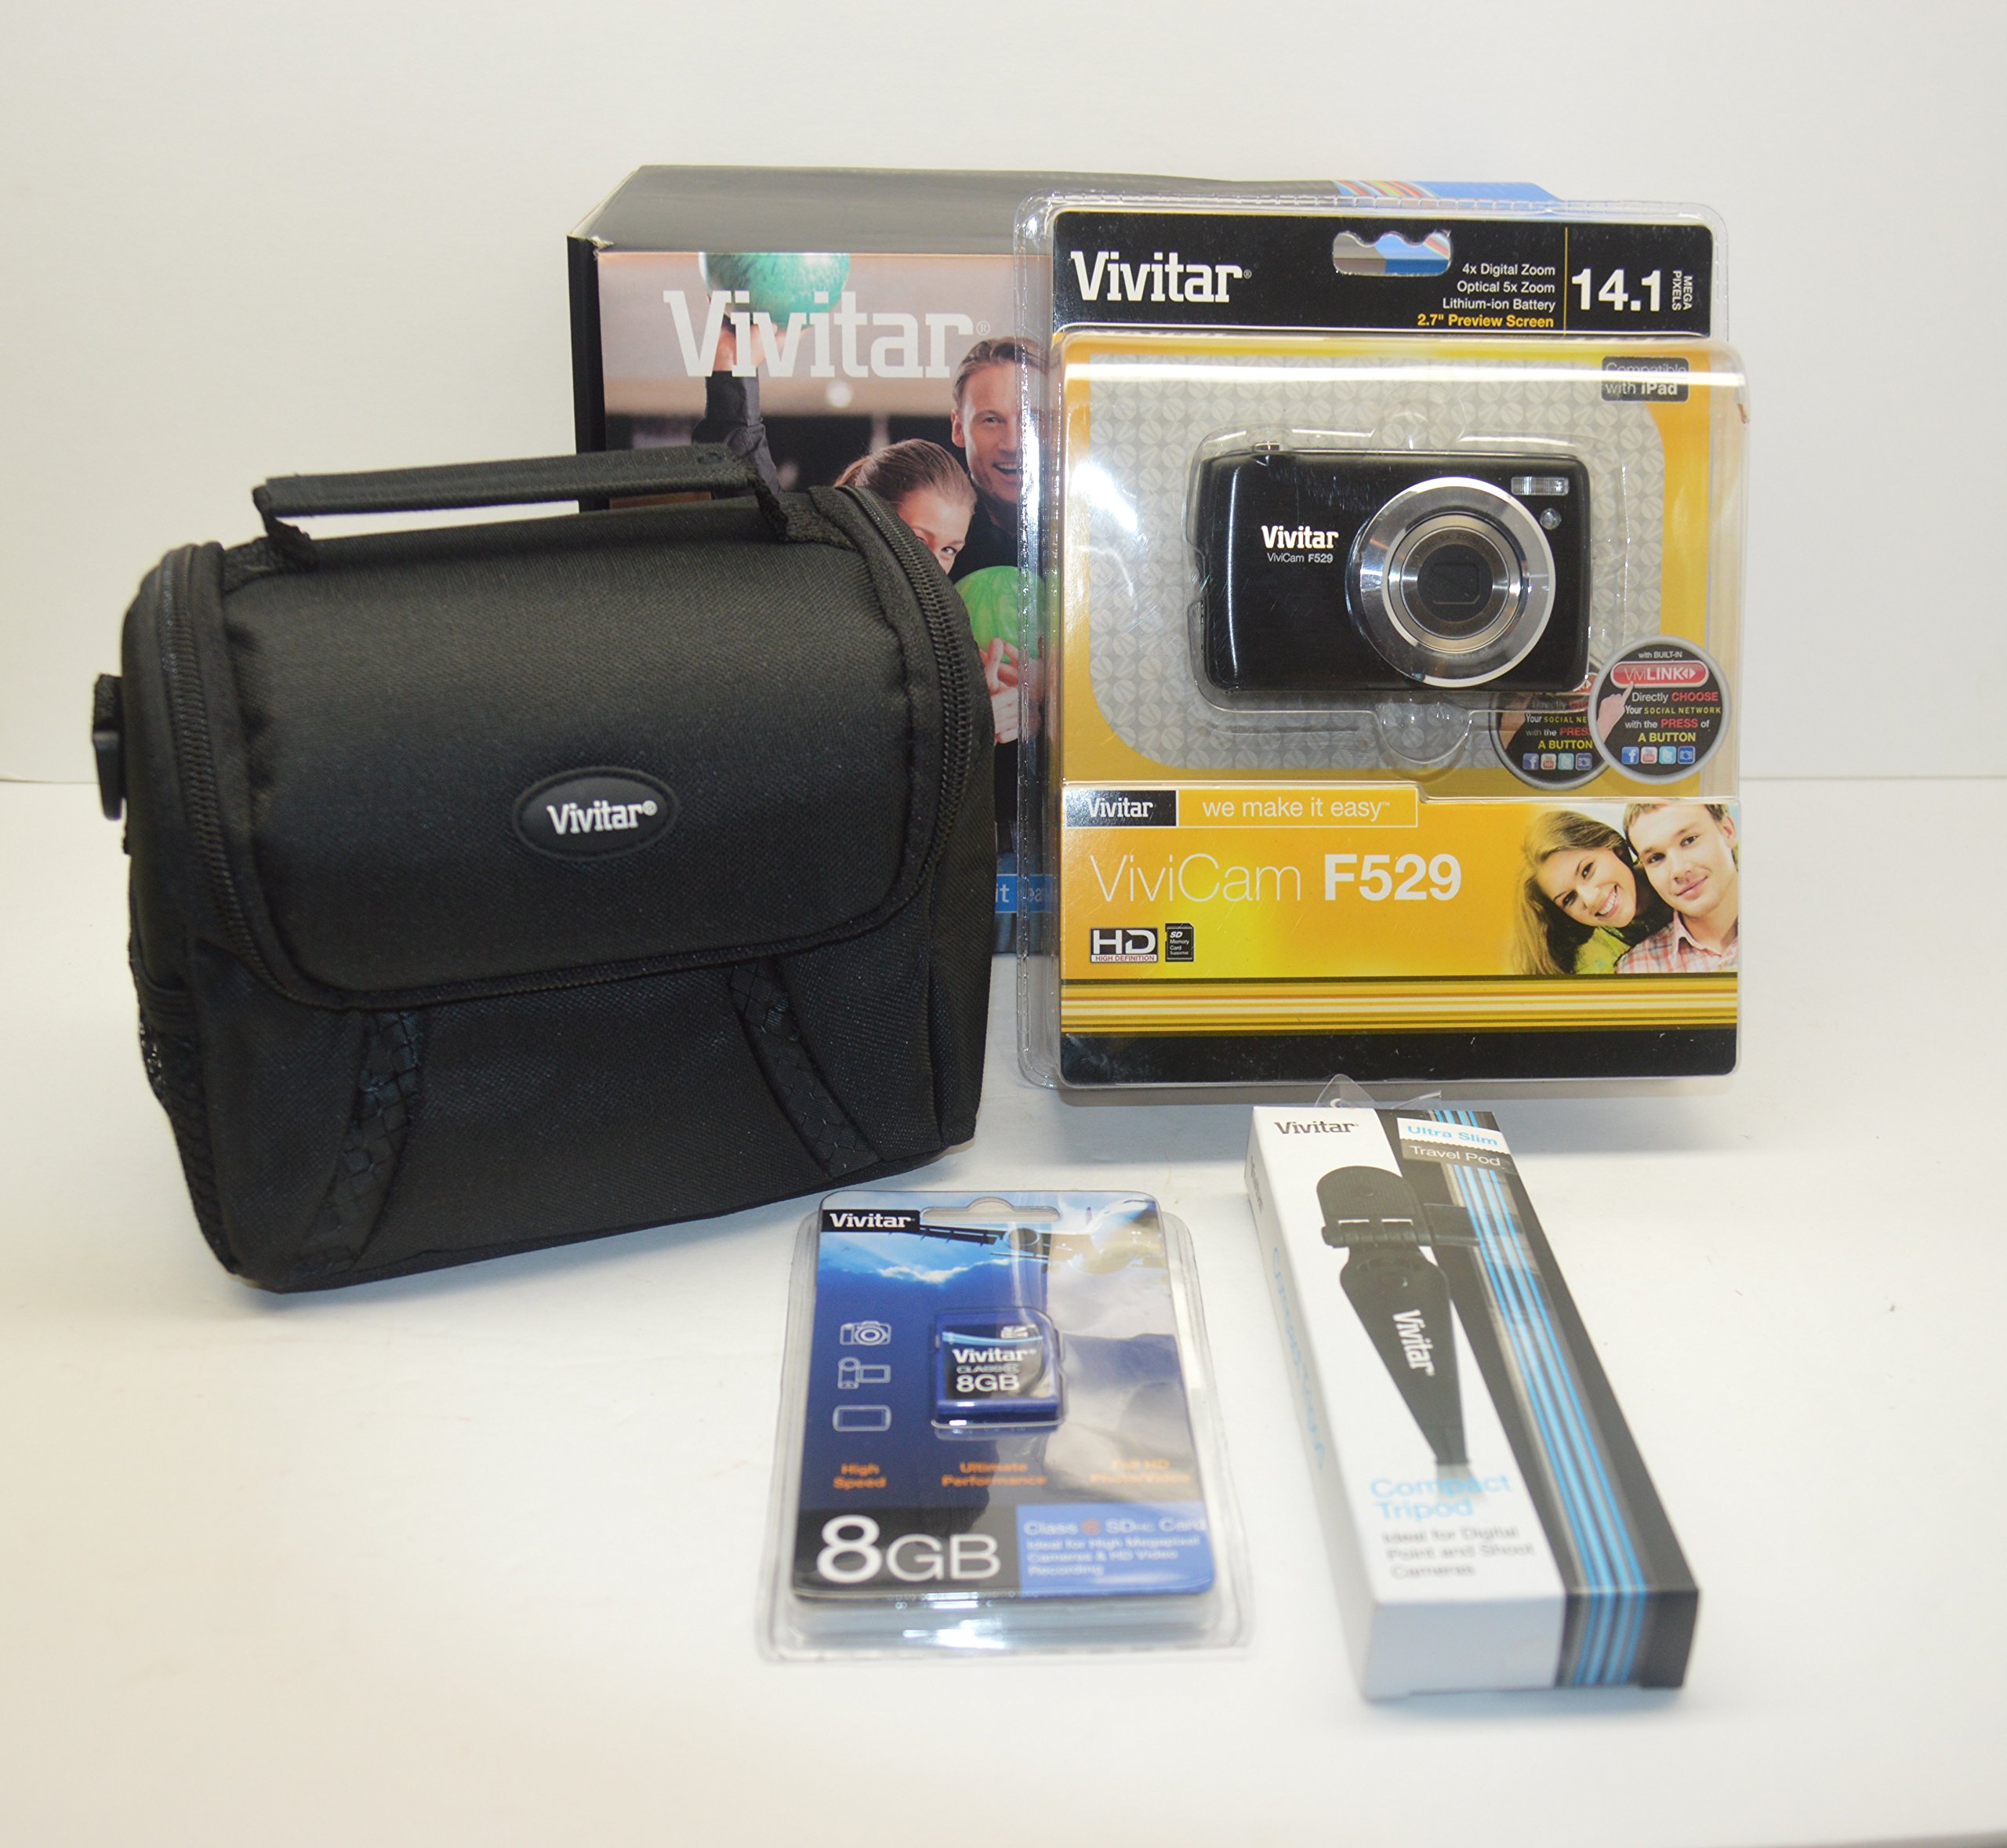
Front view of the Vivitar ViviCam F529 Digital Camera, showing the lens, flash, and branding.

Rear view of the Vivitar ViviCam F529 Digital Camera, displaying the 2.7-inch LCD screen and control buttons.
3. Setup
3.1. Inserting the Battery
- Locate the battery compartment cover on the bottom of the camera.
- Slide the cover latch to open the compartment.
- Insert the Lithium Ion battery, ensuring the correct orientation as indicated inside the compartment.
- Close the battery compartment cover securely until it clicks into place.
3.2. Inserting an SD Memory Card
A memory card (not included) is required to store photos and videos.
- Open the battery compartment cover. The SD card slot is usually located next to the battery.
- Insert the SD card with the metal contacts facing the camera, pushing it gently until it clicks into place.
- To remove, push the card in again until it springs out slightly, then pull it out.
- Close the battery compartment cover.
3.3. Charging the Battery
Before first use, fully charge the battery.
- Ensure the battery is correctly inserted into the camera.
- Connect the small end of the supplied USB cable to the camera's USB port.
- Connect the other end of the USB cable to a powered USB port (e.g., computer, USB wall adapter).
- The charging indicator light will illuminate. It will turn off or change color when charging is complete.
4. Basic Operation
4.1. Powering On/Off
- To Power On: Press and hold the Power button (usually located on the top or rear of the camera) until the LCD screen illuminates.
- To Power Off: Press and hold the Power button again until the LCD screen turns off.
4.2. Taking Photos
- Turn on the camera. It will typically start in photo capture mode.
- Frame your shot using the 2.7-inch LCD screen.
- Press the Shutter button halfway down to allow the camera to focus. The focus indicator will confirm when focus is achieved.
- Press the Shutter button fully down to capture the image.
4.3. Recording Videos
- Turn on the camera.
- Switch to video recording mode (often indicated by a video camera icon or a dedicated button).
- Frame your subject on the LCD screen.
- Press the Record button (often the Shutter button or a separate video button) to start recording. A timer or indicator will show recording is in progress.
- Press the Record button again to stop recording.
4.4. Playback Mode
- Press the Playback button (usually indicated by a triangle icon) to enter playback mode.
- Use the directional buttons (left/right) to navigate through your captured photos and videos.
- To view a video, select it and press the OK/Enter button to start playback.
- Press the Playback button again to exit playback mode and return to capture mode.
4.5. Zoom Function
The camera features 5x optical zoom and 4x digital zoom.
- Use the zoom lever or buttons (often labeled 'W' for Wide and 'T' for Telephoto) to adjust the focal length.
- Optical zoom adjusts the lens physically for higher quality. Digital zoom magnifies the image electronically, which may reduce image quality.
4.6. Flash Modes
The built-in flash has several modes:
- Automatic: The camera automatically determines if flash is needed.
- Fill Flash: Flash fires regardless of ambient light, useful for brightening shadows.
- Red Eye Reduction: Fires a pre-flash to reduce red-eye effect.
- Flash Off: Flash does not fire.
Access flash settings through the camera's menu or a dedicated flash button.
5. Advanced Features
5.1. Scene Modes
The ViviCam F529 offers various scene modes to optimize settings for specific shooting conditions:
- Night Portrait: For portraits taken in low light.
- Portrait: Optimizes for clear skin tones and soft backgrounds.
- Scene: General setting for various common scenarios.
Select scene modes via the camera's menu system.
5.2. Image Stabilization
The camera features both digital and optical image stabilization to reduce blur caused by camera shake, especially in low light or when using zoom.
5.3. Face Detection
Face Detection automatically identifies and focuses on human faces in the frame, optimizing exposure for portraits.
6. Connecting to a Computer
To transfer photos and videos to your computer:
- Ensure the camera is powered off.
- Connect the camera to your computer using the supplied USB cable.
- Power on the camera. It should be recognized as a removable disk or media device.
- Open the camera's folder on your computer to access and copy your files.
- Safely eject the camera from your computer before disconnecting the USB cable.
7. Maintenance
7.1. Cleaning the Camera
- Use a soft, dry cloth to clean the camera body.
- For the lens and LCD screen, use a specialized lens cleaning cloth and solution, applying gently to avoid scratches.
- Do not use harsh chemicals or abrasive cleaners.
7.2. Battery Care
- Store the battery in a cool, dry place when not in use.
- Avoid fully discharging the battery frequently to prolong its lifespan.
- If storing for extended periods, charge the battery to about 50% capacity.
7.3. Storage
When not in use, store the camera in a protective case in a dry, dust-free environment, away from extreme temperatures and direct sunlight.
8. Troubleshooting
If you encounter issues with your Vivitar ViviCam F529, refer to the following common solutions:
| Problem | Solution |
|---|---|
| Camera will not power on. | Ensure the battery is fully charged and correctly inserted. Try charging the battery for at least 30 minutes. |
| Cannot take pictures/videos. | Check if an SD card is inserted and has sufficient free space. Ensure the card is not locked (write-protected). |
| Pictures are blurry. | Ensure the lens is clean. Press the shutter button halfway to allow the camera to focus before fully pressing. Use image stabilization in low light. |
| Flash is not firing. | Check flash settings to ensure it is not set to 'Flash Off'. Ensure the battery has enough charge. |
| Camera not recognized by computer. | Ensure the USB cable is securely connected to both devices. Try a different USB port or cable. Ensure the camera is powered on after connecting. |
9. Specifications
Key technical specifications for the Vivitar ViviCam F529 Digital Camera:
| Feature | Detail |
|---|---|
| Model Name | F529 |
| Photo Sensor Resolution | 14.1 MP |
| Optical Zoom | 5x |
| Digital Zoom | 4x |
| Screen Size | 2.7 Inches (LCD) |
| Video Resolution | 720p (30 FPS) |
| Image Stabilization | Digital, Optical |
| Supported Image Format | JPEG |
| Supported Video Format | AVI |
| Flash Memory Type | SD Card (not included) |
| Battery Type | Lithium Ion |
| Connectivity | USB |
| Item Weight | 10.56 ounces |
| Shooting Modes | Night Portrait, Portrait, Scene |
| Flash Modes | Automatic, Fill Flash, Red Eye Reduction |
10. Warranty and Support
For warranty information and technical support, please refer to the documentation provided with your purchase or visit the official Vivitar website. Keep your proof of purchase for warranty claims.


