1. Introduction
The Shift3 Light Blast Entertainment Projector is designed to display video content from various compatible media components onto a large surface. This manual provides instructions for the safe and efficient use of your projector.
Key Features:
- Projects images up to 120 inches.
- Compatible with video game consoles, TVs, and other components via A/V input.
- Equipped with a 50W/12V halogen light bulb and cooling fan.
- Features a manual focus lens and built-in audio speaker.
- Control panel includes A/V inputs, headphone jack, adjustable contrast, brightness, and volume controls.
- Pivoting bracket/carrying handle for easy adjustment and portability.
Package Contents:
- Shift3 Light Blast Entertainment Projector
- A/V Cable
- Power Adapter (not explicitly listed in 'whats_in_the_box' but essential for operation)
- User Manual (this document)
2. Setup
2.1 Unpacking and Placement
Carefully remove the projector and all accessories from the packaging. Place the projector on a stable, flat surface. Ensure adequate ventilation around the unit to prevent overheating.
For optimal viewing, position the projector directly in front of your desired projection surface (wall or screen). The distance from the surface will determine the image size. A darker room environment will enhance image quality.

Figure 2.1: Front view of the Shift3 Light Blast Entertainment Projector, showing the lens and projected light.
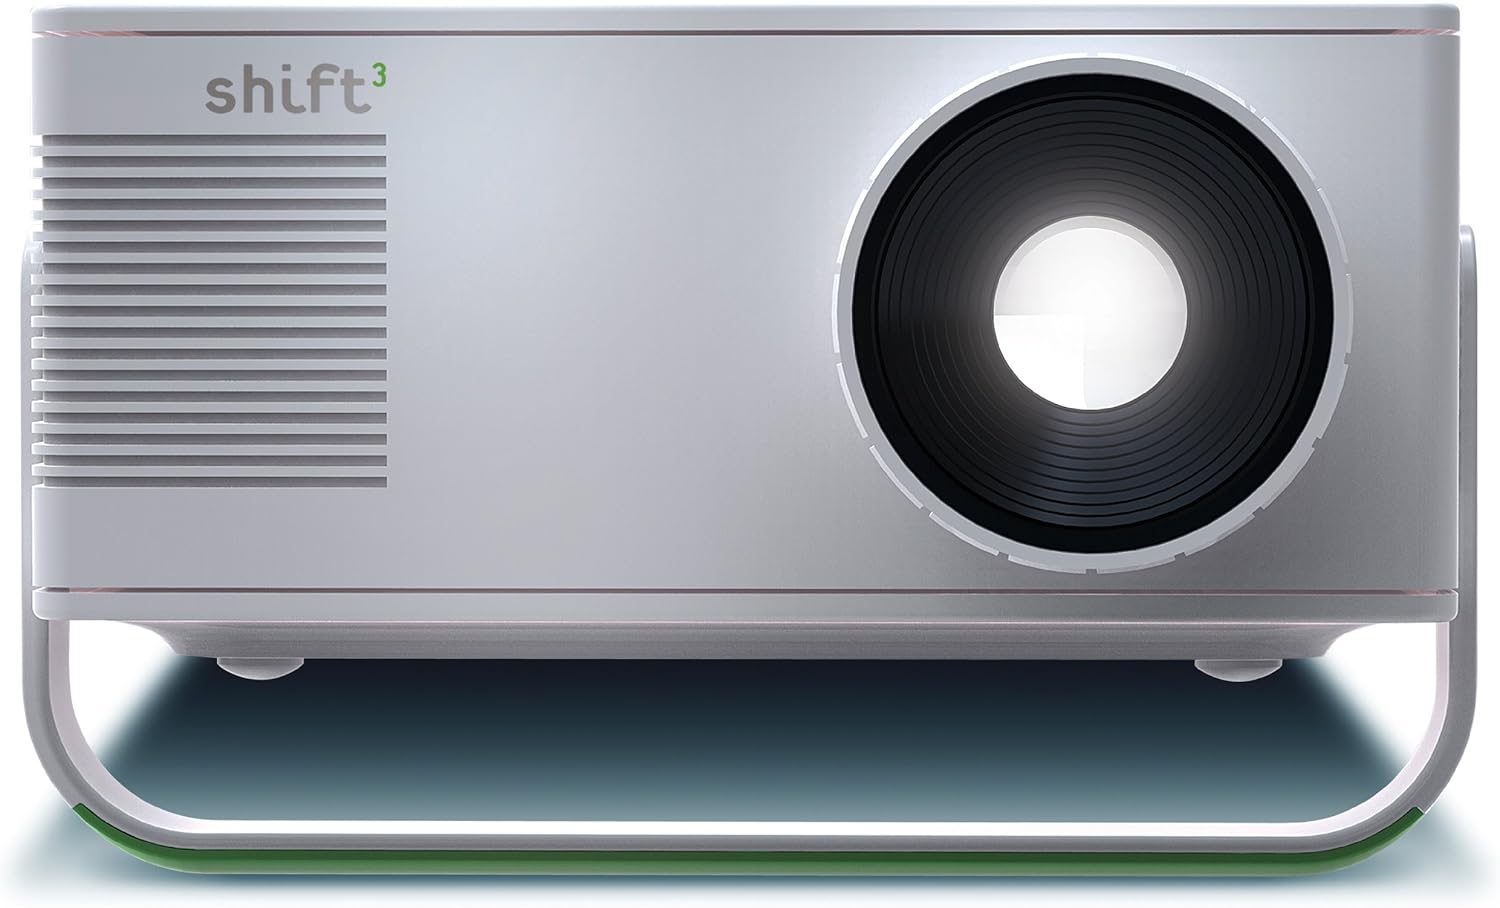
Figure 2.2: Frontal view of the projector, highlighting the main lens.
2.2 Connecting Power
Connect the power adapter to the projector's power input port. Plug the other end of the power adapter into a standard electrical outlet.
2.3 Connecting Input Devices
The projector features A/V input ports for connecting external media devices such as DVD players, video game consoles, VCRs, or camcorders. Use the included A/V cable to connect your device to the projector.
- Connect the yellow plug of the A/V cable to the video output of your device and the yellow "INPUT" port on the projector.
- Connect the white plug to the left audio output of your device and the white "INPUT" port on the projector.
- Connect the red plug to the right audio output of your device and the red "INPUT" port on the projector.

Figure 2.3: Side view of the projector, showing the control panel with input ports and adjustment buttons.

Figure 2.4: Detailed view of the A/V input ports (yellow, white, red) and the power, volume, color, and contrast control buttons.
3. Operating Instructions
3.1 Powering On/Off
Press the POWER button located on the control panel to turn the projector on. Press it again to turn the projector off.
3.2 Adjusting Focus
Rotate the lens ring at the front of the projector clockwise or counter-clockwise until the projected image appears clear and sharp on the screen.
3.3 Adjusting Brightness, Contrast, and Volume
Use the BRIGHTNESS + / -, CONTRAST + / -, and VOLUME + / - buttons on the control panel to fine-tune the image and audio output to your preference.
3.4 Using the Audio Out Port
For enhanced audio, connect external speakers or headphones to the AUDIO OUT (headphone jack) port on the control panel. This will disable the built-in speaker.

Figure 3.1: Example of the projector in use, displaying content from a video game console.
4. Maintenance
4.1 Cleaning the Lens
To maintain optimal image clarity, regularly clean the projector lens. Use a soft, lint-free cloth specifically designed for optical lenses. Do not use abrasive cleaners or excessive force.
4.2 Bulb Replacement
The projector uses a standard 50W/12V halogen bulb. When the bulb reaches the end of its lifespan or becomes dim, it will need to be replaced. Ensure the projector is unplugged and cooled down before attempting bulb replacement.
- Locate the bulb access panel, typically on the bottom or side of the projector.
- Carefully open the panel using a screwdriver if necessary.
- Gently remove the old bulb, avoiding direct contact with the glass part of the new bulb.
- Insert the new 50W/12V halogen bulb, ensuring it is seated correctly.
- Close the access panel securely.
Refer to the specific instructions provided with replacement bulbs for detailed guidance.
4.3 General Care
- Keep the projector in a clean, dry environment.
- Avoid exposing the projector to extreme temperatures or humidity.
- Do not block the ventilation openings.
- When moving the projector, use the integrated carrying handle for secure transport.

Figure 4.1: The projector's pivoting bracket also functions as a carrying handle for easy transport.
5. Troubleshooting
| Problem | Possible Cause | Solution |
|---|---|---|
| No image projected |
|
|
| Image is blurry |
|
|
| No sound |
|
|
| Image is too dim |
|
|
6. Specifications
| Feature | Detail |
|---|---|
| Brand | Shift3 |
| Model Number | 16382910042 |
| Item Weight | 5.3 pounds |
| Package Dimensions | 13 x 12.8 x 8.6 inches |
| Color | White |
| Special Features | Built-in speakers |
| Speaker Type | Built-In |
| Recommended Uses | Gaming, Home Cinema |
| Connectivity Technology | Composite Video (A/V) |
| Display Resolution | 854 x 480 |
| Light Source | 50W/12V Halogen Bulb |
7. Warranty and Support
7.1 Warranty Information
Specific warranty details for the Shift3 Light Blast Entertainment Projector are not provided in this manual. Please refer to the warranty card included with your product or contact the retailer or manufacturer directly for information regarding warranty coverage and terms.
7.2 Customer Support
For technical assistance, product inquiries, or service requests, please contact Shift3 customer support. Contact information can typically be found on the product packaging, the manufacturer's official website, or through your retailer.
When contacting support, please have your product model number (16382910042) and purchase date available.

