Introduction
This manual provides instructions for the installation and features of the Leviton REWP4-WB Renu Four-Gang Screwless Snap-On Wallplate. The Renu series offers a modern, sleek design for electrical devices, allowing for easy color changes and a clean aesthetic.
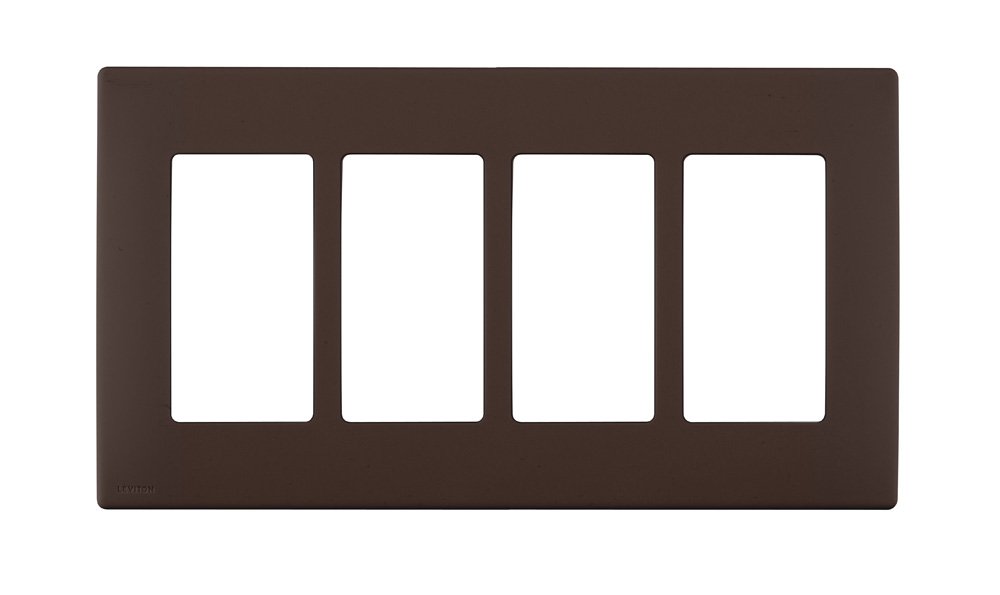
Figure 1: Leviton REWP4-WB Renu Four-Gang Screwless Snap-On Wallplate in Walnut Bark.
Features
- Screwless Design: Provides a clean, modern appearance without visible screws.
- Snap-On Installation: Designed for fast and easy installation without the need for a subplate.
- Four-Gang Configuration: Accommodates up to four Renu devices.
- Walnut Bark Color: A specific color variant within the Renu collection.
- Larger Size: Slightly larger than standard wallplates to help cover minor wall imperfections.
- Renu System Compatibility: Exclusively designed for use with Leviton Renu devices.
- Decora Compatibility (with adapter): Can be used with standard Decora devices when paired with a Renu adapter ring REA00 (sold separately). Adapter rings are available in White on White, Navajo Sand, and Onyx Black.
- Durable Material: Constructed from engineering-grade polymer material.

Figure 2: The range of 20 designer colors available for Leviton Renu wallplates and devices.

Figure 3: Examples of Renu wallplates matching or complementing various paint and surface colors.
Setup and Installation
The Leviton Renu wallplate is designed for straightforward installation. Ensure power is turned off at the circuit breaker before beginning any electrical work.
- Prepare the Device: Ensure your Leviton Renu electrical device (switch, outlet, dimmer, GFCI) is properly wired and mounted in the electrical box.
- Align the Wallplate: Position the Renu wallplate over the installed Renu device(s). The wallplate is designed to snap directly onto the device(s) without requiring a separate subplate.
- Snap into Place: Gently press the wallplate firmly against the device(s) and the wall until it snaps securely into place. Ensure all edges are flush with the wall.
- For Decora Devices: If using a standard Decora device, first install the Renu adapter ring REA00 (sold separately) onto the Decora device, then snap the Renu wallplate onto the adapter ring.
For a visual guide on changing Renu device colors, which involves similar snap-on/off mechanisms for the faceplates and wallplates, please refer to the video below:
Video 1: Demonstrates the ease of changing colors on Leviton Renu devices, including the snap-on wallplate mechanism. This process is similar for installing the wallplate.
Operating
The Leviton Renu wallplate is a passive component designed to cover electrical devices. Its primary function is aesthetic and protective. Once installed, no specific operation is required from the wallplate itself. The operation of the underlying electrical devices (switches, outlets, dimmers) remains unchanged.
Maintenance
To maintain the appearance and functionality of your Leviton Renu wallplate:
- Cleaning: Wipe the surface with a soft, damp cloth. Avoid abrasive cleaners, solvents, or harsh chemicals, as these can damage the finish.
- Inspection: Periodically check the wallplate for any signs of damage, cracks, or discoloration. If damage is observed, consider replacing the wallplate.
- Color Change: The Renu system allows for easy color changes. To change the color, gently pry off the existing wallplate using a flathead screwdriver in the removal notch (if present) or by carefully pulling from the edges. Then, snap on a new Renu wallplate of your desired color. Ensure power is off before removing the wallplate if it exposes any live electrical components.
Troubleshooting
Most issues related to the Renu wallplate are minor and can be resolved easily:
- Wallplate Does Not Snap On:
- Ensure the underlying electrical device is a Leviton Renu device. Renu wallplates are designed specifically for Renu devices.
- If using a standard Decora device, confirm that a Renu adapter ring REA00 (sold separately) is correctly installed.
- Check for any obstructions or debris around the device or in the wallplate's snapping mechanism.
- Gaps Around the Wallplate:
- Ensure the electrical box and device are mounted flush with the wall surface. While Renu wallplates are slightly larger to cover imperfections, significant unevenness may still result in gaps.
- Verify the wallplate is fully snapped into place on all sides.
- Wallplate Appears Loose:
- Re-press the wallplate firmly to ensure all clips are engaged.
- Inspect the clips on the back of the wallplate and the device for any damage. Damaged clips may prevent a secure fit.
Specifications
| Specification | Detail |
|---|---|
| Model Number | REWP4-WB |
| Brand | Leviton |
| Configuration | Four-Gang (Quad) |
| Color | Walnut Bark |
| Material | Engineering Grade Polymer Material |
| Installation Type | Snap-On |
| Item Weight | 0.8 ounces |
| Approvals | UL (Canada and US) |
| UPC | 078477528402 |
Warranty and Support
For warranty information and customer support, please refer to the official Leviton website or contact Leviton customer service directly. Keep your purchase receipt for warranty claims.
- Leviton Website: www.leviton.com
- Customer Service: Refer to the contact section on the official website for phone numbers and email support.


